


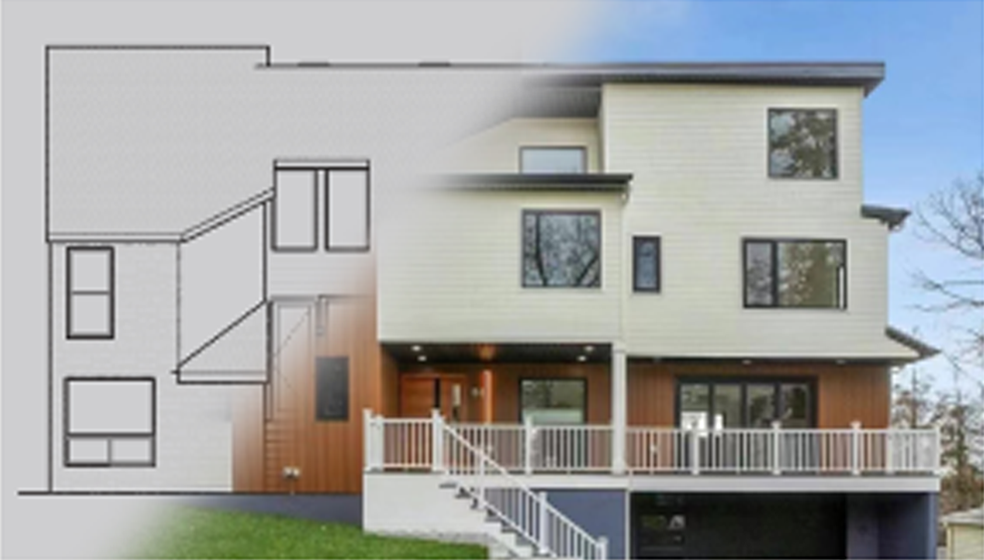


DIY Composite Deck

Adding a composite deck to your home is a practical way to increase your home’s value and create a long-lasting gathering space for your family. When you’re building a DIY deck, you want your hard work and effort to be rewarded for years to come. Composite decking is a reliable material with the complete package — superior performance, unparalleled durability and a stunning exterior to complement any atmosphere.
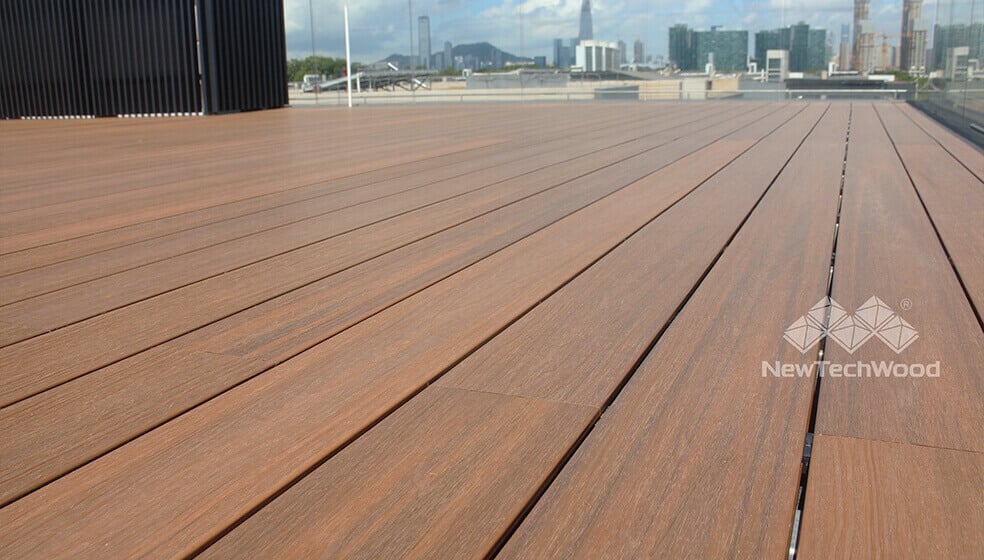
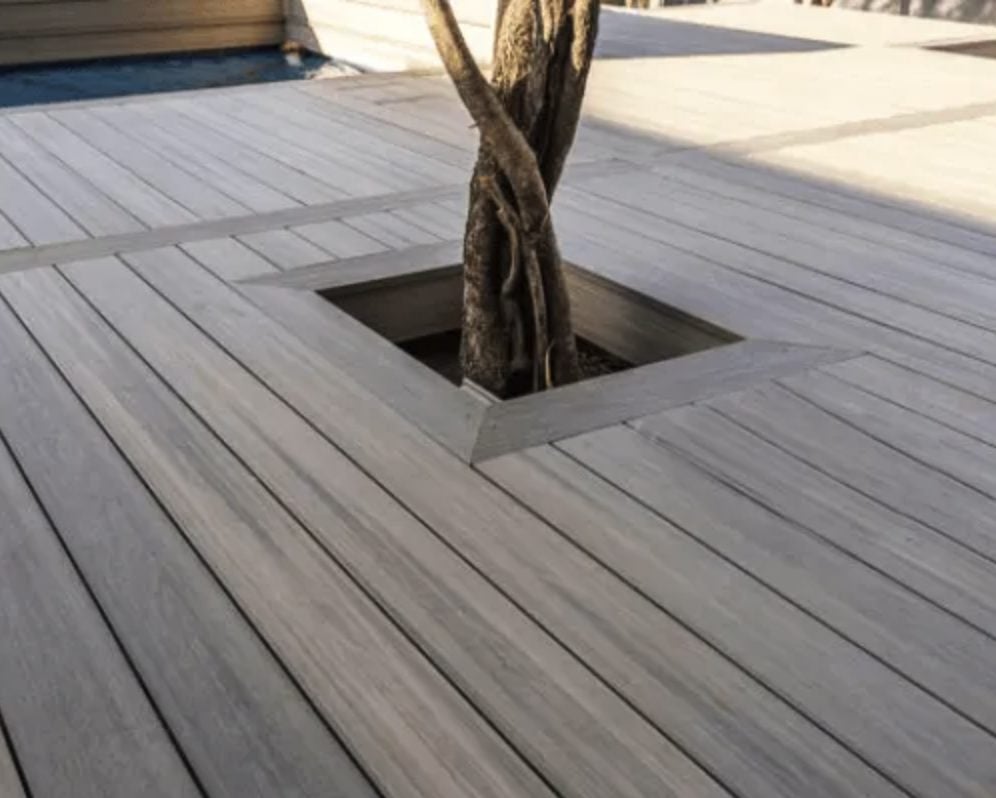
Composite decking is made from recycled wood and recycled plastic, but it has the look of natural wood. This composition combines the best attributes of wood’s appearance with the durability, longevity and low-maintenance of synthetic material. The result is a deck that will support your needs and exceed your expectations.
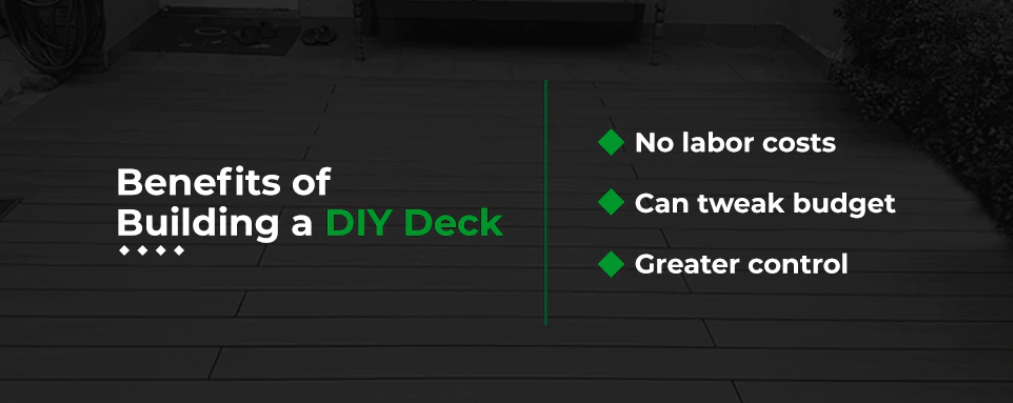
Benefits of Building a DIY Deck
A DIY deck building project takes careful planning and thought, but the benefits are numerous. Here are some of the ways you’ll save when building a composite deck yourself:
- No labor costs: In a typical deck project, labor costs can add thousands of dollars to your budget. HomeGuide estimates average labor costs at $12 per square foot. For an average-sized 300 square-foot deck, this would cost $3,600 before tax. Depending on the size of your deck and the contractor’s prices, labor costs could easily double or triple the price of your project. When you build your own deck, you can slash expenses significantly.
- Can tweak budget: The money you save on labor costs is yours to spend however you choose. Perhaps you’ll use it to make the deck bigger or add some quality deck furniture. Maybe you’ll select a higher-quality composite material. You could even pocket that money for future use. A DIY deck project gives you the freedom to put money into the areas that matter most to you.
- Greater control: When you build your own deck, you get to make decisions you would otherwise have very little control over. You can pick the types of screws you use to secure the decking. You can customize the deck’s positioning and layout to fit your vision for the project. With your preferences in mind, you can build a deck the fulfills your criteria down to the smallest component.
When building a DIY deck, you’ll want to ensure your planning covers several important details. Here are some points to consider before you begin construction.
Determine Deck Dimensions: General Considerations
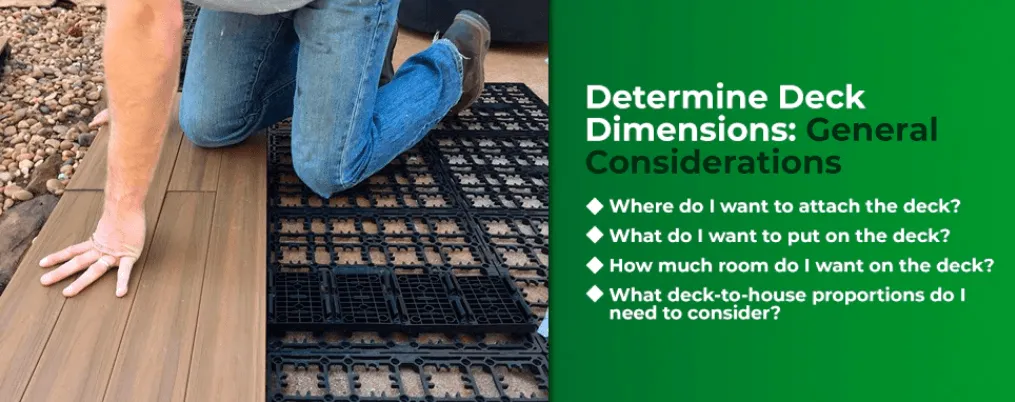
The dimensions of your deck are fundamental to capturing the functionality and appearance you want for the project. Ask yourself these questions to help determine your space needs:
- Where do I want to attach the deck? You’ll need an area with relatively level ground that also makes sense with the layout of your home. Consider the view you’ll have from your deck, as well as any direct access doors from your home to the deck.
- What do I want to put on the deck? Consider items such as a table and chairs, benches, planters, a grill and more.
- How much room do I want on the deck? Think about how you’d like to use the deck space to determine if having ample space is a high priority for you.
- What deck-to-house proportions do I need to consider? Building a deck that’s too large can dwarf your home. But a deck that is too small might be swallowed up by your home’s size. LandscapingNetwork recommends the following rule of thumb — don’t make your deck any larger than the biggest room in your house.
With your answers to those questions in mind, you can begin planning your deck dimensions. Many building materials, including composite decking, may be sold in increments as small as 2 feet. NewTechWood decking is sold in 8 foot and 16 foot lengths, depending on where it is purchased. Keeping your dimensions similar, or identical, to existing board lengths may prevent the need to cut decking planks during installation.
Determine Deck Dimensions: Surface Area and Height

There are two primary dimensions to consider for your DIY composite decking project — surface area and height. General information about deck surface area dimensions includes:
- Most decks are wider than they are deep, with the longest dimension running along the side of the home.
- Small decks with enough space for a table are at least 12 feet by 12 feet, or 144 square feet.
- Average decks typically run between 300 and 400 square feet. Common dimensions include 12 feet by 24 feet.
- Large decks can be any number of feet beyond the average range. Many large decks include multiple levels to break up the look and designate areas for specific activities.
General information about deck height dimensions includes:
- If your deck lines up with a main access door, the height should be within two inches of the door frame.
- Low elevation decks line up with ground-level homes.
- Mid-elevation decks line up with raised homes.
- High elevation decks line up with second level doors. Building a high elevation deck requires advanced safety and construction knowledge. Constructing this type of deck on your own may be an extreme safety risk.
As recommended by LandscapingNetwork, use the dimensions of the largest room in your house as a max point when sizing your deck. However, ultimately, the size of your deck is up to your judgment. You know your family and your space needs best, so be sure to choose dimensions that support your lifestyle and goals.
What to Know Before You Begin Your Deck
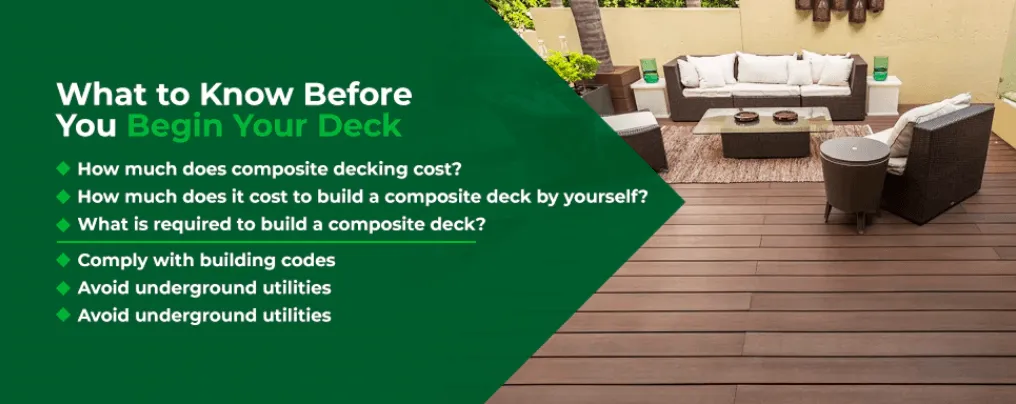
After you’ve established your dimensions, consider a few other factors for your DIY deck. Here are some common questions and answers about deck pricing, building costs and building requirements:
- How much does composite decking cost? Compared to other deck materials, composite decking has a higher initial price point. However, many DIYers choose composite decking for its long-term durability and cost-effectiveness. Your composite deck costs will vary depending on the brand you select and whether you choose hollow or solid decking. Different composite materials may range from $15 to $45, so expect to pay an average of $30 per square foot for your decking.
- How much does it cost to build a composite deck by yourself? Your DIY total will include the cost of deck materials, costs to rent necessary tools and the costs of any extra deck components like railings, fascia or end caps. Estimate your project cost by substituting your specific costs into the following formula: Total Deck Cost = (Composite Material Price Per Square Foot x Estimated Deck Square Footage) + (Estimated Tool Rental Cost) + (Total Accessory Costs)
- What is required to build a composite deck? Aside from materials and tools, there may be extra requirements for your DIY project. Many areas require you to file for a building permit before beginning the project. The permit will depend on the scope of your project and local codes, zoning rules and local regulations. To find out if you need a permit, contact your local governing agency’s department of planning and development. Permit applications typically require some kind of design plans, but be sure to check with your local agency to include everything they need.
Beyond cost and building requirements, there are a few insider tips and recommendations to consider to help your DIY project go as smoothly as possible:
- Comply with building codes: The International Code Council sets building safety codes for residential and commercial construction. Complying with these codes will help you build your deck following construction best practices that keep your structure safe. ICC compliance may be especially important if you plan to sell your home after your deck construction. Chapter 5 Section R507 in ICC’s International Residential Code features safety codes for exterior decks. The codes cover considerations for different types of materials, footing specifications, joist spacing and more.
- Avoid underground utilities: One of the first requirements for a deck project is digging deep holes for the supportive deck footings. Though this is the only a small portion of digging, there is always a chance you could disturb vital underground utility lines. To avoid digging issues, call 811 several days before construction to connect with a dig line in your state. Dig lines will notify utility companies with facilities in your area, and the companies will send locators to mark the location of their utility lines. Take care to avoid marked utilities to ensure your dig goes as planned.
- Let deck boards acclimate: To avoid shrinkage issues after installation, acclimate your composite decking materials to their future environment at least two days before construction. When acclimating materials, it’s important to lay them on a flat and even surface. Placing composite products on dirt or grass may cause them to warp over time. Stack composite on joists laid over an even surface for best results.
What Materials Will I Need?
Before you begin your DIY deck, you’ll want to make sure you have purchased and gathered all the necessary materials.
1. Post Holes and Framing
These are the materials you’ll need for post holes and framing:
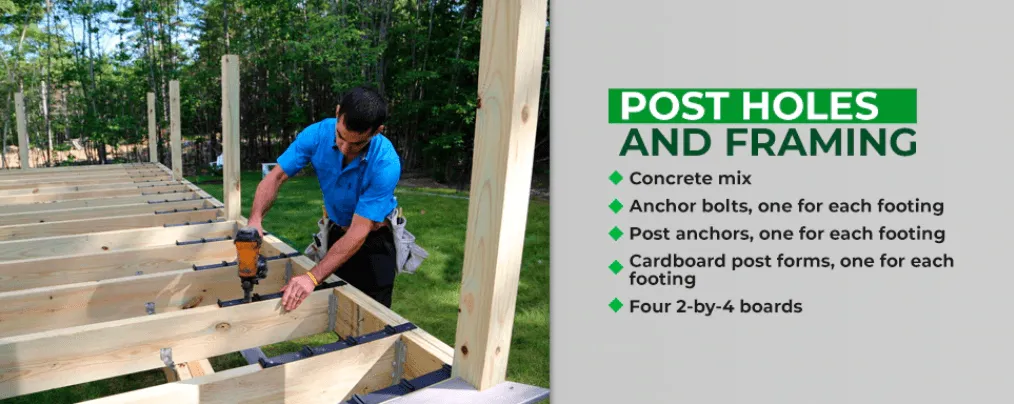
- Concrete mix
- Anchor bolts, one for each footing
- Post anchors, one for each footing
- Cardboard post forms, one for each footing
- Four 2-by-4 boards
- Nails
- Ledger board
- Lag screws
- 4-by-4 posts, one for each footing
- Center beam
- Joist hangers
- Code-compliant joist lumber*
- Mason’s string
- Wooden stakes
- Optional landscaping fabric
- Optional gravel
*Note that composite materials are not approved for use as deck frames. You will need code-compliant lumber for this part of the project.
2. Decking, Fascia and End Caps
Here’s what you’ll need for composite decking, fascia and end caps:
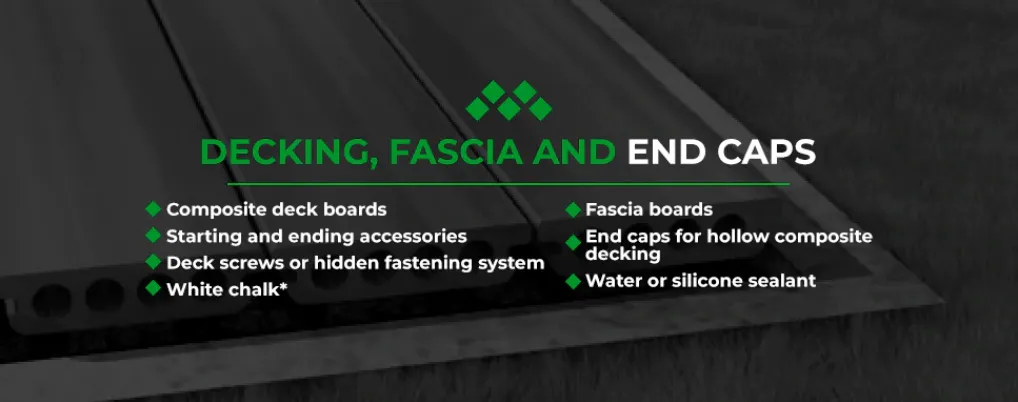
- Composite deck boards
- Starting and ending accessories
- Deck screws or hidden fastening system
- White chalk – Using any chalk color other than white may stain your composite boards. Only use white chalk.
- Fascia boards
- End caps for hollow composite decking
- Water or silicone sealant
What Tools Will I Need to Use?
In addition to materials, you’ll need a variety of tools for the project. A standard collection of woodworking tools works well, but tools with a carbide tip are especially suited for composite deck building.

1. Tools for Post Holes and Framing
You’ll need these tools for post holes and framing:
- Circular saw and blade
- Electric drill
- Hand saw
- Hammer
- Laser or water level
- Shovel
- Concrete float
- Tape measure
- Trowel
- Manual post hole digger
2. Tools for Composite Decking, Fascia and End Caps
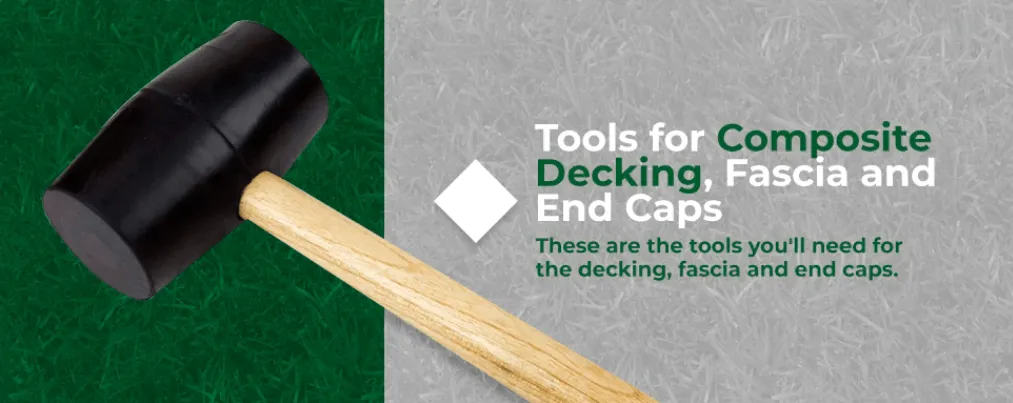
These are the tools you’ll need for the decking, fascia and end caps.
- Miter saw
- Speed square
- Framing square
- Hammer
- Rubber mallet
- Small brush
- Clamps
- Plunge router
Steps for Building a Composite Deck
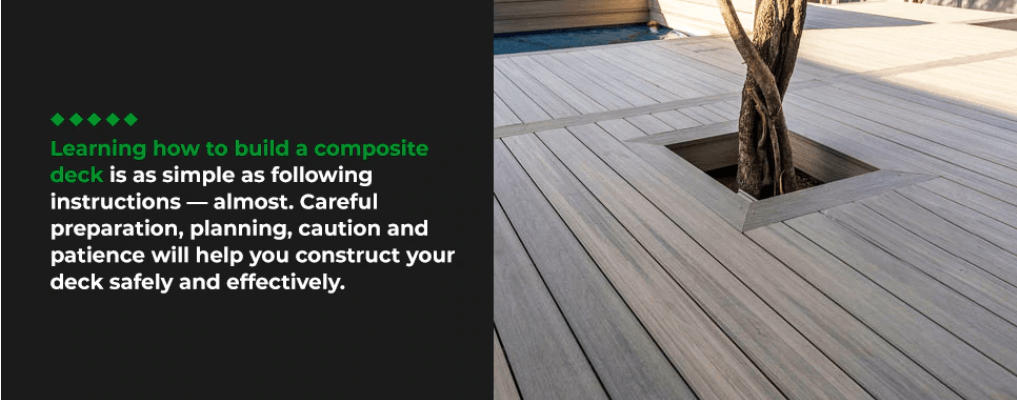
Learning how to build a composite deck is as simple as following instructions — almost. Careful preparation, planning, caution and patience will help you construct your deck safely and effectively. Here are some steps to follow when building a deck on your own.
1. Determine Deck Spacing
Before you begin digging footing holes or constructing a deck frame, it’s critical to make sure you have the spacing for your deck footings and joists figured out. It may be helpful to mark the area into which you’ll be installing the deck with mason’s string and stakes. First, determine the size of your deck footings.
Footings, or piers, are concrete columns that extend into the ground and act as a solid foundation for your deck. In areas where the ground freezes, your footings need to extend below the frost line to prevent structure warping. Different areas may have codes for the size and number of your footings that you’ll need to follow.
If not, Table R507.3.1 in the ICC International Residential Code gives detailed recommendations based on the deck’s estimated live or ground snow load, tributary area and load-bearing value. Second, determine the spacing of your joists. Local building codes may specify joist spacing, but in general, 16 inches is safe.
You’ll want to make sure the joists are evenly-spaced within your deck frame, so try to calculate accordingly. If you plan to incorporate butt joints — that is, spots where the ends of two deck boards meet — you’ll need to include sister joists at those points. In this scenario, measure out where the deck board would end and mark that area for the joist addition. A third and final spacing concern is expansion and contraction values. Your composite decking will expand and contract based on the temperature. You can account for this change and keep your structure sound by factoring in proper gap values.
These gaps depend on your latitude, the temperature at installation and the length of your deck boards. Refer to the Expansion and Contraction table of values for North America, Australia and Asia on page seven of this guide for an appropriate gap size.
2. Dig Footing Holes
With your spacing planned out, you can begin digging the footing holes. Your footing holes must extend 6 inches below the frost line to protect your deck from warping. In the winter, the ground in your backyard starts to freeze at the top and extends downward. The deepest point that frost reaches depends on the severity of the winter, the soil type, the amount of moisture in the soil and the amount of insulating snow cover.

Use this map from the National Weather Service to figure out the frost depth in your area. It may also be wise to ask the local building department about frost requirements when you obtain your building permit. Cut a length of mason’s string to match the desired depth of your footings before you begin digging. There are two types of manual footing or post hole diggers:
- Clamshell style: A clamshell digger has the appearance of two shovels fused together with their metal ends facing each other. The metal ends are hinged to create an opening and closing, clamshell-like apparatus. To use this type of digger, stand over the area you’ve marked for footing holes and squeeze the digger’s handles together to open the metal end. Raise the digger up and carefully drive the blades into the soil. Pull the handles apart to close the metal end and scoop up the soil between them. Remove the digger from the ground and deposit the soil into a wheelbarrow. You can continue this process until you’ve reached the required footing depth.
- Auger style: Manual auger diggers feature a metal corkscrew on the end of a pole with a perpendicular handlebar. To use this type of digger, press the tip of the tool into the center of the footing area and twist clockwise while applying downward pressure. Continue to twist the tool into the ground while keeping it as straight as possible. When you can’t twist any more, tug the handle upward to remove the soil from the ground. Deposit soil into a wheelbarrow and continue this process until you reached the desired depth.
Because manual diggers are highly-specialized tools, you may want to rent them from local tool stores. Whichever tool you choose, be sure it is wide enough and durable enough to help dig your footings. For tough or dry soil, add a bit of water to the footing ground to make the job easier. Measure footing holes with your pre-cut mason’s string to ensure each one is uniform and correct. When you reach the desired depth, use a long-handled shovel to dig a few inches horizontally at the bottom, creating a flared base to support the footing well.
3. Pour Concrete Into Footing Holes
Digging a perfectly cylindrical footing hole is unrealistic, so you’ll want to purchase a cardboard form tube with the desired footing circumference. If the tube is longer than the footing depth, cut it to size with a hand saw. For a solid footing, Family Handyman magazine recommends the following steps:
- Create a tic-tac-toe grid of four 2-by-4s that fits over footing holes. The center opening should be as close to the exact width of the cardboard form as possible.
- Position the grid over a footing hole and insert the cardboard form into the center of the grid.
- Use your pre-measured mason’s string to position the cardboard form roughly 12 inches above the bottom of the hole.
- Nail the sides of the tube to the wooden grid to secure it in place.
- Mix the concrete according to the package’s directions.
- Funnel the wet concrete into the cardboard form until it reaches the top.
- Smooth the concrete at the top of the footing with a float to make it as level as possible
- Allow all concrete footings to cure for at least 24 hours or according to package instructions.
- Remove the exposed cardboard form from the outside of the footings.
The concrete footings you create will serve as the foundation for your deck posts. These posts attach to metal bolts and anchors, which you’ll need to affix to the footing surface. You can either insert the bolt into the concrete while it is drying or wait to drill it into the dried footing. Keep in mind that you’ll need a masonry drill bit to get through concrete if you choose to wait until the footings are dry.
4. Lay Weed Barrier or Gravel If Desired

Once you’ve completed the concrete footings, you are almost ready to begin assembling your composite deck frame. There is one optional step you may want to complete depending on the ground beneath your deck and local codes. If your deck plan includes space between the ground and decking, you may experience weed growth. To prevent this growth and aid water drainage, consider adding weed barrier fabric and gravel on the ground under your deck area.
Weed barriers are permeable fabrics that allow water to pass through while physically blocking and preventing weed growth. Keep the area under your deck clean by installing weed barrier over weed-free soil. For additional protection, add a layer of gravel over the barrier. Gravel can help prevent water from pooling under your deck, which will help with proper drainage and keep insects at bay.
The gravel can also help support the concrete footings and ensure the soil that surrounds them does not get wet and mushy.
5. Frame Building: Ledger Board and Deck Posts
With the ground and footings ready, you can assemble your deck’s frame. In a simple deck frame, there are four main components. These include the ledger board, deck posts, center beam and support joists. Here is some information about installing the ledger and deck posts:
- Ledger board: The ledger board is the beam that attaches to the side of your home to support the deck. This piece is crucial to the structural integrity of your deck, so take care to install it well. If your home has siding, you’ll need to remove it at the installation height to allow access to the house rim joist. You can determine your ledger installation height by measuring the desired final height — that is, within two inches of an access door — and subtracting the vertical thickness of your decking. You’ll likely need to account for about an inch of deck thickness. Before mounting your ledger board to the side of your house, it may be helpful to mark the intervals at which you’ll be installing support joists. You can place the front-facing rim joist next to the ledger joist to ensure your markings are uniform at both ends of the deck. Use a level or chalk line to ensure your line is straight, and then mount the board.
- Deck posts: Use your ledger board as a guide when installing your deck posts. With the bolts and anchors you mounted onto the footings, you can attach wooden posts to each footing. The top of the post should fit perfectly underneath the bottom side of the ledger. Measure and cut each post and attach it using the bolt and anchor system. When you’ve installed all the posts, install rim joists across the tops to outline your deck.
From here, you can install a center beam and support joists.
6. Frame Building: Center Beam and Joists
Center beams and joists help reinforce your deck and strengthen its load capacity. Here is some information about installing these components:
- Center beam: The center beam functions like a rim joist that runs through the center of your deck. This board breaks up the deck area to allow for adequate joist support. Attach a center beam from the middle of the ledger to the middle of the outward-facing rim joist.
- Joists: The final step to complete your deck frame is to attach support joists. These beams run perpendicular to your deck boards and help support them. Most joists are 16 inches apart from center to center. To install these beams, attach joist hangers along the rim joist and center beam at the appropriate intervals. Then, slide each joist beam into a hanger and secure it.
You will need a starting and ending accessory on each side of your deck frame to hold the first and last boards in place. To affix these pieces, lay the accessories onto the rim joists and pre-drill screw holes. Then, use a drill to screw the hardware into place.
7. Determine Your Fastening System

With a functional frame ready to go, you’ll need to familiarize yourself with the fastening system for your material before you can start adding your deck boards. Depending on the composite boards you purchased, your decking may use a hidden or non-hidden fastening system: Hidden fastening systems include:
- T clips: This hardware looks like a “T” from the side and has a space in the center for a screw. T clips slide into the gaps created by long grooves in the side of your decking, allow them to remain hidden. When positioned, these clips screw into the joists below and provide a seamless appearance on the decking surface.
- Mini gap: A mini gap clip system provides a smaller gap than T clips. Their “Z” shape slides under the bottom of one deck board, up between the two boards and over the top of another board’s interior groove. In contrast to T clips, mini gap fasteners have to be screwed into place before you slide the next board into place.
Non-hidden fastening systems include:
- Face-fixed screws: If your composite decking doesn’t come with a hidden fastening system, you can install the boards by drilling screws directly from the top of the board into a joist below. To do this well, you’ll want to purchase trim screws designed for composite decking, which NewTechWood offers. These screws won’t snag bare feet, and they bury themselves into the decking so you don’t see them.
8. Determine Your Locking System
In addition to your fastening system, you’ll need to lock certain boards in specific locations to direct their movement during expansion and contraction. Your locking pattern will depend on the layout of your deck boards. Here are some recommendations for some common configurations:
- One board spanning the length of the deck: If your deck boards are long enough to cover the entire deck, you won’t have any butt joints. Secure boards in every place they intersect with the support joists. In the center joist, use a locking clip instead of the regular T clip or mini gap clip.
- Two boards spanning the length of the deck: If your deck uses two boards to span the length across, you’ll have a butt joint where the ends of the boards meet. Rather than locking these boards in their centers, use locking clips on the butt joints. This arrangement will allow the boards to expand away from each other during weather changes.
- Three or more boards spanning the length of the deck: If your deck uses more than two boards to span its length, it’s recommended that you install a breaker board. Breaker boards run perpendicular to your horizontal deck boards and “break” them up to distribute the force of expansion and contraction. To use breaker boards, you’ll need to install a ladder joist directly underneath the spot the breaker will occupy. You may need to cut a T clip in half to secure the breaker board to the ladder joist. For this layout, use locking clips in the center of each horizontal deck board.
9. Slide Composite Boards Into Place
To begin laying your boards in place, you’ll need to locate your decking’s starter clips. These clips are designed to use at either end of your frame. Pre-drill and attach the starter clips at each joist before sliding the first board into place. From here, you should be able to continue adding boards in a uniform pattern. The pattern you use depends on which type of hidden fastening system you’re using:
- T clips: Place the clip into the grooves on your deck boards, taking care to position locking clips in the appropriate areas. Screw each clip halfway into the joist to loosely secure the board. Add the next deck board and firmly press the two boards together while you screw the clips the rest of the way in. Repeat until you’re ready to add the second-to-last board.
- Mini gap: Place the clips into the deck board grooves and align over each joist. Screw the clips into place and then slide the next board into place, taking care that the top lip of the clip fits snugly into the board groove.
When you’re ready to add the final board, you may need to trim it to fit in the remaining space. In this case, use a plunge router tool to create a groove in the side of the cut board. Be sure that you don’t rout the entire length of the board. Your final board may have installation specifications based on your fastening system and how much room you have left. T clips require that you install the final board before the second-to-last board. Mini gap clips require composite deck screws to face-fix the last board into place. NewTechWood US33 boards may also be used at the end. Check your composite decking’s installation guide to be sure you install your final board properly.
10. Install Fascia Boards
Depending on the layout of your deck, you may want to install a fascia board around the outer edge. Fascia acts as a border around the outside of a deck that can hide parts of the deck underbelly. Some composite decking products even feature fascia boards that perfectly match your deck boards. Here are a few things to keep in mind when installing fascia:
- Install fascia into the deck’s structural frame. Composite decking is not a suitable anchor for fascia boards.
- Pre-drill holes that are slightly bigger than the composite deck screws you’re using. Larger holes allow the fascia to expand and contract.
- Space screws at least 1.5 inches from edges and no more than 12 inches apart. Be sure to use two screws in each drilling location.
- Adapt your installation to the fascia thickness. If your fascia is less than or equal to 0.375 inches thick, you should install it every 12 inches on centers to prevent buckling or warping. For boards thicker than 10 millimeters, install every 16 inches on centers.
11. Install End Caps or Moisture Seal
To protect the edges of solid composite decking, apply a coat of a water-based sealer. This helps to keep the exposed ends of your decking from warping. If your composite decking is hollow, it is wise to install end caps to protect the unsealed interior. Anywhere the ends of hollow decking are exposed, you should consider adding caps. These devices are typically made from plastic that matches your composite decking, and installing them is fairly simple. Apply a silicone sealant either to the ends of the deck boards or the end caps and then press the end cap into place. Gently tap the end caps with a rubber mallet to ensure proper adhesion.
12. Make Your Deck Part of Your Home
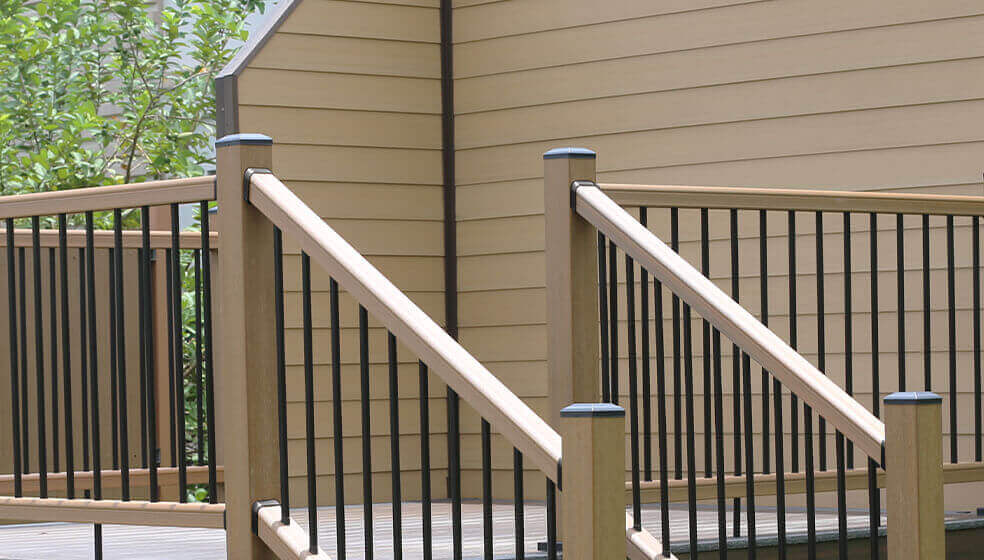
Perhaps the second-greatest satisfaction of building your deck — besides the fact that you built it yourself — is customizing it to fit your home. Add composite railings, patio furniture, decorative plants, string lights, outdoor speakers, outdoor rugs, benches and more to make the space inviting and beautiful. Your DIY deck should feel like an extension of your home. Use decorations and furniture to transform it into a place where you can gather and enjoy the company of friends and family.
Safety Tips for Building a Deck
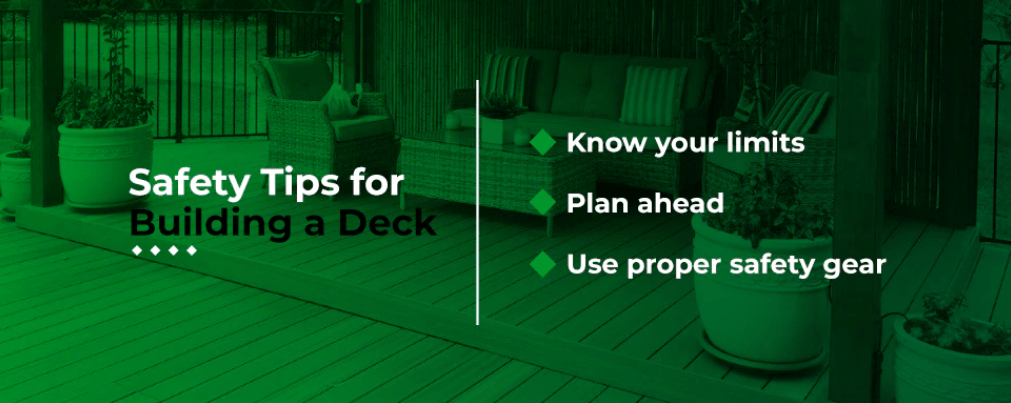
Taking adequate safety measures while building your deck is a must. Follow these three recommendations to protect yourself during your DIY project:
- Know your limits: As rewarding as building your own deck may be, your safety should always come first. If you’re uncertain how to operate a particular tool or complete a task, enlist a friend to help or do thorough research. Read all installation guides for your materials and be sure you have a firm grasp of the task ahead of you. Understanding the deck-building process, as well as your own limitations, will help keep you safe and informed.
- Plan ahead: You really can’t over-plan for a deck project. Be sure to check local codes and permit regulations, local housing organization requirements and underground utility lines. Check and double-check your supplies and building plans to ensure you are ready to begin the job. It’s impossible to guarantee that you won’t run into snags or complications while you build your deck. However, planning ahead can help minimize those complications and equip you to handle them safely.
- Use proper safety gear: Keep a stock of gloves, respiratory protection and safety glasses on hand while working on your deck. Protect your arms and legs by wearing pants and long sleeves while you work. You don’t want to risk bodily injury while handling dangerous tools, so err on the side of caution with your clothes and gear.
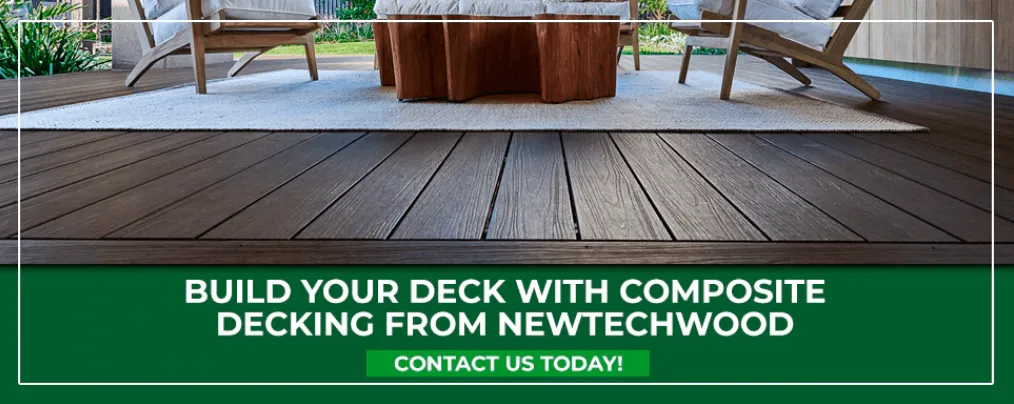
Build Your Deck With Composite Decking from NewTechWood
You measure and build with precision to make a deck you’re proud of. But craftsmanship can’t influence the performance of your deck materials. That’s why you should consider composite decking from NewTechWood for your DIY deck. Our composite decking comes in a variety of style profiles and colors that are all designed to be high-quality, low-maintenance materials. Achieve a natural look while saving time and money with a NewTechWood deck. Review our selection of composite decking today for a material that can take your deck project to the next level.