

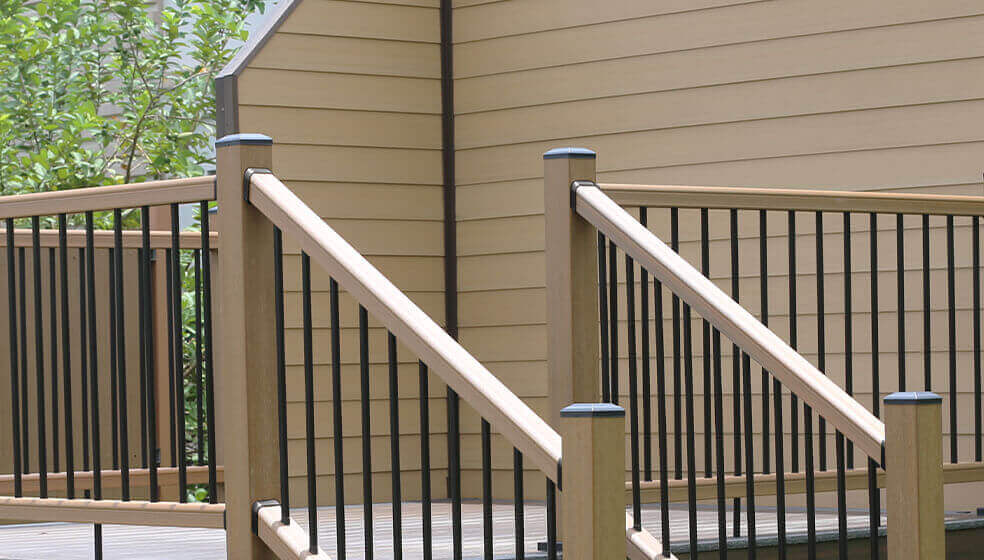
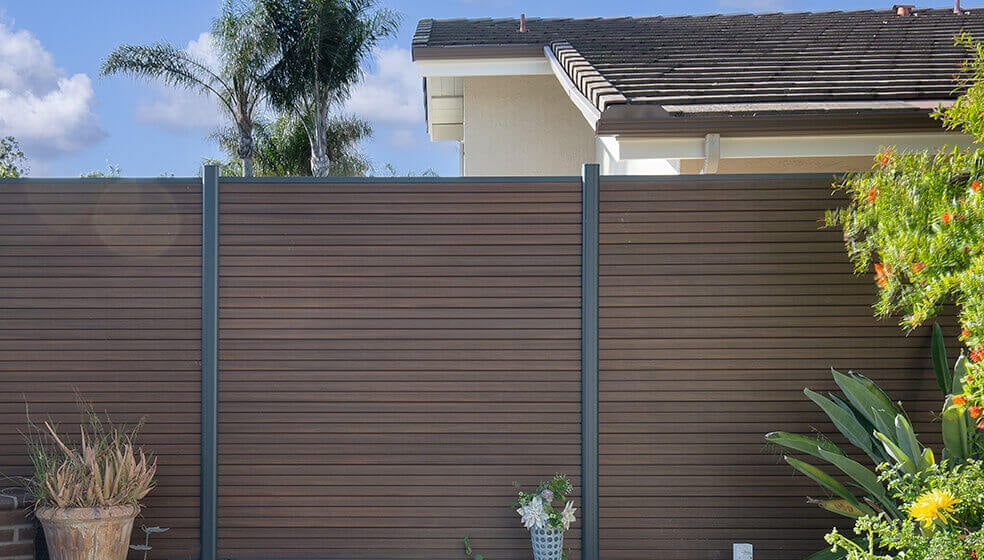


Building a deck creates a prime gathering spot for friends and family to enjoy the outdoors. In addition to using the right materials and techniques, it’s also critical to build your deck to be as safe as it can be. One of the most important steps for this is to install railings around the perimeter. If the floor of your porch or deck is less than 30 inches above the ground, rails are not required, but for anything higher than that you will need to have them. This means you’ll need to know how to install deck railing posts as well as how to attach railings to those posts. Read on to learn the basics before you get started.
Getting Started
Before getting into how to install deck railing posts, you need to know how to ensure they will be prepared to make the job as smooth as possible. To ensure your 4×4 posts are cut to the proper length, keep in mind that they should rise at least 36 inches from the floor of the deck. Add to this the height of the joist the post will rest against, as well as the thickness of the decking. If there will be a top cap added, subtract its thickness. This will ensure you have posts that are the right length for the project.
Attaching Your Posts to the Deck
Step 1: Mark where your posts will be spaced. Starting from the corners, make sure you have an equal amount of space between each post. You should have no more than 6 feet between each one. Start by marking the center of each post on the joist, then mark two inches on either side to establish the exact positioning.
Step 2: Cut the post and plumb it. Using a piece of scrap wood screwed underneath the joist as a temporary shelf to hold the post, secure the post to the joist using a 5” timber screw. Use a level to ensure the post is plumb in both directions, using shims to correct any irregularities.
Step 3: Drill holes for bolts. Clamp the post to hold it steady while you drill the hole for the first through-bolt. It is recommended to use a sharp auger bit, and make sure the hole is the same diameter as the bolt.
Step 4: Insert the bolts. It’s important to use only through-bolts, which have machine threads on one end. Lag bolts have threads that are too coarse, which can result in their being overtightened. With the head of the bolt on the outside, pound it through the hole using a hammer. Put the washer on the other end, against the inside of the post, and tighten the nut. Repeat the process to drill the hole and secure the second through-bolt.
Finishing the Process
After you install the posts, knowing how to attach railings to the posts is the next step. You’ll need to attach the brackets to the top of each post, as well as the foot blocks. Once you have these in place, the railing itself typically is screwed or nailed into place. NewTechWood provides railing made from composite materials that are engineered to last a long time and require very little maintenance when compared to wood. To learn more about our products, follow the link or get in touch with us today.


