


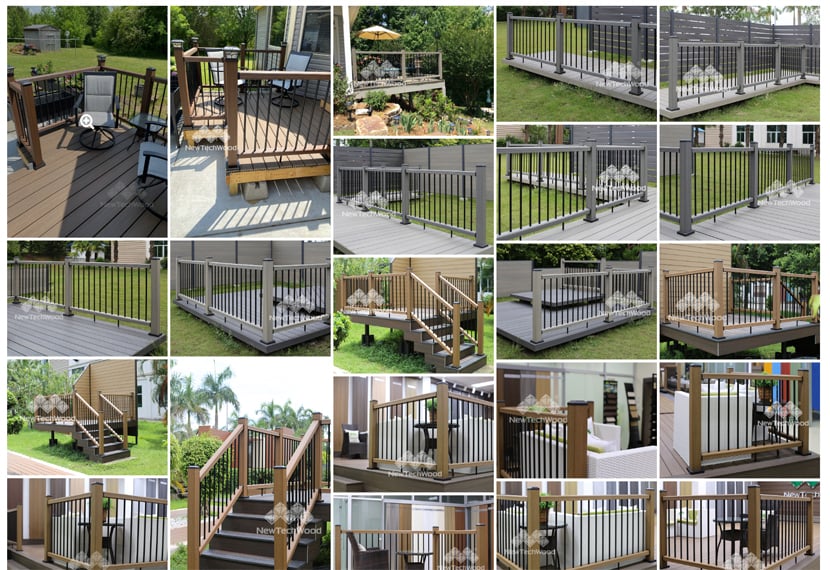
Gallery
WHY DO I NEED COMPOSITE DECK RAILING?
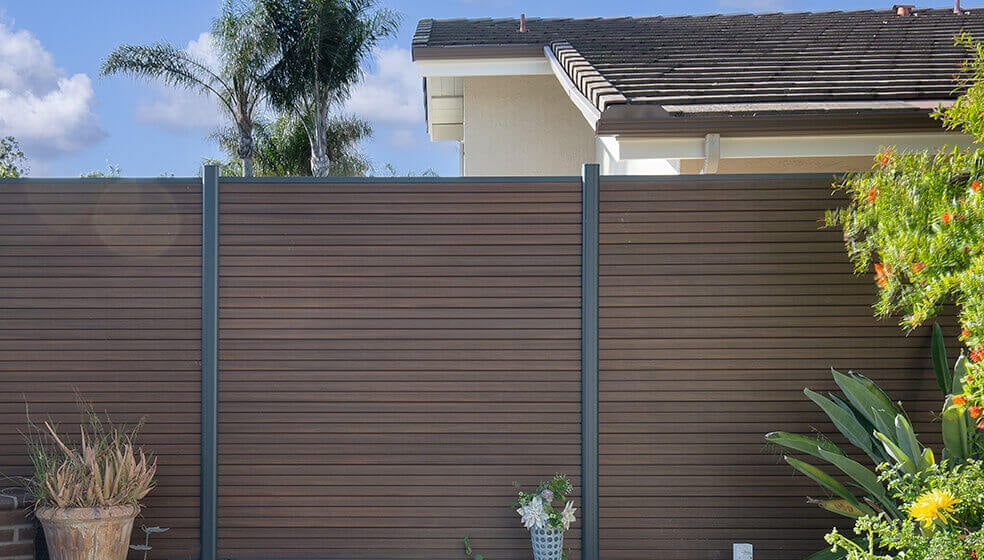
Composite railing, a blend of recycled plastic and wood fibers, is known for its exceptional strength, durability and beauty. More and more homeowners these days are choosing composite over traditional wood railing for its low-maintenance benefits. Composite railing doesn’t rot, warp, twist, or crack and it never needs to be stained, sanded or painted. It’s also an excellent choice for the environment, as it’s 100 percent recyclable and no harmful chemicals are required to treat or maintain it.
In this guide, we’ll go over reasons to install composite hand railing and composite porch railing and address some frequently asked questions related to its code, installation and various other topics.
There are several reasons why a composite decking handrail is an excellent idea:
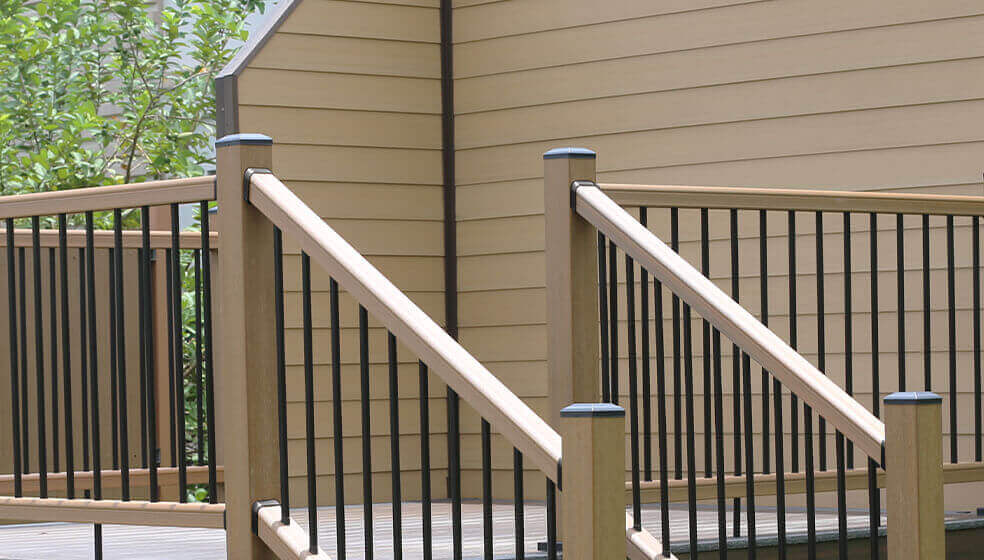
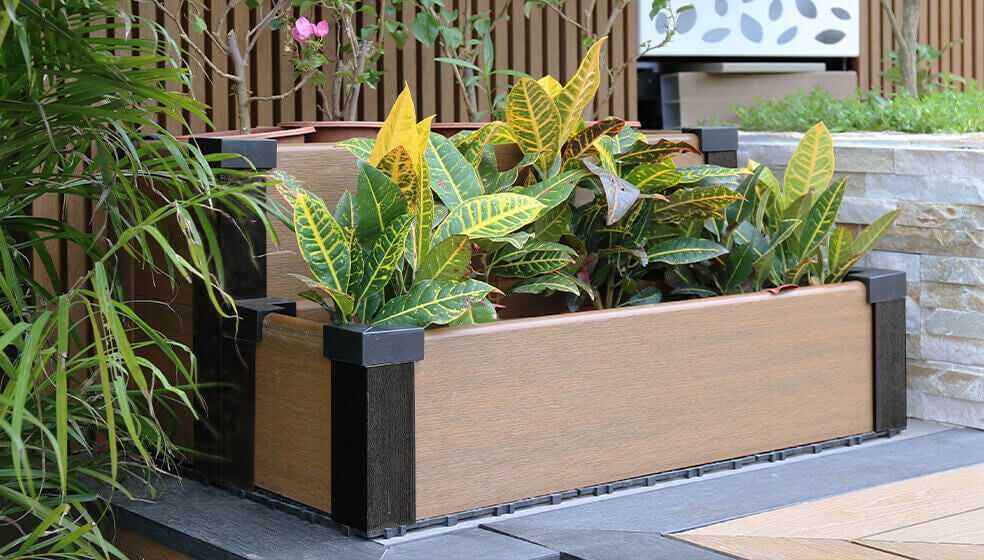
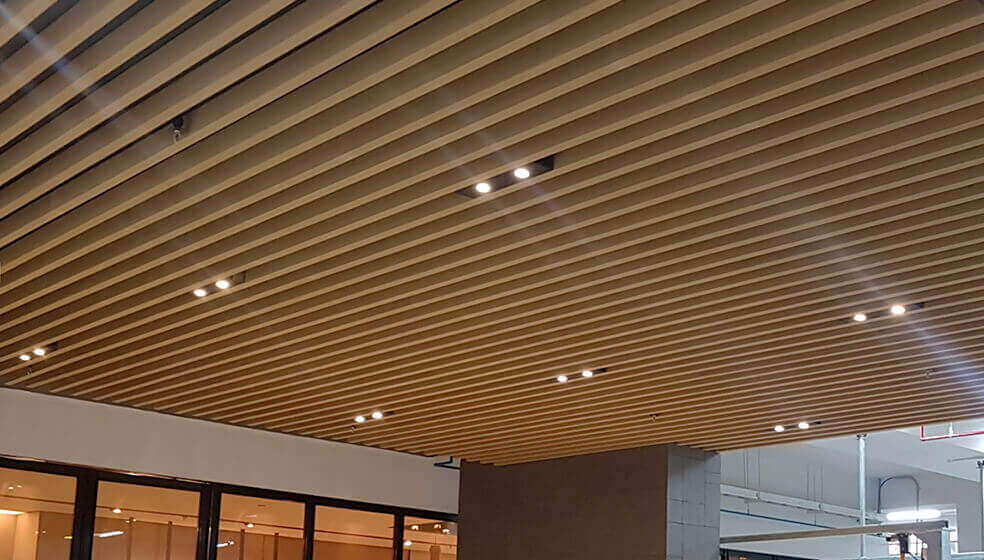
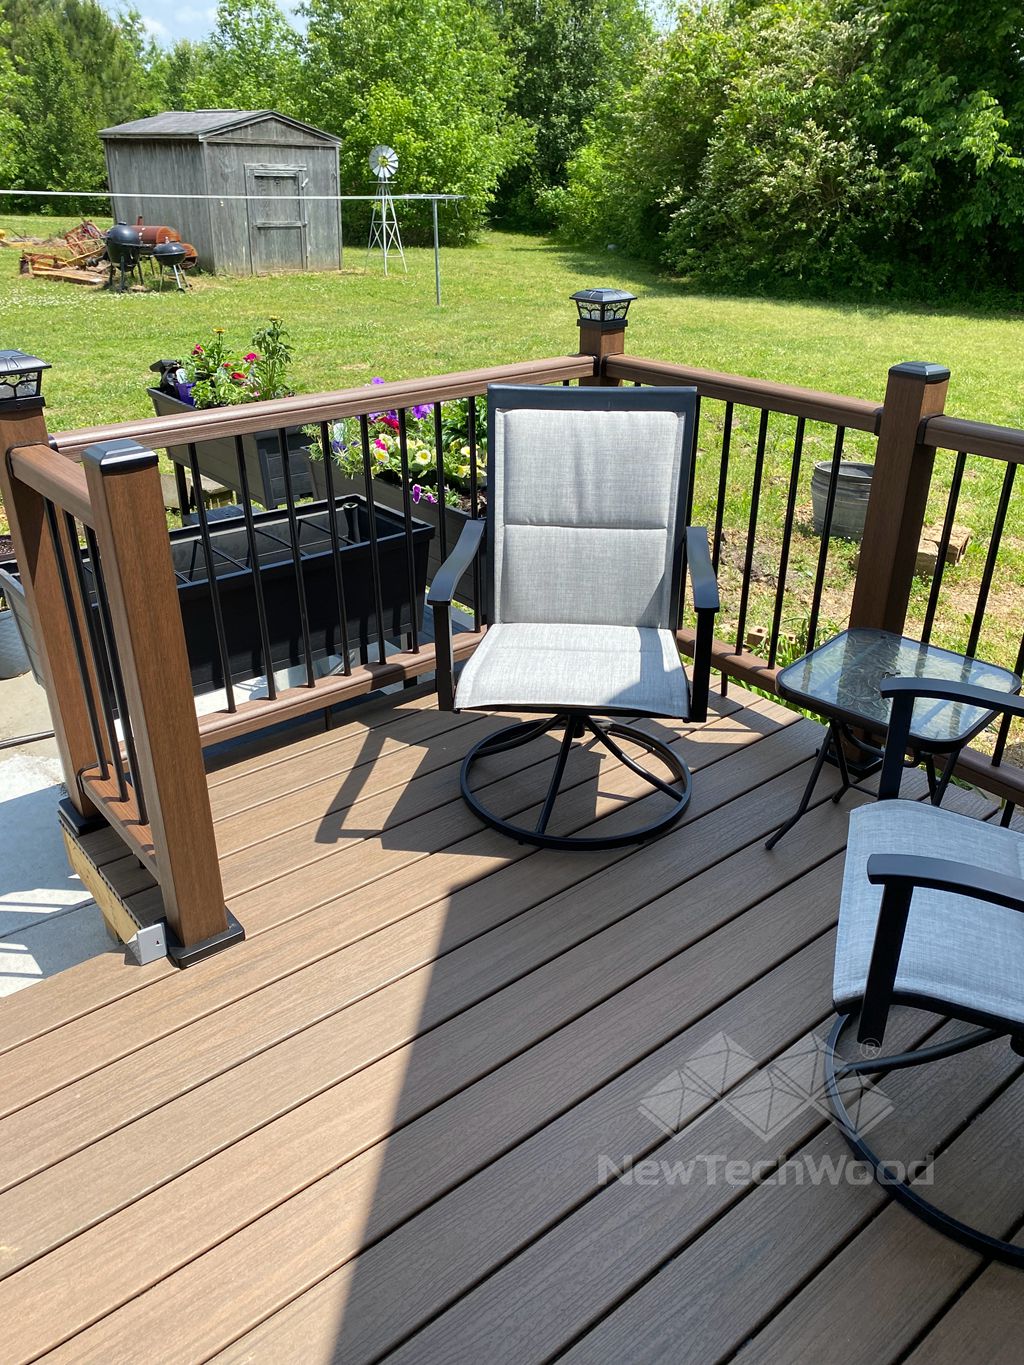
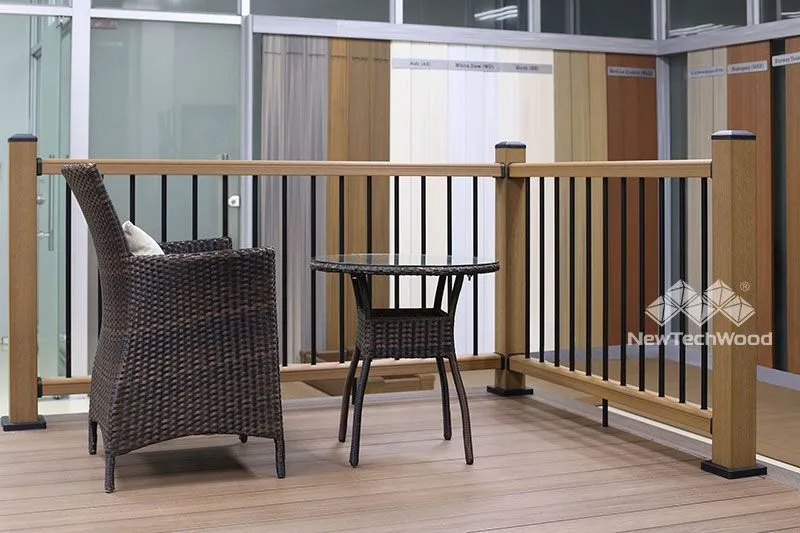
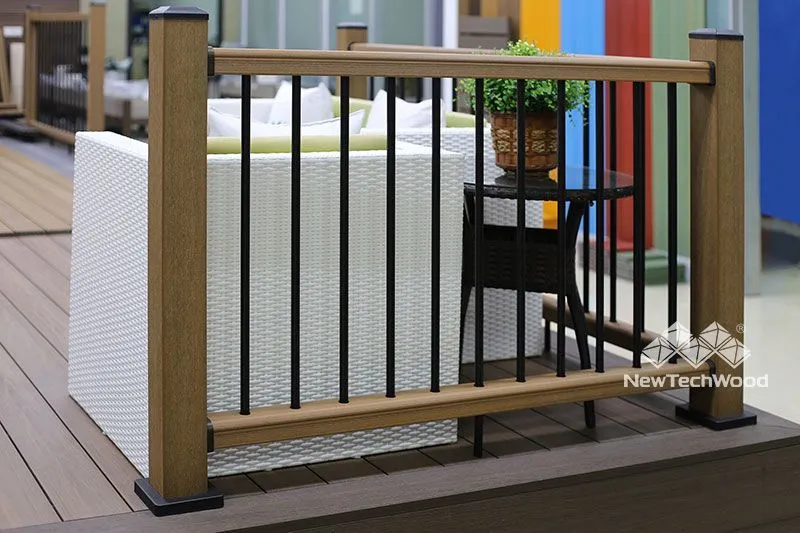
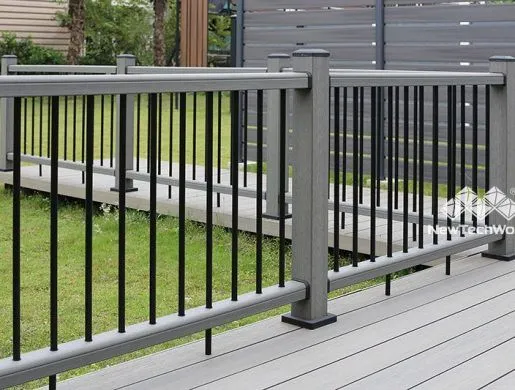
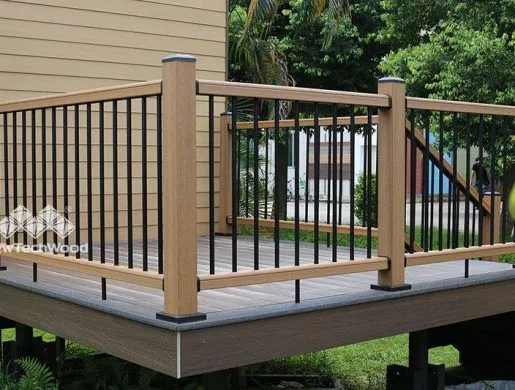
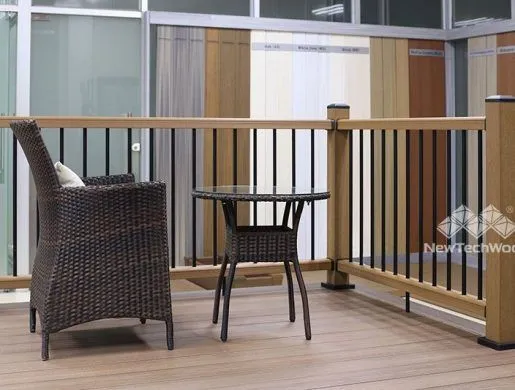
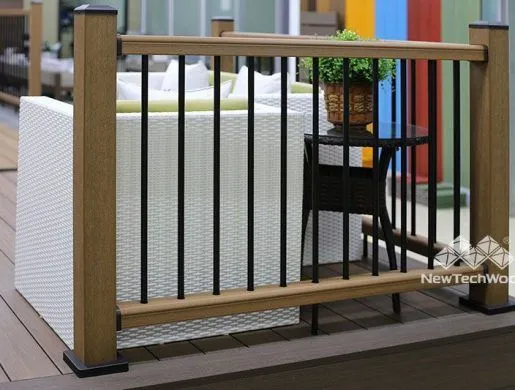
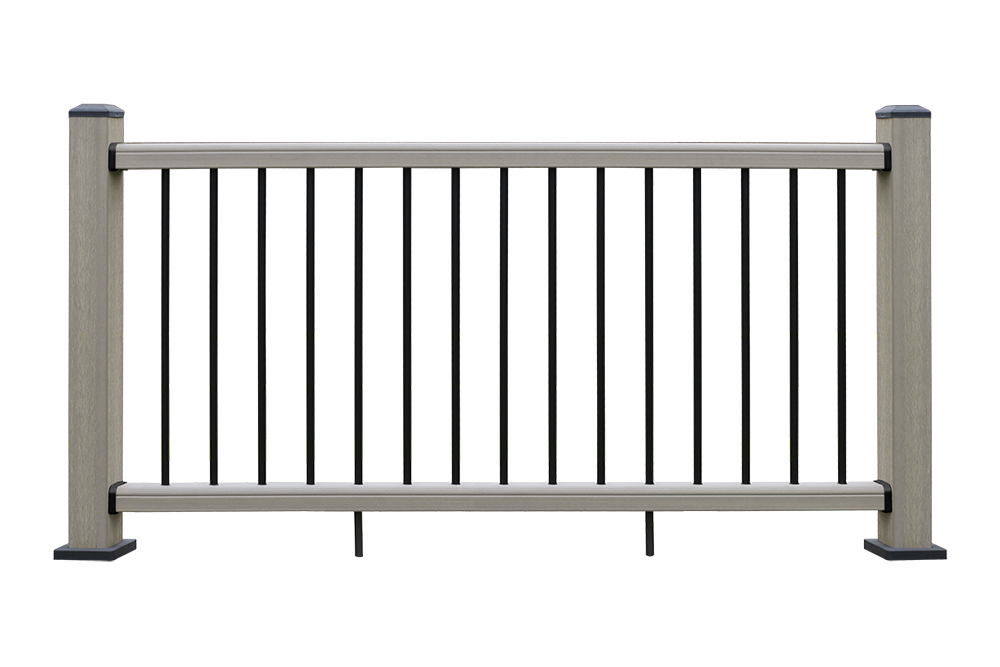
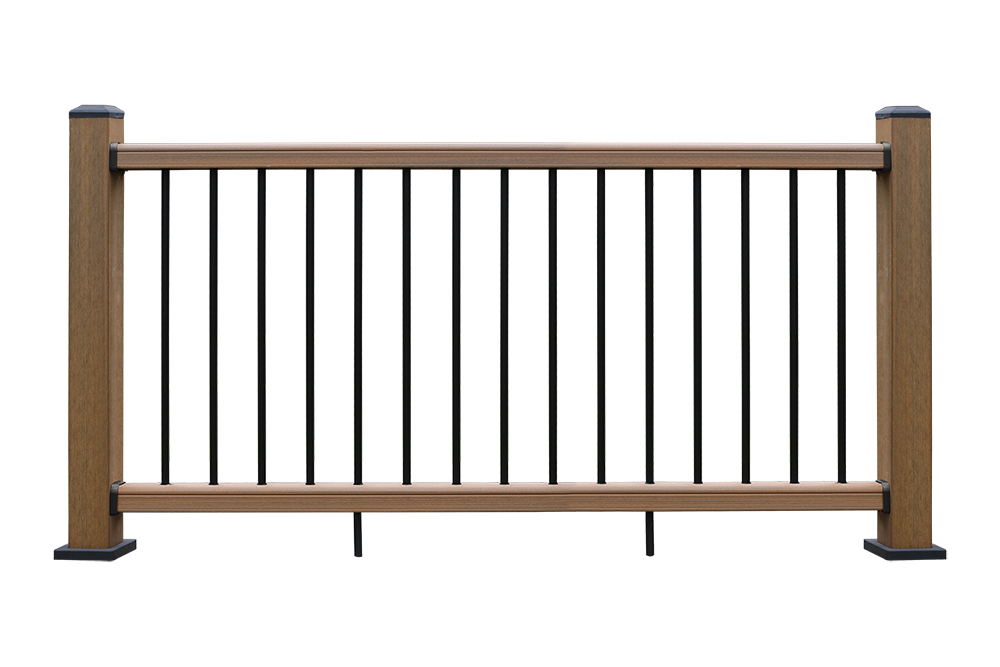
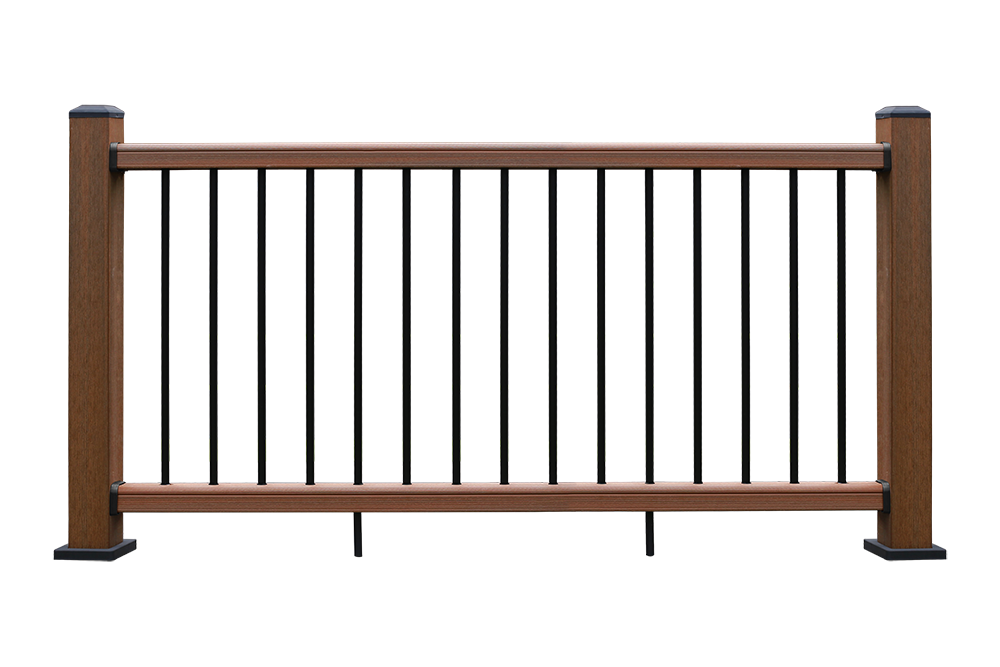
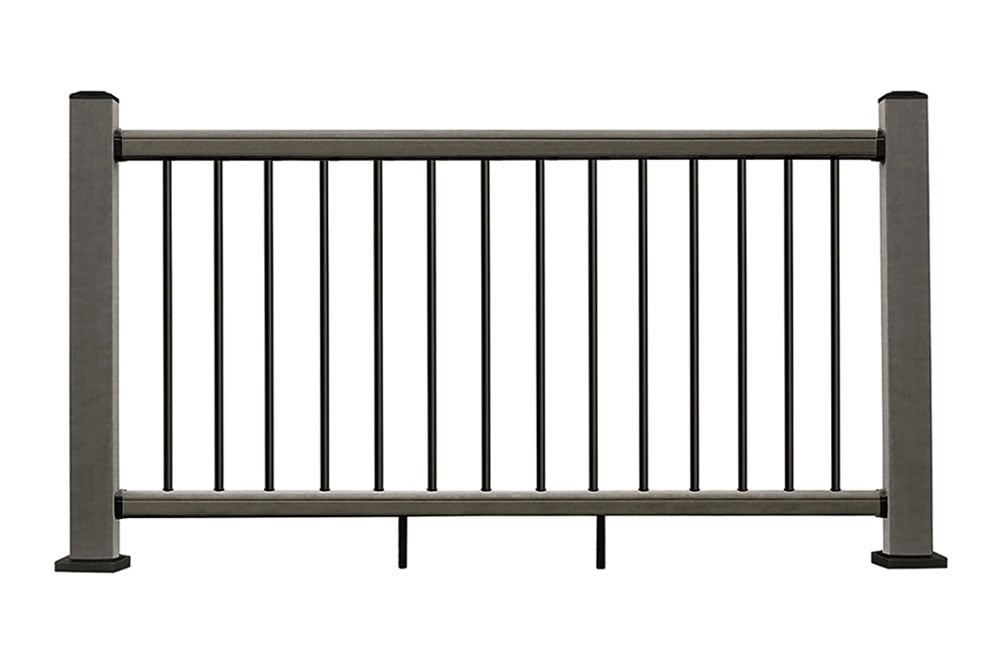
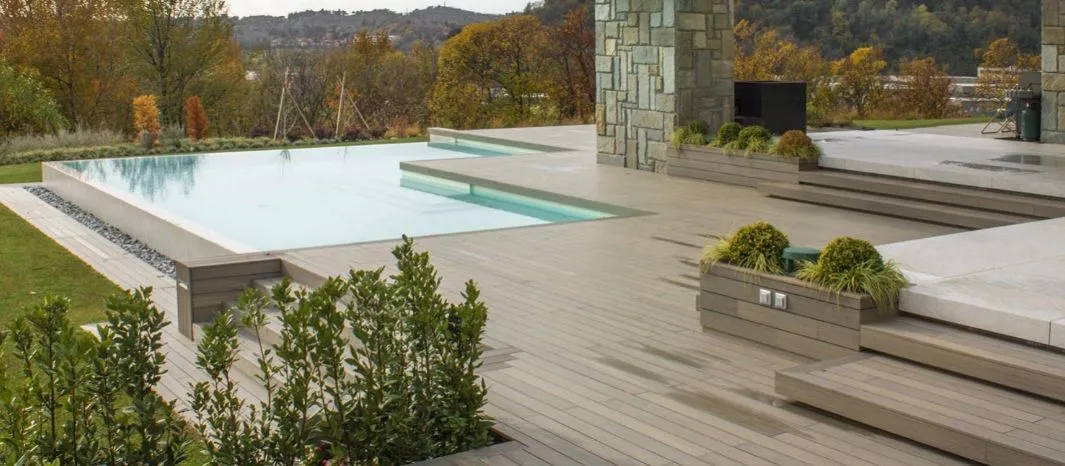
- More finished appearance: A deck railing, especially NewTechWood composite in your choice of colors to match your deck, looks great. It gives your deck a more finished, upscale look you are sure to love.
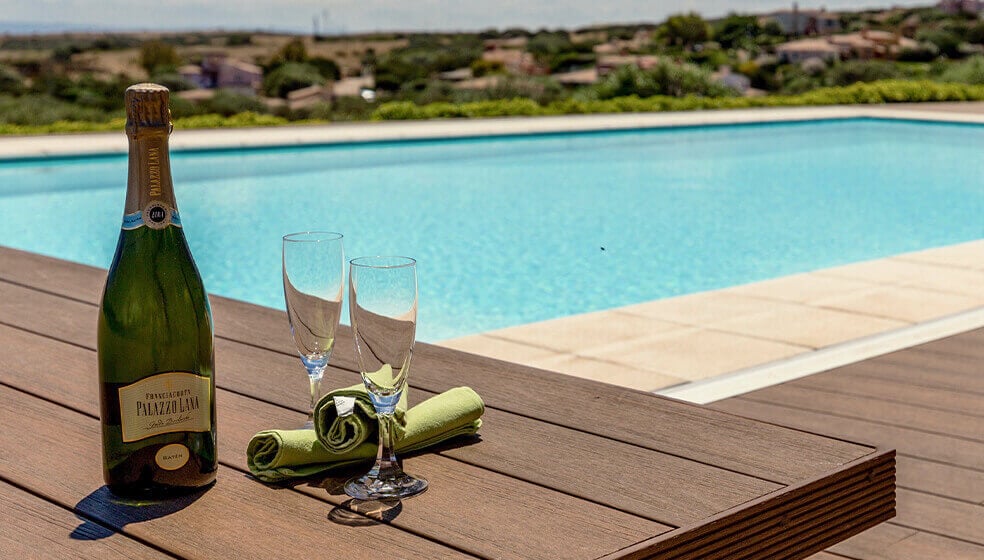
- Stain-resistant: Due to the protection offered by our UltraShield coating, substances like coffee, wine, vegetable oil or soy sauce won’t stain the railing. If you make a mess, you can easily wipe it off the surface because the shield will never absorb the liquid. Stain resistance makes UltraShield extremely easy to clean and maintain.
- No splitting: The impermeable layer provided by the shield also means that the boards won’t split. UltraShield has a longer life expectancy than uncapped composites.
- No mold: The shield also prevents mildew and mold from eating away at the board. Mold can still grow on the board’s surface if there’s standing water. You can remove the mold easily using a broom or hose because it’s growing on the water, not the board itself.
- Fade-resistant: The shield’s unique formulation guarantees that our products will retain their color for longer than conventional composite products. We have conducted many tests on our products and have found that only very minor color changes occur over many years.
HOW DOES COMPOSITE DECK RAILING AND FENCING WORK?
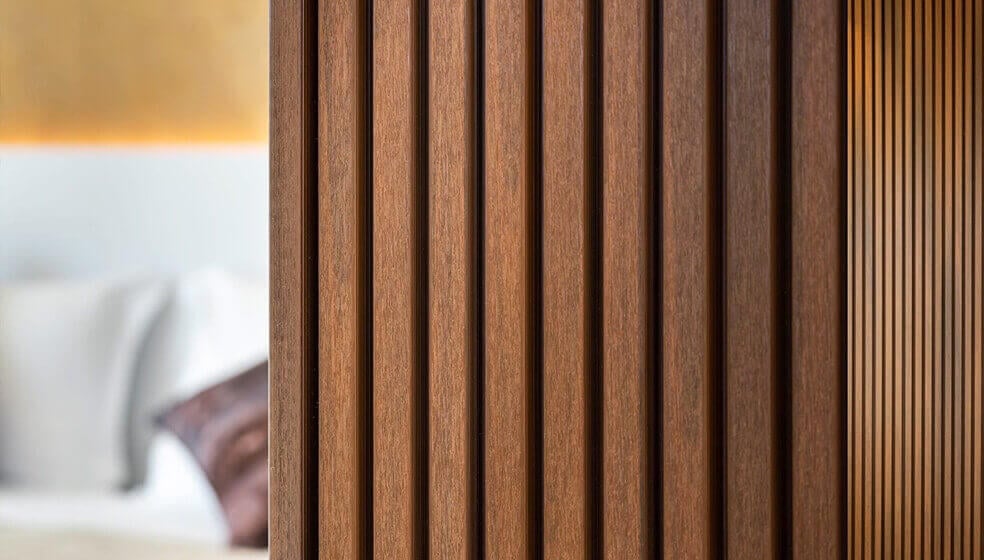
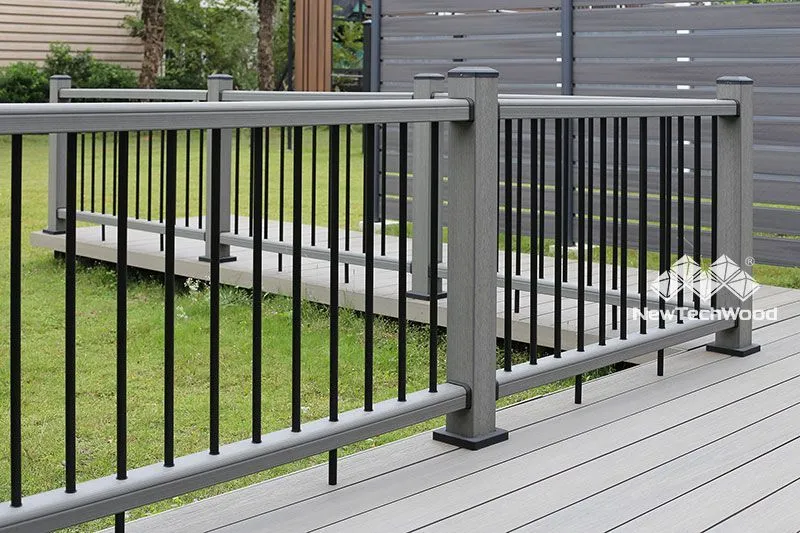
NewTechWood’s composite railing systems are protected by an UltraShield coating, which provides the product with exceptional beauty and performance. This UltraShield coating combines the proven strength of high-density polyethylene plastic and wood fibers with a polymer outer shell that fully encapsulates the board in a protective layer that is highly resistant to scratching, fading and staining.
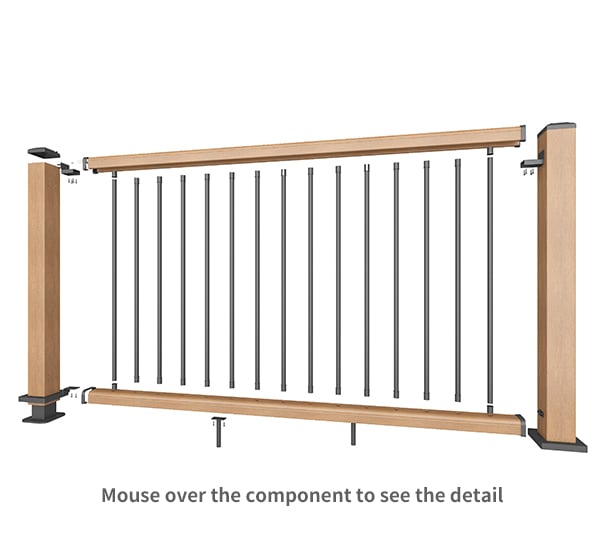
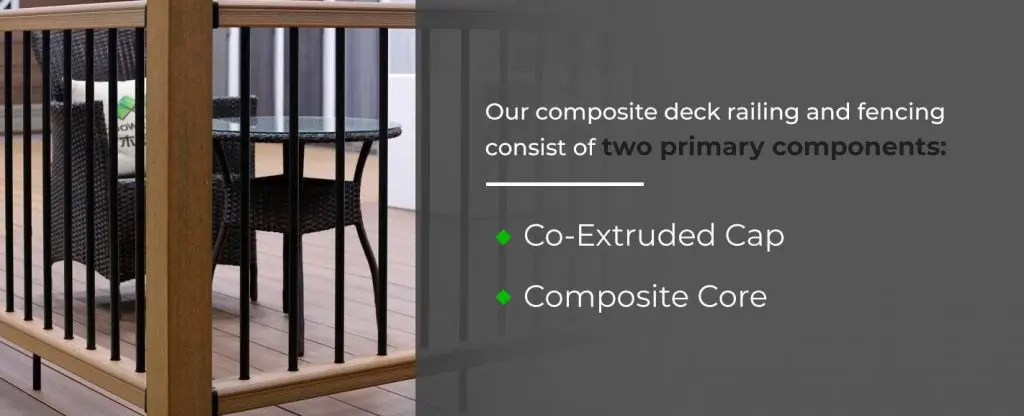
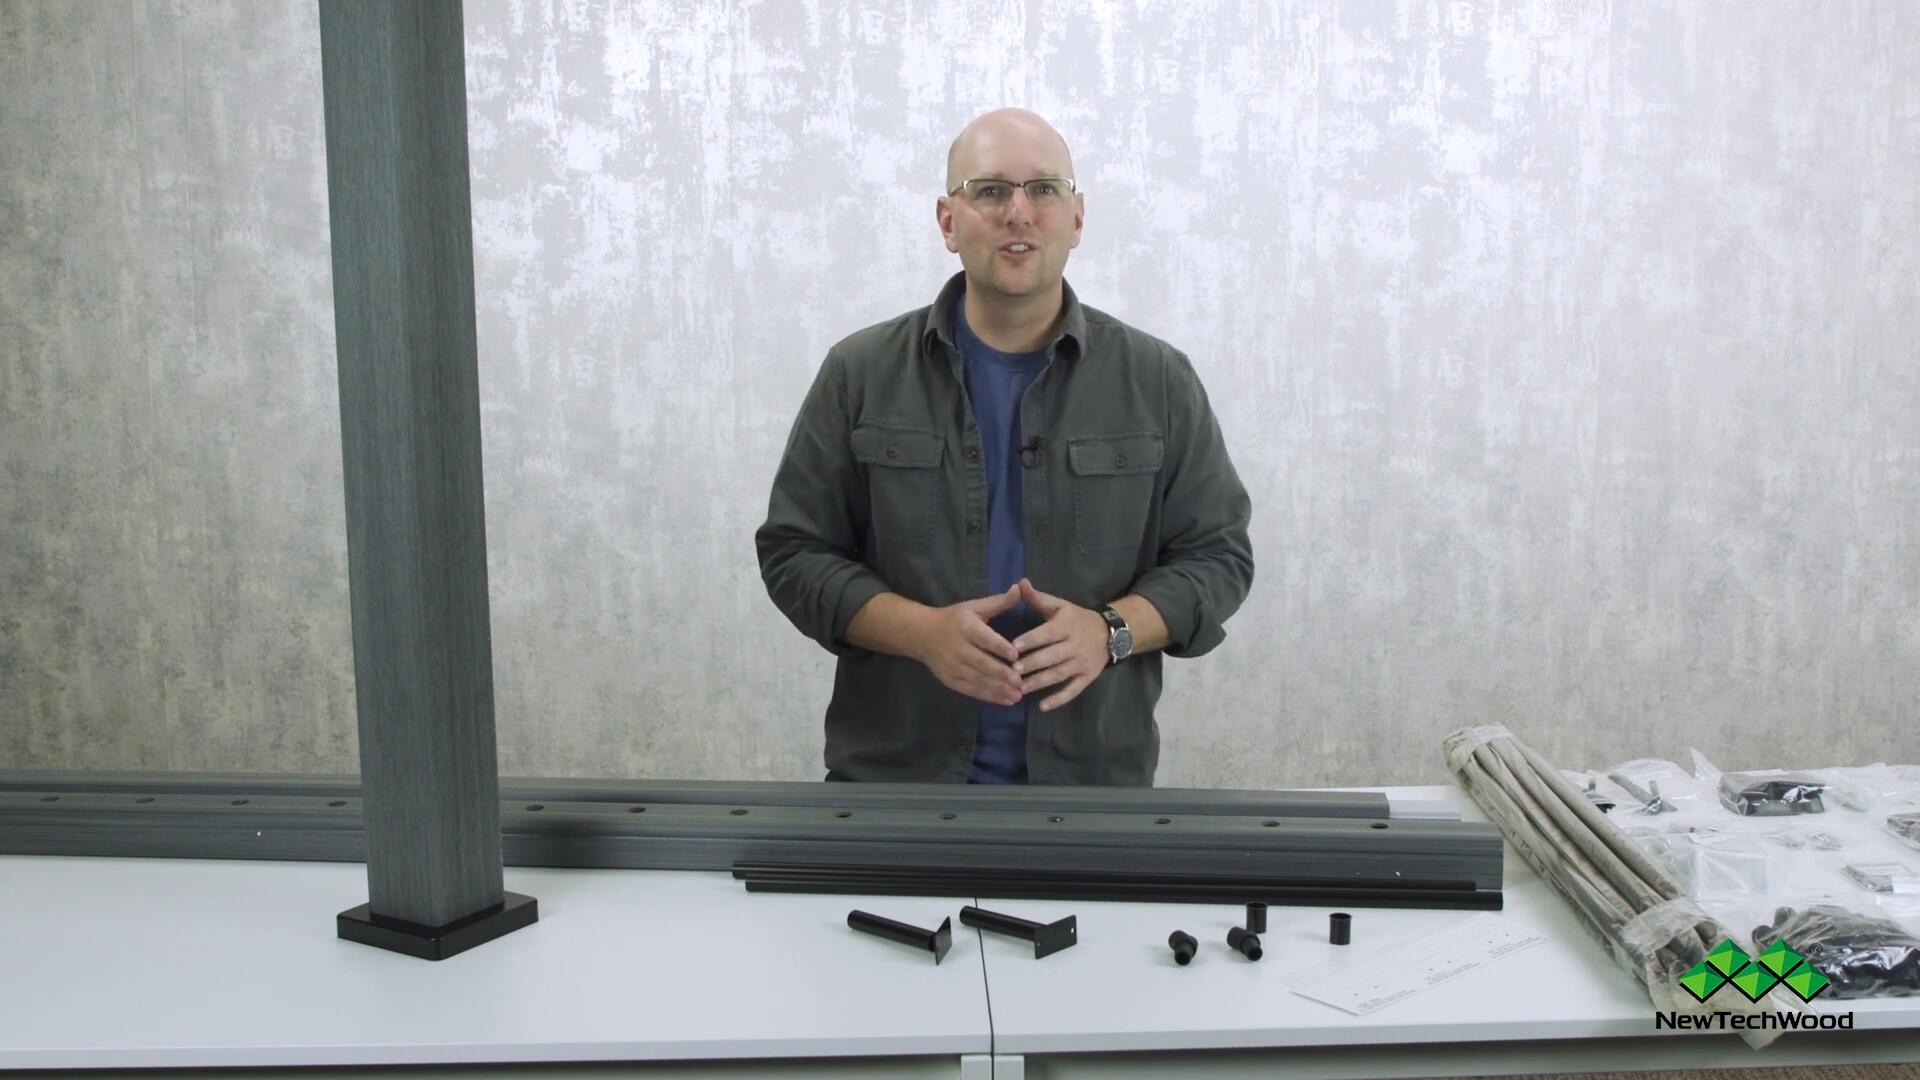
Our railing and fencing consist of two primary components:
- Co-Extruded Cap: UltraShield is a capped wood plastic composite. It has a highly advanced shield that encasing an inner core. The core and shield are extruded together under extremely high temperatures, which means that no environmentally harmful chemicals or adhesives are used during the manufacturing process.
- Composite Core: The core of our products is made from carefully chosen recycled materials and dense softwood and hardwood fibers that allow for increased durability and strength. What’s more, the material is completely recyclable.
WHAT IS THE CODE FOR DECK RAILING?
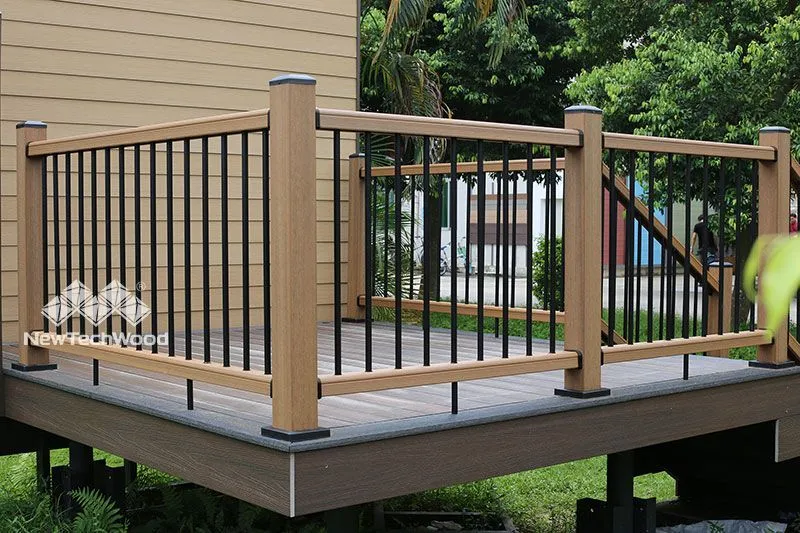
The International Residential Code (IRC) requires that there be least 36 inches from the surface of the deck to the top of the rail. Commercial decks that are attached to multifamily buildings and regulated by the International Building Code (IBC) must have guardrails that are 42 inches high. Codes vary widely from one state to another, so you should always check with the building department in your area before you install or update a deck or balusters. Generally speaking, the IRC requires a porch, deck or balcony to have a structural railing to pass a home inspection. For the safety of children, balusters need to be less than four inches apart.
DO I NEED A RAILING ON MY PORCH?
In the United States, if the floor of the porch is under 30 inches above the ground, a railing isn’t required.


Installation
When installing your NewTechWood railing, keep the following in mind:
- Zoning laws in your area: Check local zoning regulations regarding the bottom space requirements and load requirements for the rails. All supporting structures must comply with applicable building codes. If you live in a historic district or are part of a neighborhood association, there may be requirements regarding the type, size and placement of the railing. Make sure to apply for permits if codes or authorities in your area require it, and make sure that you’re complying with the rules begin you begin your installation.
- Safety: As with any construction project, make sure to wear appropriate safety gear to protect yourself from any injuries. NewTechWood advises that you use the following safety gear when cutting, handling and installing NewTechWood products: respiratory protection, gloves, pants, long sleeves and safety glasses. However, this is not a comprehensive list. You may also want to wear a helmet and hearing protection and, if working above six feet, use fall protection equipment.
- Tools: You may use standard woodworking tools to install NewTechWood products. When using blades, choose ones with a carbide tip. For fasteners, we recommend either standard stainless steel or acceptable coasted deck nails and screws.
- Environment: To correctly install products from NewTechWood, you must always use a smooth, flat, strong and clean surface. As mentioned above, always look into building codes in your area before installing any railing. If you do not begin your installation immediately after purchase, you must store NewTechWood’s products on a flat surface at all times. Under no circumstances should you place it on an uneven surface.
- Construction: You may not use NewTechWood UltraShield products as support posts, columns, beams, joist stringers or any other kind of load-bearing member. All NewTechWood products must be supported by a substructure that complies with code.
- Static: Static is more common in high-altitude areas because humidity levels are lower. If you live in a high-elevation area, be cautious about using objects like metal chairs and railings, as static shocks could occur more frequently. One possible way to reduce the number of static shocks is by using anti-static mats in front of your doorways.
- Storage: When storing a NewTechWood product, always do so on a flat, stable surface. Surfaces like grass and dirt are not acceptable, as they can move over time.
- Draw a layout: Before you begin your installation, plan a design. Not only will this will ensure that it is the best looking railing for your application, but it will also be needed to obtain decking permits.
- Obtain the necessary permits: You will likely need to obtain deck permits before building your deck. The application process for deck permits is rather easy, although some planning is required. The first thing you need to do is find out who in your local area issues the permits and where you must go to apply. Cities usually have a Building Inspections Department inside City Hall, so start looking there. If your area is more rural, chances are there’s an independent inspector who covers a broader area. Just make a few calls to government offices in your area, and they should tell you where you need to go.
HOW DO I BUILD COMPOSITE DECK RAILINGS?
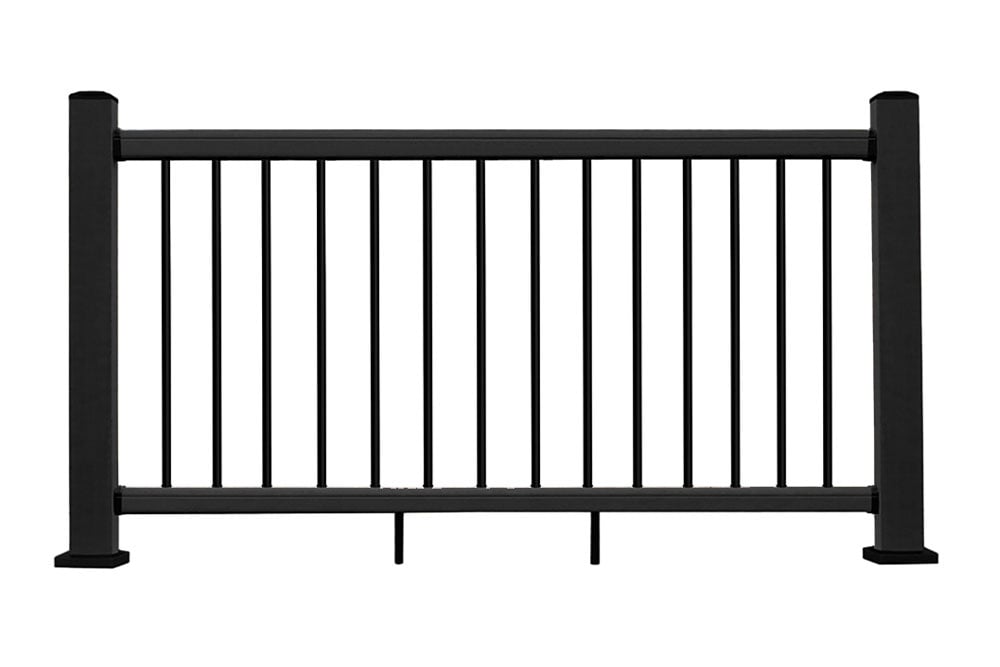
Before you start installing NewTechWood’s 36-inch Hybrid version, there are a few crucial points to remember:
- The maximum internal rail length for our railing is 71 13/16 inches.
- You do not need to cut the aluminum balusters for our straight railing.
- The posts must be cut to the design height, which is 36 7/8 inches for the steel post and 39 inches for the composite sleeve.
- The foot blocks must be spaced out evenly, and the spacing will depend on the length of your final rail.
- You cannot install foot blocks underneath a baluster that is pre-drilled.
To install the straight railing, follow these steps:
- Mark the position of the post. Make a mark where you will install the post mount. Post mounts cannot be installed more than 75 11/16 inches apart from center to center.
- Cut the post. Cut the post mount to 36 7/8 inches and the post sleeve to 39 inches.
- Install post (on a concrete surface). First, position the post on the concrete surface where it is to be installed and mark your drilling hole positions using the holes in the post’s metal base. Then, drill the spots that you marked, insert plastic anchors in these drilled holes and position the post again so that the holes in its metal base align with those drilled in the concrete. Finally, insert and tighten concrete screws in each hole of the metal base.
- Install post (on a wood surface). If you’re installing the post on a wood surface, you will need to install a substrate underneath so that the screws will secure the board fully. Then, put the post in the location where it is to be installed and mark holes on the surface using the holes in the metal base. Now, drill the holes that you just marked, and then position the post back on top of these drilled holes. Secure the post to the wood surface using the lag bolts and secure them using washers under the substrate.
- Install the post sleeve on top of the post mount.
- Mark holes for post brackets. To make markings where you will install the post brackets, use the provided cardboard template. The bottom two holes will be used to connect the bottom post brackets, and the top six holes will be used for the top post brackets.
- Drill in the post brackets. Take the post skirt and lower it over the post sleeve. Then, drill in the top and bottom post brackets using the appropriate screws.
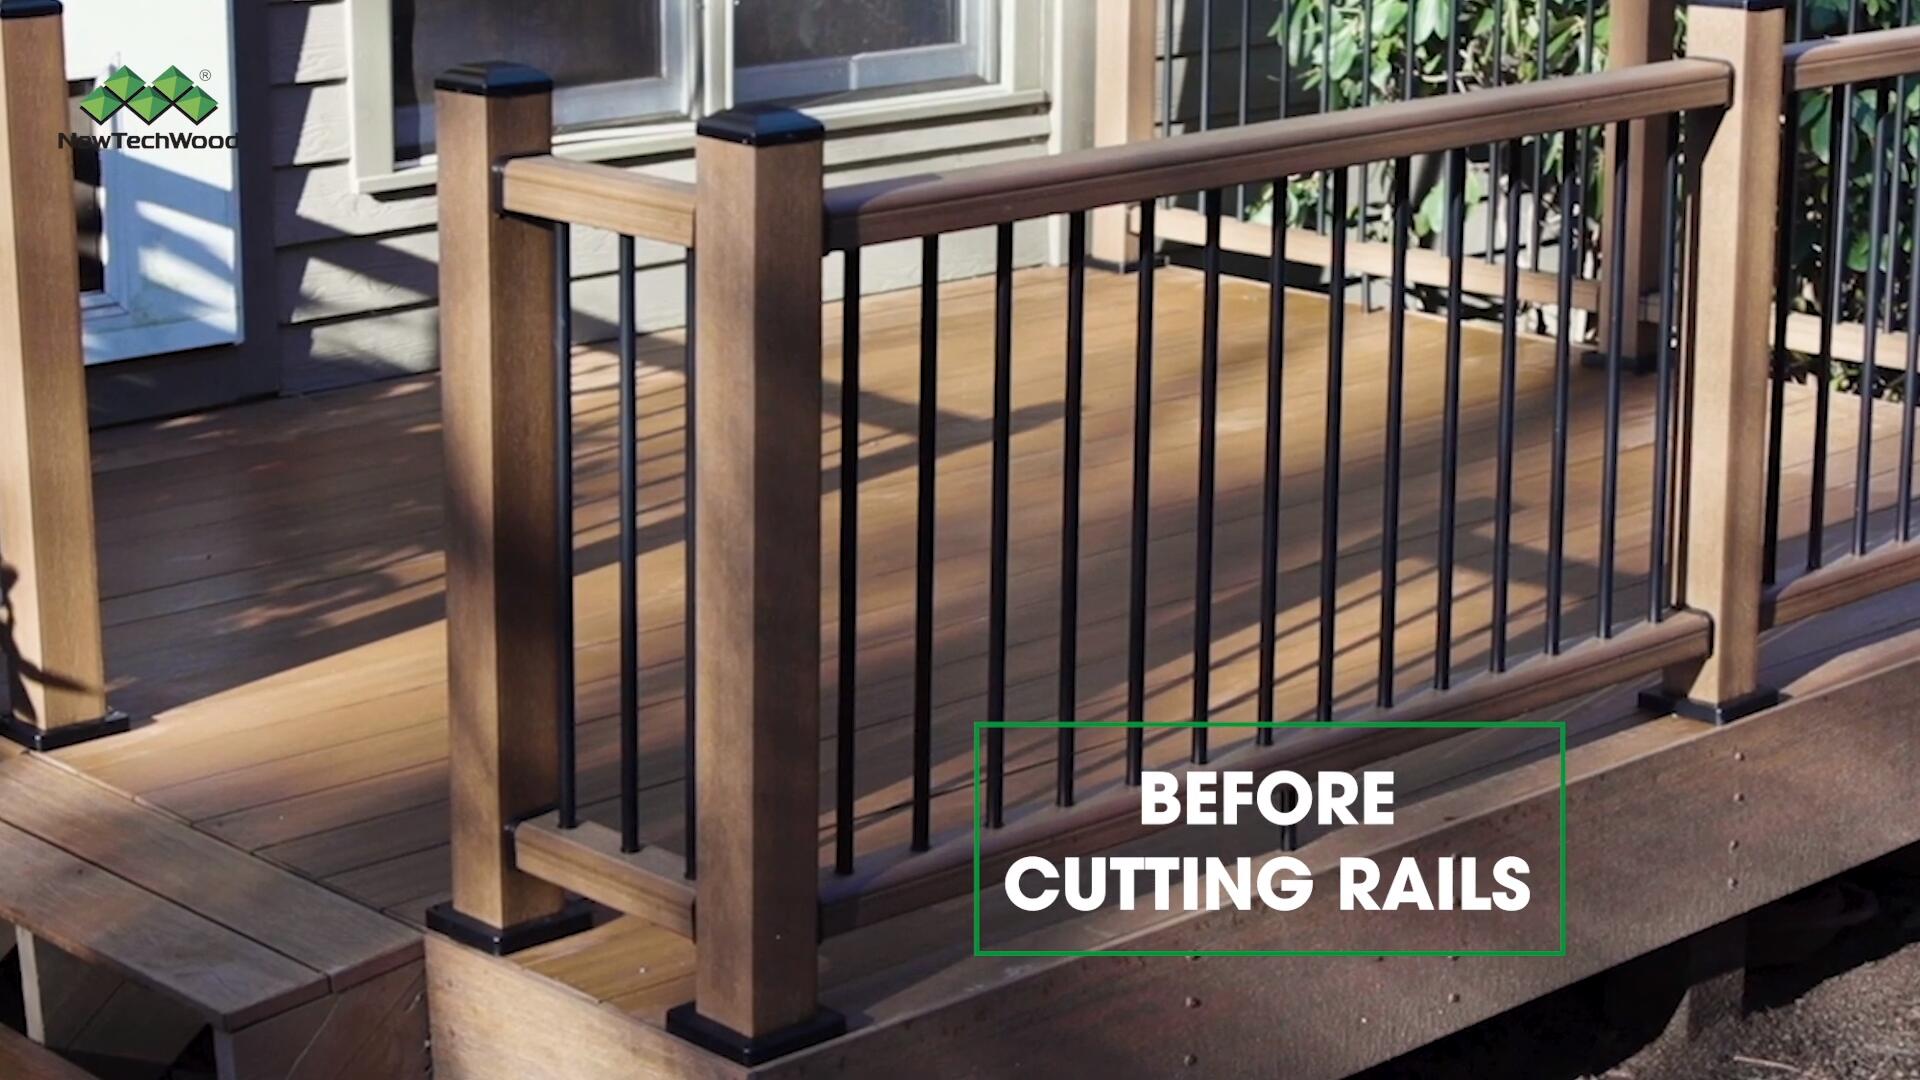
- Cut the rail. Cut the rail to the length between the post sleeves minus 1/8 inches on each side to account for the gaskets that will be inserted. Before cutting the rail, don’t forget to take out the galvanized insert.
- Install the bottom bracket. Attach the bottom brackets to the rail with screws at 1 3/16 inches and 1 inch from the ends of the rail.
- Predrill and install foot blocks. Space out foot blocks evenly. The spacing will depend on the final length of the railing.
- Attach bottom rail on bottom post brackets.
- Install baluster plugs and balusters.
- On both ends of galvanized insert, add galvanized adaptors.
- Slide galvanized insert into the top rail.
- Attach the top rail to the top of top post brackets.
- Install top rail. Predrill and install with screws.
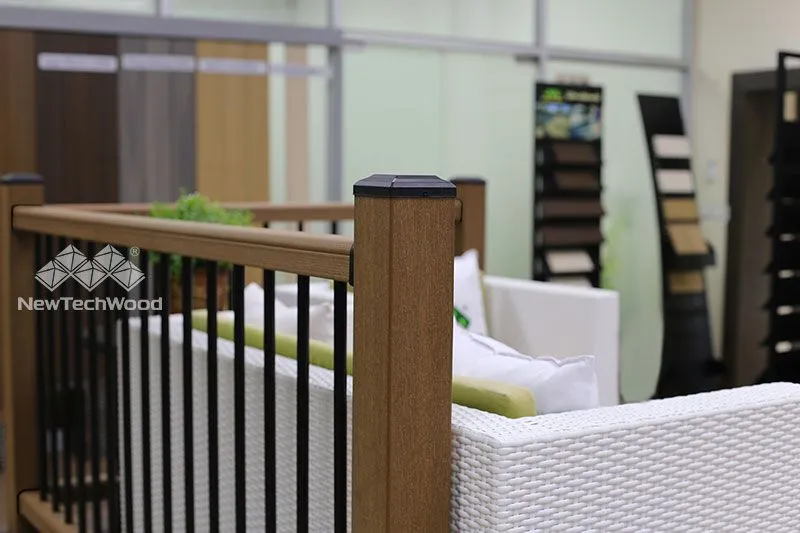
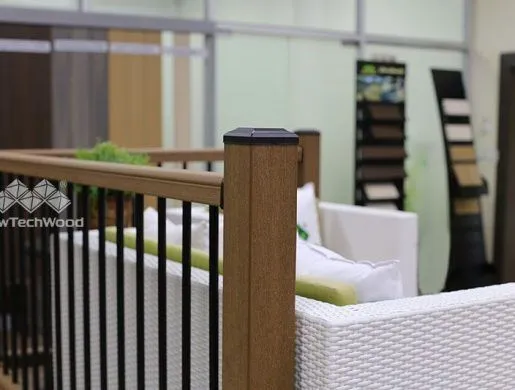
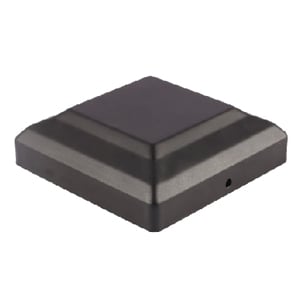
- Install post caps and gaskets.
- Adjust foot blocks to the proper height if needed.
- Install post cap using screws.
For more detailed information on installing our deck railing products, please refer to our installation guide.
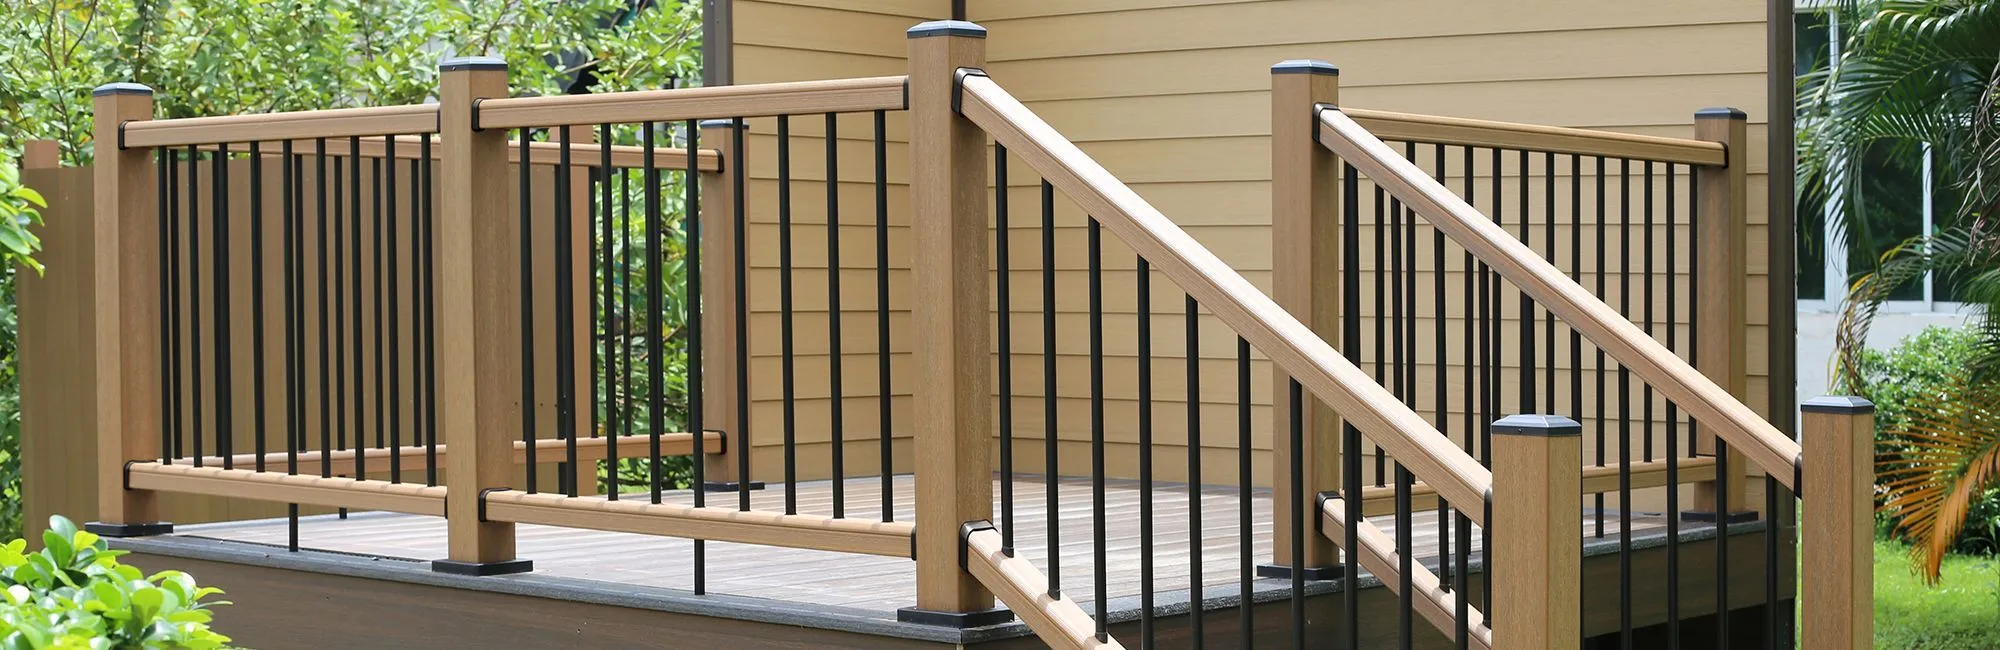
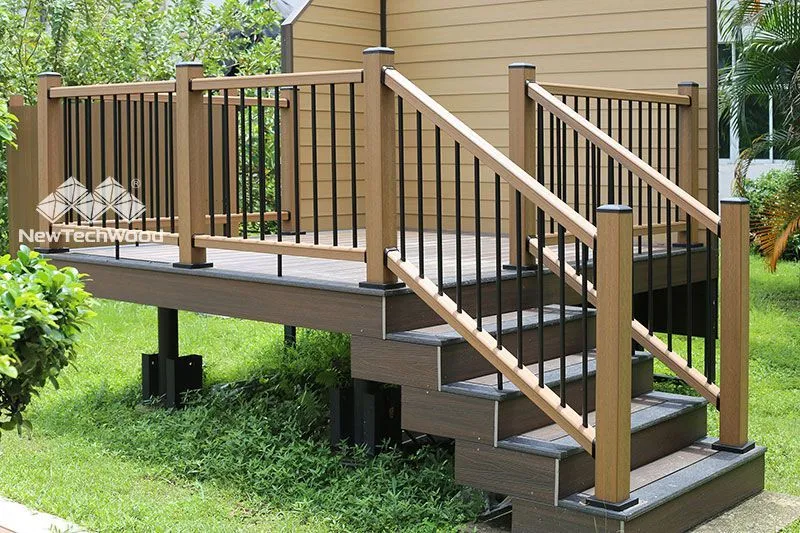
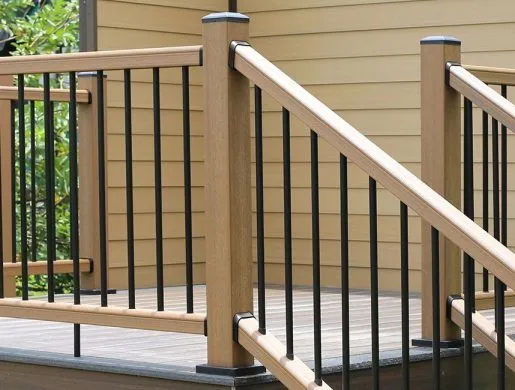
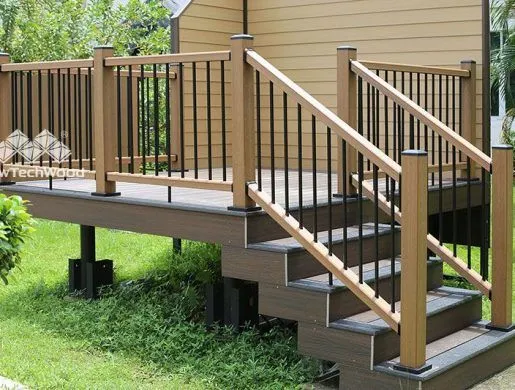
HOW DO I BUILD DECK STAIR RAILINGS?
To install NewTechWood’s deck stair railings, keep the following in mind:
- Our stair railing is meant to be installed with 11 inch stair treads and 7-inch stair risers. The angle is 32 degrees.
- Our railing is meant for a 73-1/8 inch rail length.
- You must cut the aluminum balusters to a height of 27-11/16 inches.
Here are the steps for installing our deck stair railings:
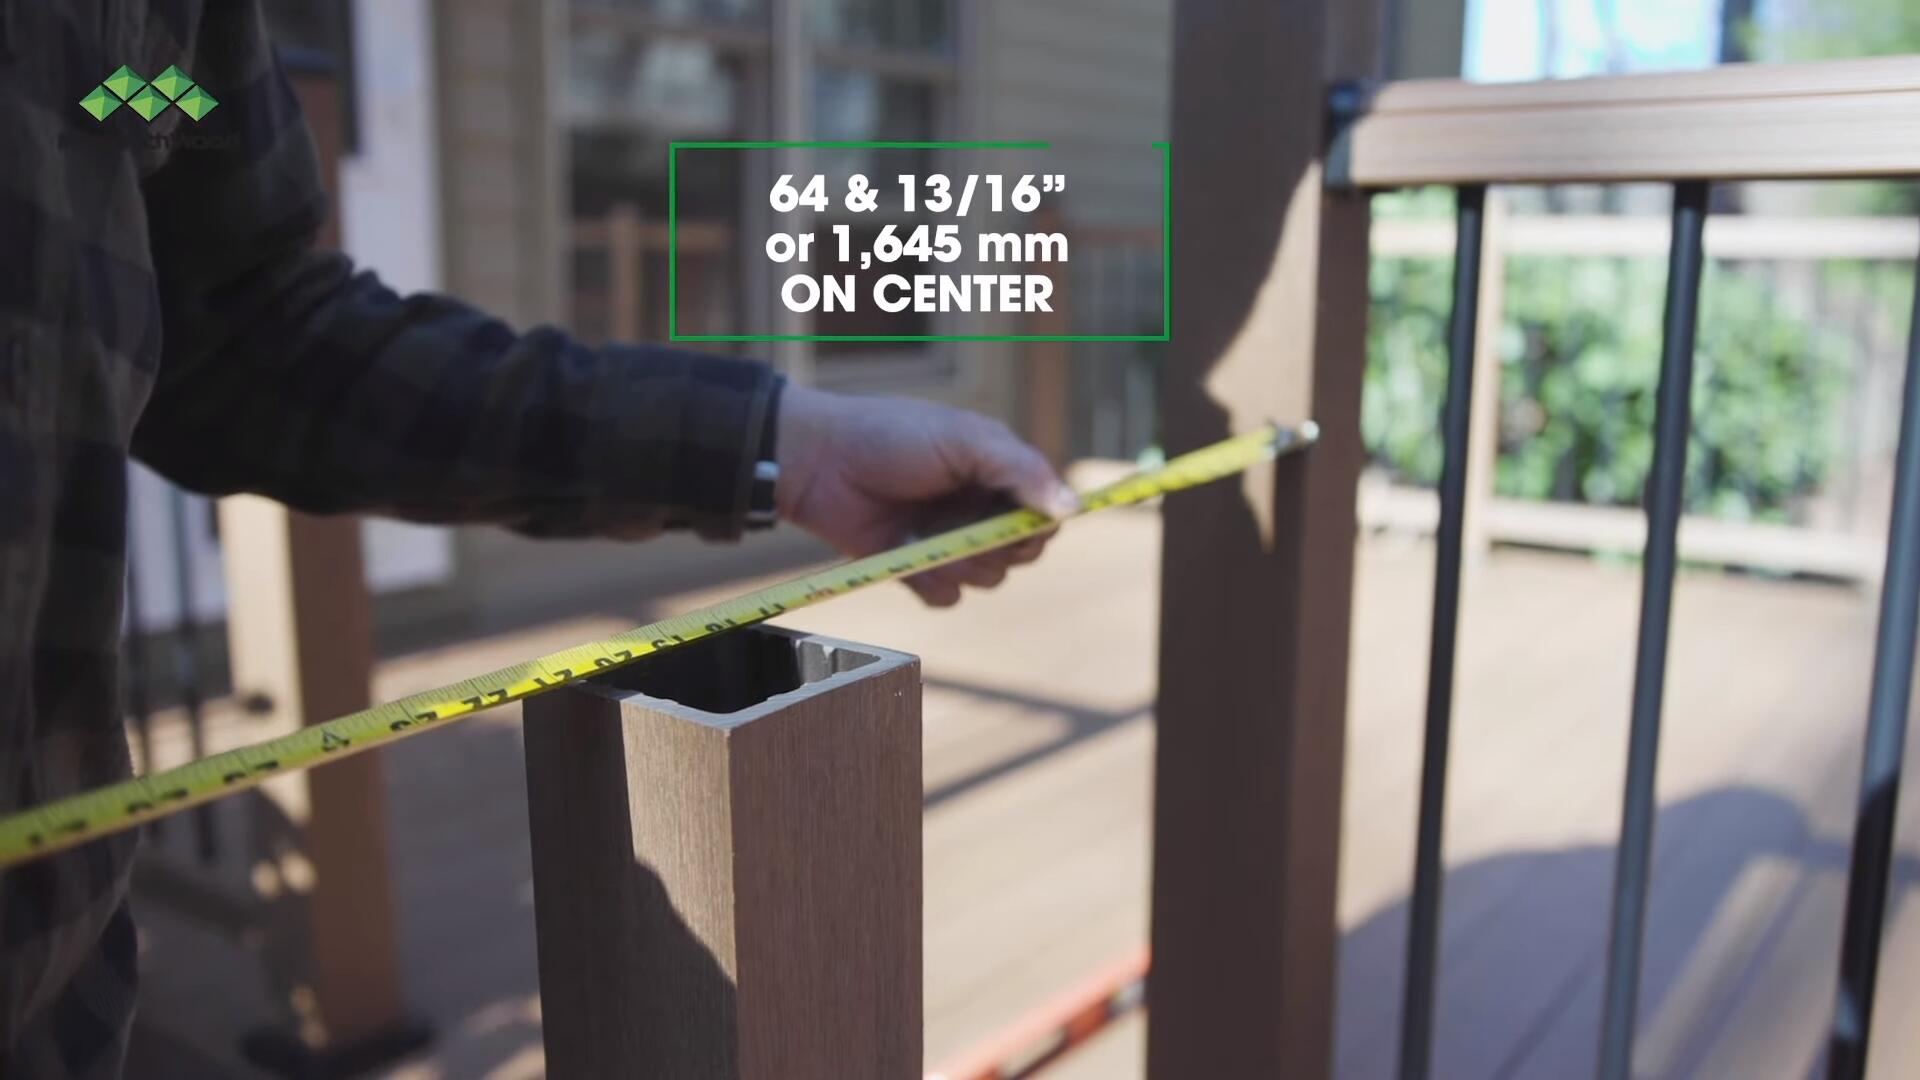
- Mark position of the post. Make markings where the post mount will go. Post mounts cannot be more than 64-13/16 inches apart.
- Cut the top post mount. Cut the post mount that will be placed on top to 36-7/8 inches and the post sleeve to 39 inches. You do not need to cut the bottom post mount or post sleeve.
- Install post mount (on a concrete surface): Put the post with the metal base in the position where it will be installed. Then, using a pencil, mark the locations of the drilling holes. Then, drill holes where you made the markings and insert plastic anchors into these drilled holes. Next, put the post with the metal base on top of the drilled holes and insert the concrete screws into the holes. Fix and tighten the screws.
- Install post mount (on a wood surface): If installing on a wood surface, you must first install a substrate underneath so that the screws secure the board entirely. Then, put the post in its position and use the holes in its metal base to mark drilling holes on the surface. Then, drill the marked holes, position the post back on top of the drilled holes and insert the lag bolts provided. Tighten the lag bolts with washers under the substrate.
- Install post sleeve over post mount.
- Mark holes for post brackets. Using the provided “Stairs – Top Post” cardboard template, mark the post that will at the top of the stairs. Use the four holes at the top for your top post brackets and the two on the bottom for your bottom post brackets. After that, pull down a string at a 32-degree angle to determine where the “Stairs – Bottom Post” template will go on the stair bottom post. Measure the location of the cardboard template from the bottom.
- Pre-drill holes for post brackets. Using a 7/64 inch bit, predrill holes for the post brackets and then lower the post skirt over the post sleeve.
- Drill in the top and bottom post brackets.
- Cut the rail. Cut the rail to the length between the post sleeve minus 1/8 inches on both sides, which will accommodate the gaskets. Remember to remove the galvanized insert before cutting the rail.
- Install brackets. Install the bottom bracket with screws at 1-2/8 inches and 1 inch from the rail’s end that will be installed at the higher side of the stairs. Install the bottom bracket with screws at 1-1/8 inches and 1 inch from the rail’s end that will be installed on the lower side of the stairs.
- Predrill and install foot blocks. Space out foot blocks evenly. The spacing will depend on the final length of the railing.
- Attach galvanized adapters. These should be attached to each end of the galvanized insert.
- Slide galvanized insert into the top rail.
- Cut aluminum balusters. These should be cut to 27.7 inches.
- Attach bottom rail onto bottom post brackets.
- Install baluster plugs and balusters.
- Attach the top rail to top brackets.
- Predrill and install top rail with screws.
- Adjust foot blocks to correct height if necessary.
- Install post cap and gaskets.
- Install post cap with screws.
For a detailed tutorial on how to install our products, consult our installation guide below, which will show you how to install both the deck railings and deck stair railings: 36 Inches Hybrid Composite Railing Installation Guide
If you have questions about our deck railing products or how to install them, feel free to give us a call at 1-866-728-5273.
Installation Videos
Downloads
Installation Guides
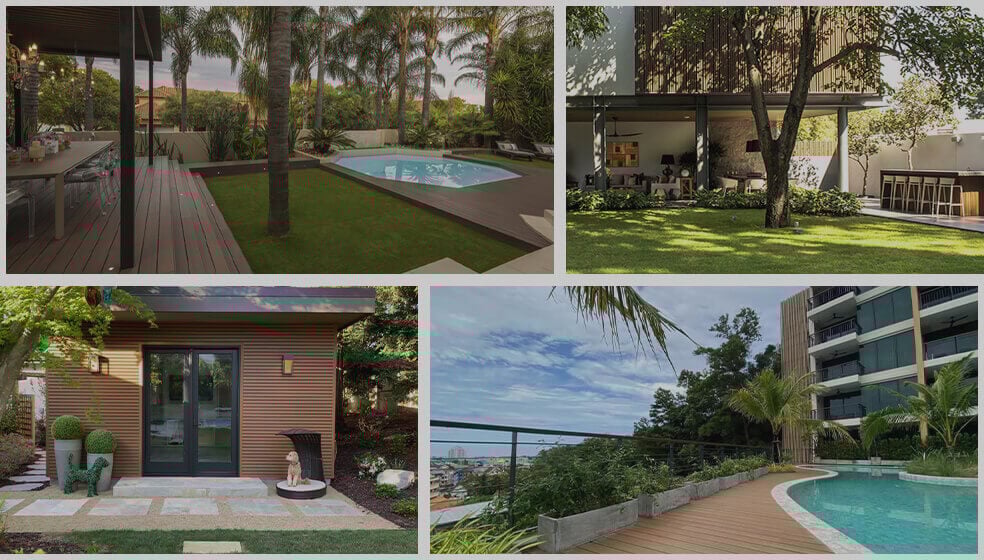
EXPLORE NEWTECHWOOD’S DIVERSE LINE OF COMPOSITE DECKING PRODUCTS
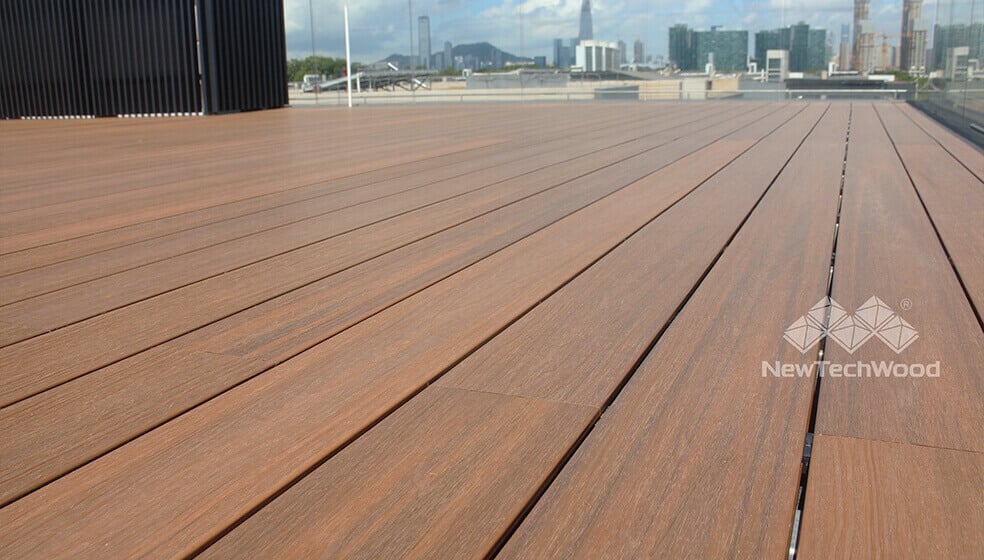
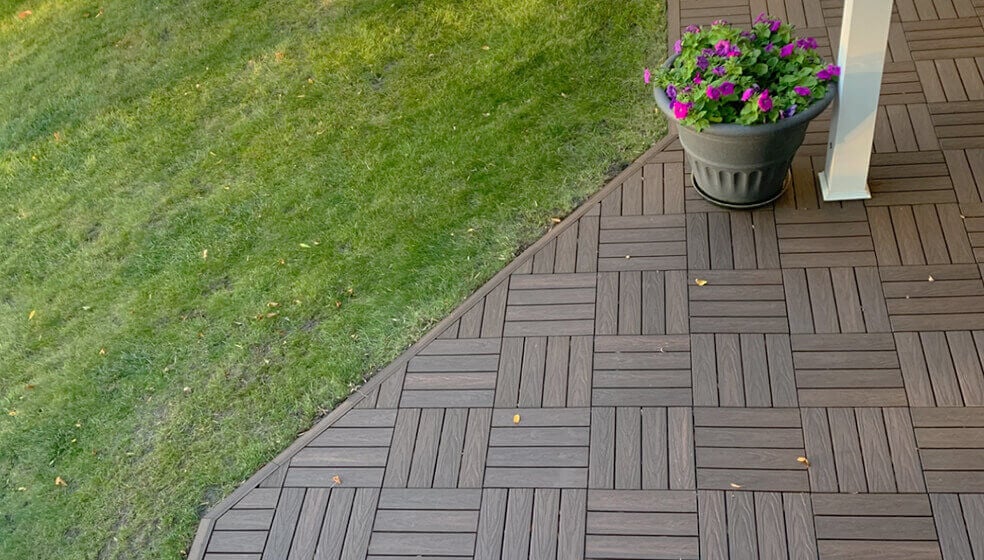
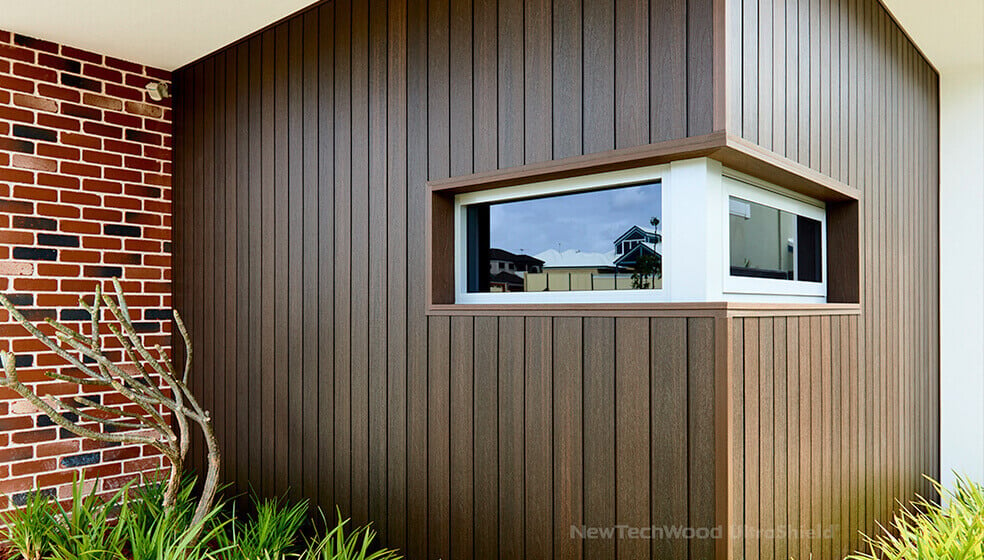
NewTechWood is a pioneer in developing and producing composite outdoor products, including decking, siding, railing and deck tiles. Ever since its founding in 2004, NewTechWood has been leading the industry of wood plastic composite technology, developing products that make spaces more attractive and functional around the world.
NewTechWood offers a wide variety of composite products to make your outdoor living experience better. All NewTechWood products feature our innovative UltraShield technology, a high-performance coating that keeps the railing materials from fading, scratching, staining or rotting.
If you have any questions about any of our products, feel free to contact us via our online contact form.


