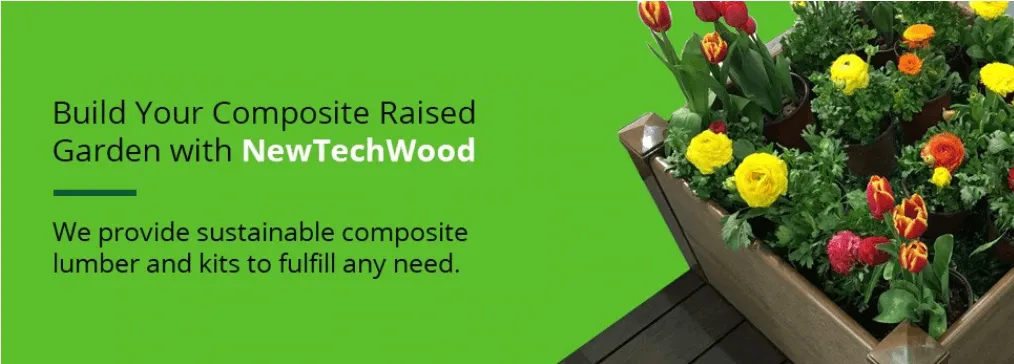


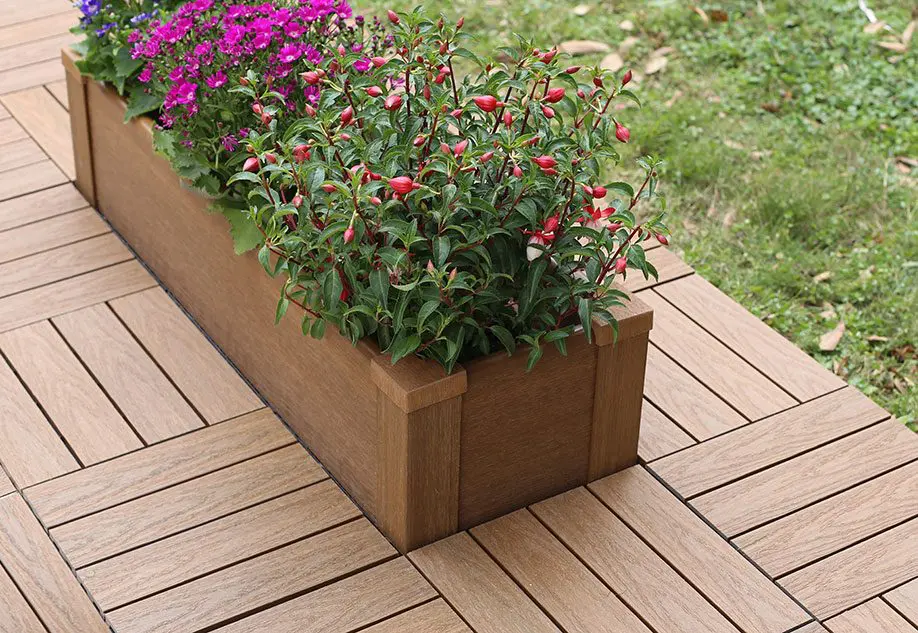

Spring is in full bloom, and that means gardening is in season. Whether you enjoy the beauty of flowers, the harvest of vegetables or the convenience of homegrown spices, installing a composite raised garden bed is a great way to start. Even for businesses, a well-built planter can turn any flower bed into an eye-catching display. Start your next landscaping or gardening adventure by learning how to install a composite raised garden, whether with an installation kit or DIY approach.
Benefits of a Composite Raised Garden Bed or Planter
Composite raised garden beds and planters can help solve some of the most common gardening problems, from the backbreaking work of digging a bed to the limited lawn space that can come with some homes or business locations.

A raised garden bed requires no digging, and you can customize it to any height or size. Plus, they help promote proper plant growth and look great on porches, decks or balconies. With the help of a raised bed made from composite lumber, you’ll be able to:
- Prepare with ease: Raised beds are relatively simple to construct, especially with a kit. You can customize it to the size you need and, if you’d like to avoid hours of kneeling or bending when planting, layer the bed walls higher to create taller boxes.
- Control soil pH: Depending on what plants you choose, the soil needs to have a specific composition, depth and pH balance. While it is difficult or sometimes impossible to convert natural soil to the pH level your plants need, raised beds let you layer the correct materials and create the best environment possible.
- Provide water drainage: Too much water can cause plants to contract bacterial and fungal diseases. Raised garden beds reduce the chances of flooding or overwatering, making them especially useful for areas with heavy rains.
- Aerate soil: The soil in your yard is continually being compacted by weather, objects and time, which isn’t ideal for gardening purposes. In a composite garden planter, you layer soil and other materials loosely, providing better air circulation and allowing the roots to develop.
- Avoid weed growth: Beds not separated from grass can take on weeds that grow up through the soil, which could result in your plants dying. Raised beds avoid this problem, being completely separate and installable anywhere.
- Start gardening earlier: With gardening, you have to wait for the right ground temperature or else risk your plants not growing. With the loose soil and disconnect from ground temperatures, you can start working in raised garden beds sooner, as they aren’t as susceptible to frost and thaw out quicker.
- Garden anywhere: Raised planters allow you to grow a garden wherever you like, even if you don’t have a lawn. With enough sun and water, even those living in apartments or businesses in dense cities can enjoy flowers and fresh vegetables.
With so many upsides, composite garden beds are an excellent option for landscapers and gardeners.
What is the Best Material for Making a Raised Garden Bed?
Before you build your raised garden bed, you’ll need to have the right materials on hand — and not just any lumber will do. Using untreated wood may seem like an attractive option, but only if you want your garden not to last. Without any protectant or seal, the wood borders will rot and decompose, not only destroying the bed you worked hard to create but also resulting in an eyesore.
Pressure treated lumber isn’t much better. Yes, it won’t break down like untreated lumber, but that’s because it’s soaked in chemical solutions. Using this kind of material for your raised garden bed may cause chemicals to leech into your soil and the roots of plants, which you don’t want, especially if you’re looking to grow vegetables, herbs or spices. Composite wood, however, is sealed, removing any concerns about rotting or leeching chemicals when you are trying to make a garden planter out of decking.
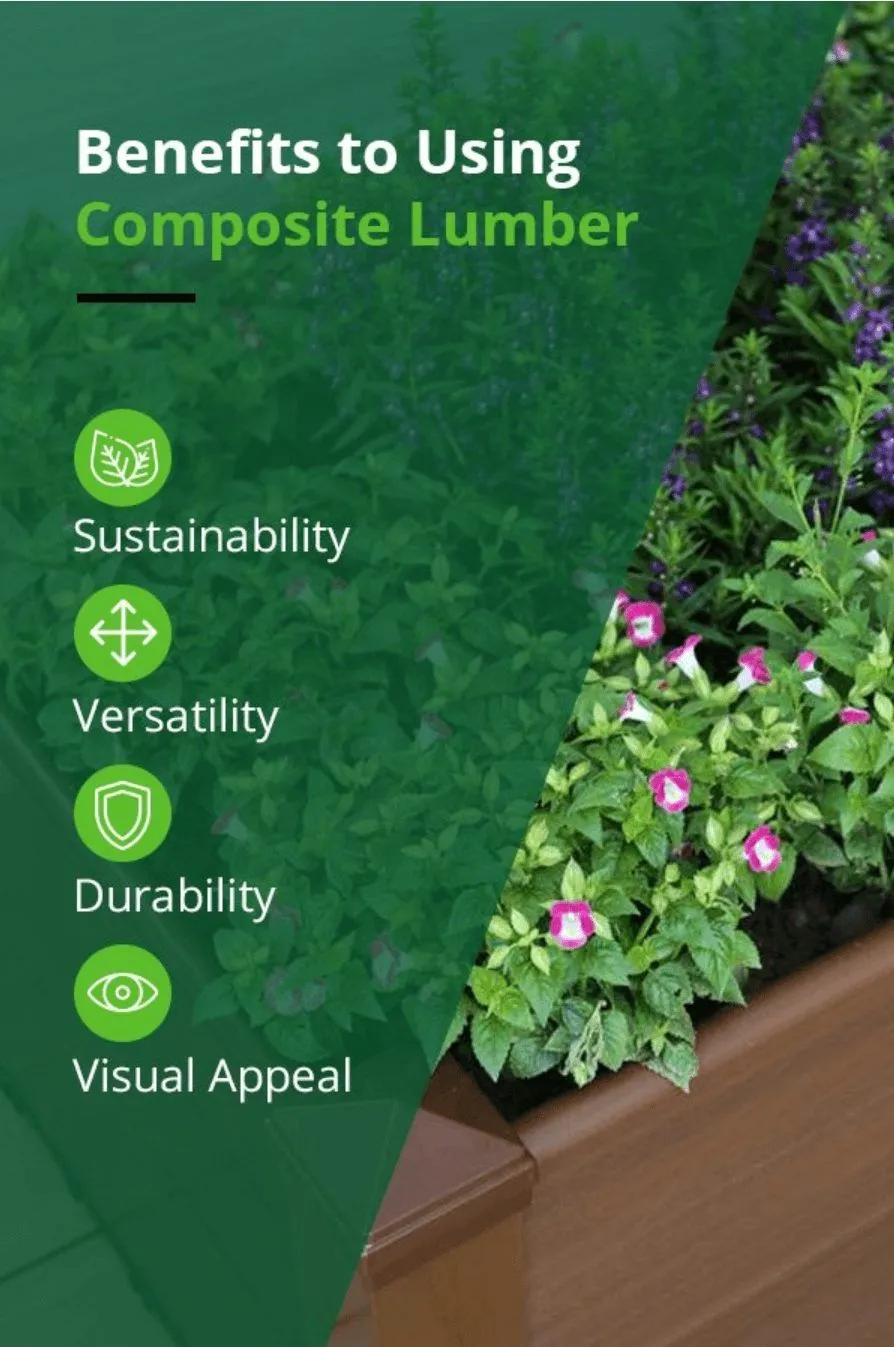
There are several other benefits to a composite raised garden bed, including:
- Sustainability: Composite wood comes from a blend of wood fibers and recycled materials, such as plastics and decking. Depending on the company, these products can be made of up to 95% recycled blends, providing you with an environmentally friendly alternative to purchasing newly manufactured building materials.
- Versatility: With no risk of rot, you can build a composite lumber garden bed on any reasonably flat surface. It can sit on leveled ground, in a cleared area of mulch or rock or directly on your porch, deck or balcony, so you’ll have more options for where to put your plants.
- Durability: One of the biggest hassles of raised garden beds is the potential need to replace the siding, which is inevitable with the effects of weather and water. Composite lumber will significantly extend the life of your planters without any staining, molding or fading. You can worry less about repairs and spend more time creating the best environment possible for your greenery.
- Visual appeal: Who doesn’t want their hard work to look good? Using composite lumber means you can show off your garden with pride or put it in an eye-catching location, improving the atmosphere of your lawn, patio or deck. The material has the appearance of smooth, natural fibers, making it blend well with any decor and look far better than a plastic alternative.
In addition to the practical and aesthetic benefits, manufacturers can shape lumber composites for ease of use. Some garden beds come in full kits that slide together with well-structured notches — no screws or nails required. They may also include hollowed boards, providing structural strength while remaining lightweight. Not only will kits save you time, but they allow anyone to build a raised bed quickly, with no worries about tools or carpentry skills. But, you also have the option of customizing your bed with composite lumber and a few extra supplies. Either way, you’ll take a green approach to gardening, ensuring a long-lasting structure, and creating a better plot for your plants.
How to Install a Composite Raised Garden with a Composite Planter Kit

Composite planter kits make it easy for any gardener or landscaper to create a beautiful raised garden bed for the plants of their choice. Generally speaking, once you have your composite planter kit and are ready to set it up, it assembles quickly. Some styles only take about ten minutes from start to finish. With the absence of tools and the convenience of pre-measured boards, you can skip the hassle of building and get to gardening faster. Plus, the independent pieces fit together smoothly and create a strong barrier to hold in soil and water. You can find kits in a variety of sizes and can customize them for different dimensions and depths. To assemble and install your composite planter kit, you’ll need to follow these seven steps:
1) Choose a design
Before ordering a kit, decide what you plan to grow and figure out how much space the roots and groupings will need. Then, based on your desired garden type, you can choose a style and height that will suit your plants.
2) Assemble the base
Not every kit comes with a base grid or a perforated sheet to place on top, but each of these features benefits your plants. The base grid helps keep the soil from laying directly on the ground and provides better aeration through the sheet for optimal plant health. Generally, these grids will come in square pieces that snap together on each side. All you have to do is lay them out according to your dimensions and push them together.
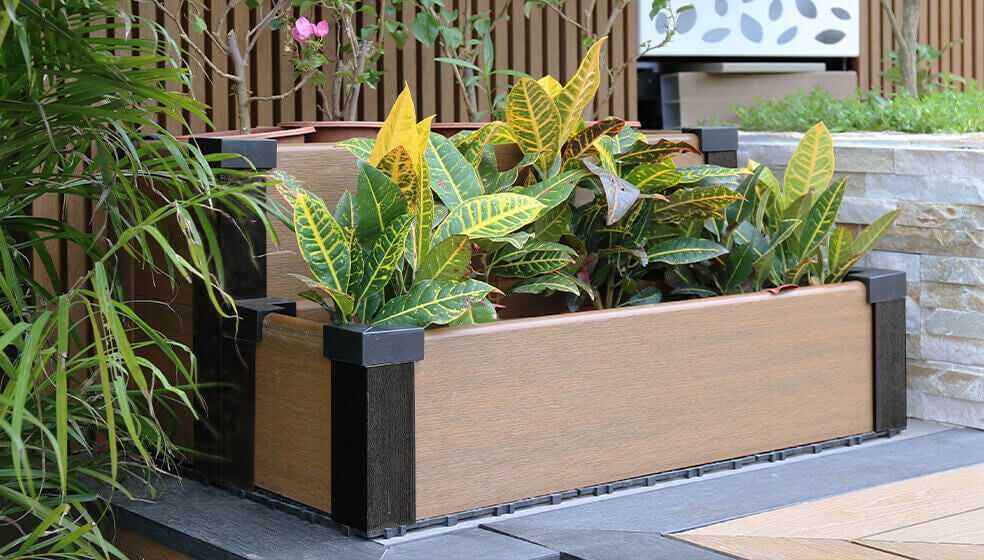
3) Install vertical corner posts
To begin building your raised garden bed, you’ll need to start with the corner posts. These will match up with the horizontal boards to create a sturdy wall. Each post will snap on to the corners of the base grid if the kit includes one. Pay attention to the direction the post’s notches face, as the flat sides should create the outer corners of the planter box and the grooves should be positioned inwards to hold the boards in place.
4) Place aeration sheets
If your kit comes with one or multiple aeration sheets, place it or them on top of the grid and within the four posts you’ve just installed. These will provide your plants with the correct amount of oxygen and nitrogen, as well as allow for a healthy soil balance.
5) Slide the boards into place and secure
Take the side boards and slide them into the notches in the corner posts. When seated correctly, the holes in the edges of the posts should align perfectly with the holes in the boards. Some kits interlock, but others include a bag of plugs for added stability. You’ll need to push these plugs through the holes in the posts and boards to secure them together. If you want to ensure a tight fit, or can’t guide them through yourself, use a mallet to tap them in.
6) Snap on the post caps
If your posts have open tops, they should each come with a cap. Line up the plugs in the cap with the corresponding holes in the post and press down. If assembled correctly, these will be the last pieces.
7) Fill and get planting
Now that you have a beautiful raised bed, you have to layer it with soil. Research the best base for the plants you’d like to grow, fill your new composite garden and get to the fun part. With such an easy process, anyone can use these kits to create the perfect raised garden bed fast.
How to Install a Composite Raised Garden: The DIY Approach

Most people assume composite lumber is only for building decks, but it also works well for creating a raised garden bed. Using deck lumber, a few tools and a little handiwork, you can build a DIY composite raised garden, customized to whatever dimensions you want. It’s more difficult and time-consuming than composite raised garden bed kits, but it’s an option when you’re looking to create a raised bed with a unique shape or size. Build your raised garden with these eight steps:
1) Plan your desired style and size
Before you purchase composite decking material, you need to know where you’re going to put your planter and measure the dimensions you want. These measurements will determine how much lumber you need and what size. Write down the approximate height, width and length before shopping. You’ll also need to decide how you’re going to stabilize your structure and attach the boards on your composite planter box. You can create a system similar to the composite garden kits, for example, where the pieces mostly interlock. However, this takes a substantial amount of skill and precise cutting, which requires specific tools. Alternately, you can position posts at the inner corners of the bed. Once you align the boards at a 90-degree angle, with the post tucked in the inner corner, you can drill holes through the boards, into the post and fix them together with screws. The easiest method generally uses screws and a drill to create corners without any posts. You may want to use metal flashing on the inside edges to create a stable joint, but ultimately, the decision is yours. Additionally, if your raised garden bed is for a deck or a porch, you’ll need to build a base. If you’re locating it on grass, putting down layers of cardboard and newspaper will suffice.
2) Gather any necessary materials
There are certain materials you’ll need to build your composite planter, most of which are common among DIY projects. Depending on how you plan to attach and stabilize the lumber, your list may vary slightly. In general, your list of DIY composite raised garden materials will include:
- Composite lumber or decking material, enough to fulfill your measurements
- One power tool with an interchangeable drill and screwdriver bits or a power drill and a manual screwdriver
- Metal flashing or enough lumber for posts to stabilize corners
- One power saw to trim lumber
- Screws long enough to drive through the board width
- A measuring tape
- The base material, if you’re using your planter on a porch or deck
You may also want something to stabilize the middle of long sections, such as metal rebar, which you can drive into the ground and affix to the inner sides with metal tube straps or another sturdy attachment.
3) Lay down a base
Before you shovel any soil into your raised garden bed, put down a base to prevent weeds from growing, as well as to promote aeration. If your garden bed is in a yard, a few solid layers of newspaper and cardboard should do the trick. Porch and deck beds require you to build a base with grates for drainage and air flow.
4) Measure and cut composite boards
Measure once to mark the boards and measure a second time to ensure you have the correct board sizes. When you’re ready to make the cut, use all proper safety methods and gear. Once you’ve trimmed all the lumber you need, lay the pieces out to ensure you aren’t missing any or that you don’t need to make any last-minute alterations.
5) Create the first corner
Line up your first two or four boards and attach them to make a corner. Double-check to make sure they are all flush with one another and create a 90-degree angle. You’ll have to drill holes in the lumber — and posts, if you’re using them — before driving in the screws. It’s critical to get this step in creating your composite planter kit right because if your corner doesn’t line up correctly, none of the boards will be either. Once you have the first one down, repeat your steps to create your rectangular outline.
6) Begin your garden
Shovel in your preferred mix of soil that best suits your crops or flowers, then you can get to planting. While this process takes more time and resources, you’ll ultimately have the most control over the outcome. Building the bed yourself allows you to create whatever shape and dimensions you want to display your plants.
Build Your Composite Raised Garden