


Living on a slanted property often leads to this question: Can you build decking on a slope? While building a deck on a slope may require some extra planning, it can be done. In fact, you can easily build a stable deck on a slope on your own if you know which materials to use and the necessary steps to take.
If you’ve been wondering how to build a deck on a slope, you’re in luck. This ultimate guide for installing decking on a slope will tell you how to choose the best location, size and materials for your deck, along with detailed steps on how to build a deck on a hill.
Determining the Location for Your Deck
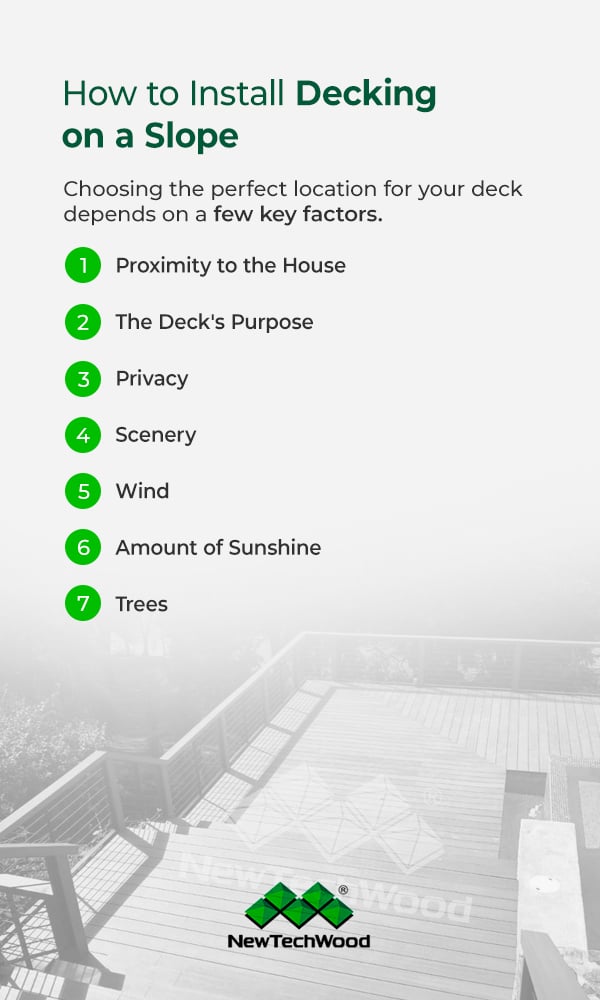
Even if you don’t have a choice in whether your new deck is built on a slope, you still have options for the exact location of your deck. Where you place your new deck can affect how enthusiastic your family is to use it for entertaining, relaxing and enjoying the great outdoors. Choosing the perfect location for your deck depends on a few key factors.
Take the time to think through the following seven details before breaking ground:
1. Proximity to the House
The closer your new deck is to the house, the more likely it is to get used regularly. A deck that is farther away from the house is less convenient to casually hang out in, which means it will get less use. Ideally, a deck should be easy to access and act as an extension of the home’s living space.
2. The Deck’s Purpose
Before picking a location for your deck, you will need to decide on its primary purpose. If your deck will mainly be used as an outdoor dining area, you should build it as close to your kitchen as possible. On the other hand, you will most likely want to place your deck along the side of your house where there is less activity if it will serve as a relaxing retreat from the home’s usual hustle and bustle.
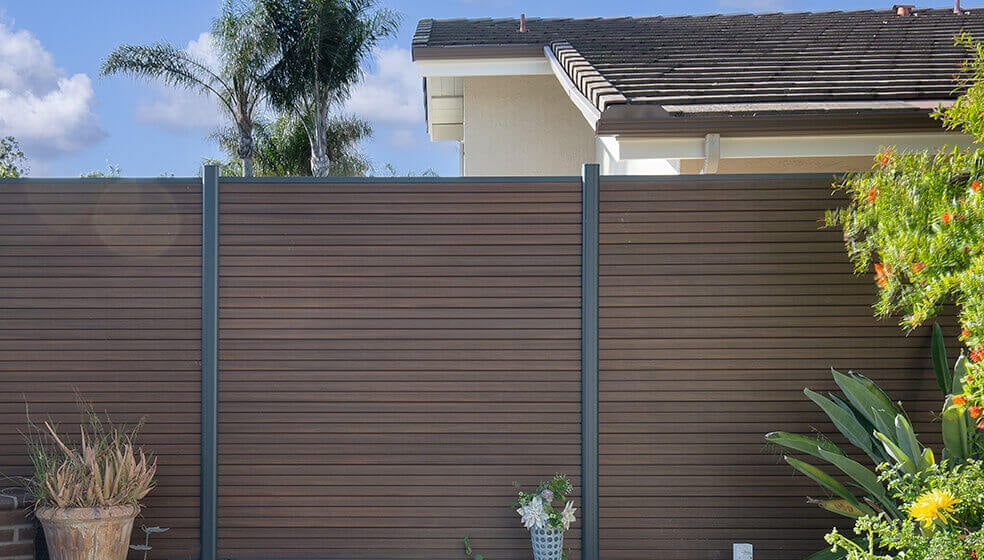
3. Privacy
Whether you envision your deck as the perfect party destination or personal sanctuary, you’ll want it to have as much privacy as possible. Typically, decks are built off the back of a house because this tends to be the most private area of the property. However, every home is different, so you will need to evaluate your house’s surrounding landscape to determine the most private area.
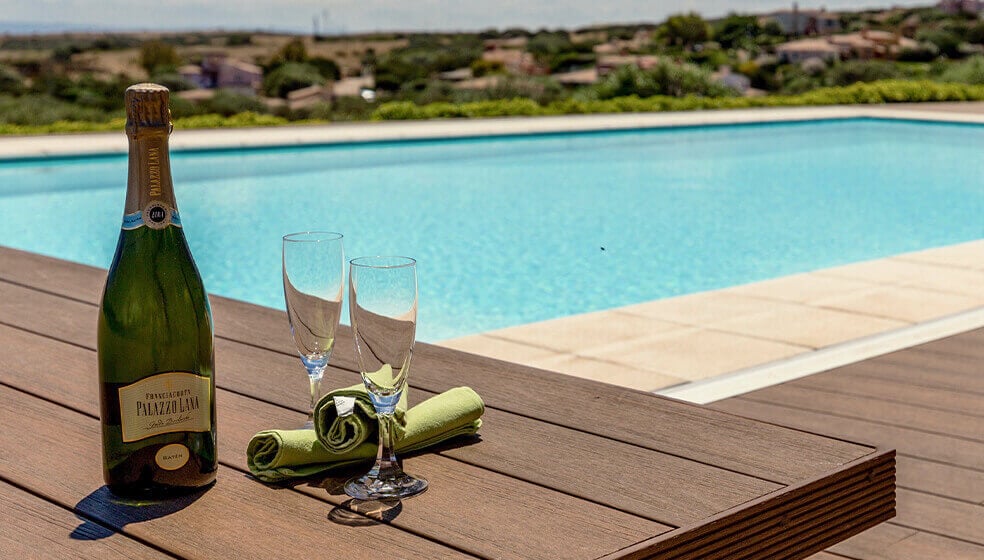
If you can’t find a spot around your home that offers enough protection from the outside world, consider installing a lattice trellis or another type of privacy screen at either end of the deck. Keep in mind that privacy will be especially important for decks built around a pool or hot tub.
4. Scenery
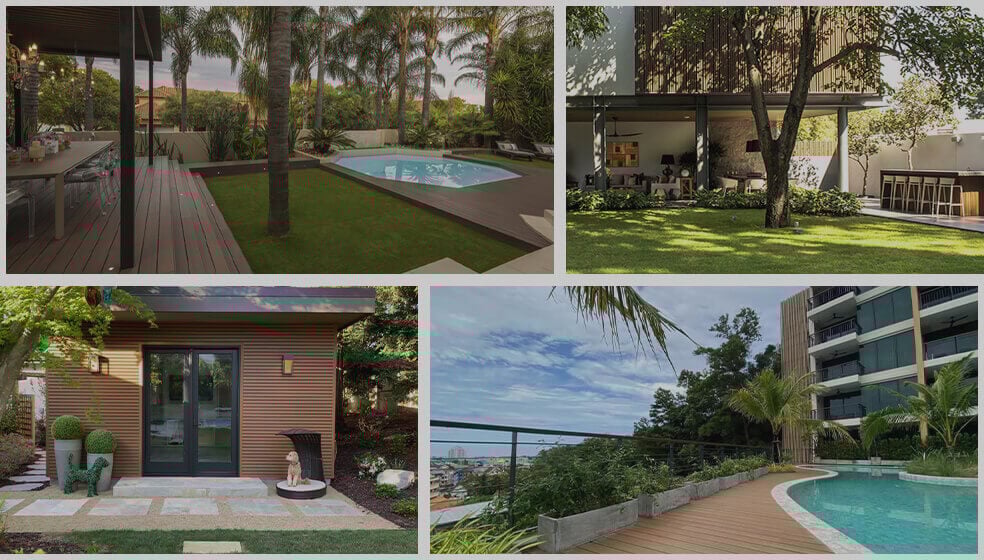
For those lucky enough to live in an area full of natural beauty, make sure you account for the stunning views when planning your deck placement. This is when building a deck on a slope is a huge advantage because positioning it over a hill is a great way to take advantage of the gorgeous scenery.
5. Wind
Although no one can predict which direction the wind will blow, you can choose a spot for your deck that is at least partially shielded from the wind. To avoid the tragedy of being unable to use your beautiful new deck due to excessively windy conditions, look for a spot on your property that typically experiences very little breeze.
6. Amount of Sunshine
Your area’s climate will affect the best placement for your deck. Depending on whether you live in a cool or warm climate, you may want more or less sunlight streaming across your deck. While those in colder areas should look for a location where the deck will catch plenty of afternoon rays, those in warmer places should try to find a spot that offers lots of shade when the sun’s at its peak.
7. Trees
Often, trees can easily be incorporated into a deck design. You can use the existing trees on your property to your advantage by relying on them to provide extra scenery, shade or a natural privacy barrier for your new deck.
Determining the Size of the Deck
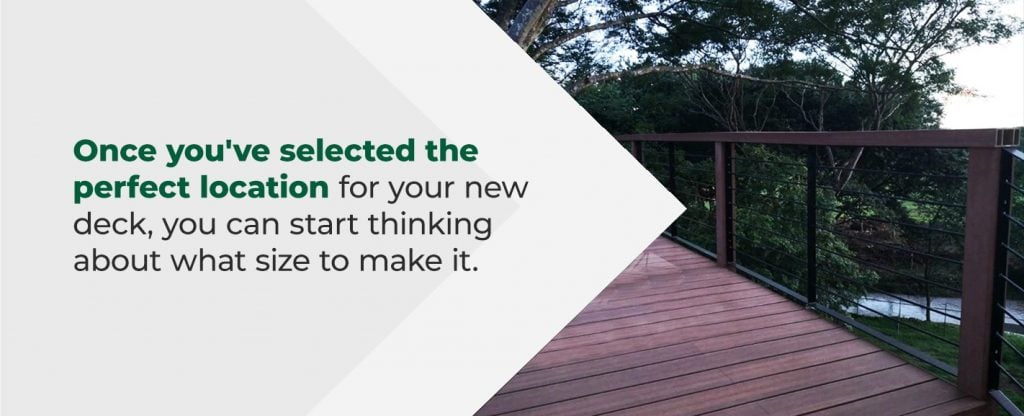
Once you’ve selected the perfect location for your new deck, you can start thinking about what size to make it. How large or small your deck is will mainly depend on these three factors:
- How you plan on using the deck
- The amount of people the deck will need to accommodate
- The size of whatever patio furniture or other outdoor accessories you’ll place on it
After contemplating these three deck details, you will be ready to properly plan the deck’s size. Below are a few tips for how to build a deck on a slope that’s the perfect size for your property.

Keep It in Proportion
One of the most prevalent mistakes people make when building a deck is installing one that’s completely out of proportion with the house’s size. If a deck is too large, it can dwarf the home, whereas a deck that is too small can be overshadowed by the house and look out of place. In general, a deck should be large enough to serve its purpose but no bigger than the largest room in your house.
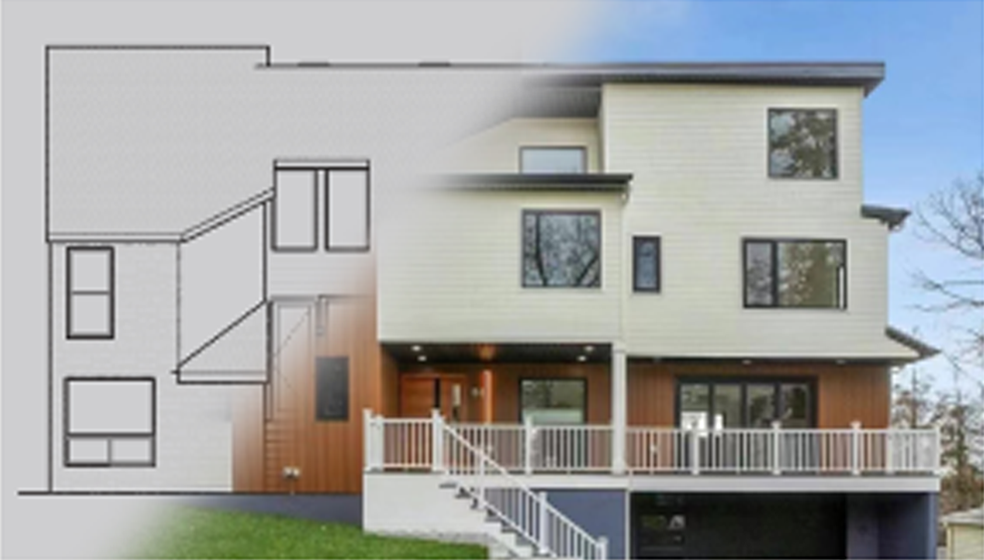
When thinking about the deck’s dimensions, you should try to keep it wider than it is deep. To be aesthetically pleasing, the deck’s longer dimension should run along the house. If you want to build an exceptionally large deck, take advantage of building it on a slope by using a multi-level design. As a bonus, you can designate certain areas of a multi-level deck for specific activities like grilling or dining.
 +
+
Find the Right Height
To build a deck on a slope, you’ll have to think about how high up the hill you can afford to go. The higher the elevation of your raised deck, the more materials it will require. Therefore, how much it costs to build a deck on a slope will depend on how far you plan on extending the deck and how tall you need to make it.
Another detail to consider regarding the deck’s height is how high you will need to build it to reach whichever access point of your house you plan on attaching it to. If you plan on building your deck so it connects to your home, you’ll need to construct it within inches of the bottom of the access door.

Finding the Right Materials
Once you’ve finalized the details of your deck’s layout, you can begin selecting which materials to build it out of. Finding the right materials is essential for building a sturdy, dependable and visually appealing deck.
The perfect decking material should fit your needs in each of these three categories:
- Durability: As the backbone of your deck, you need a building material that can stand up to whatever type of weather your area is prone to. In general, you will want a decking material that is durable and resistant to warping, rot and insects. With a resilient material, you can construct a deck that will last for decades.
- Price: Although you want your deck to be as durable as possible, decking material can quickly get expensive. Although it may cost a bit more upfront, using a pre-stained, scratch-resistant material can save you from spending more on installation and maintenance costs. Additionally, there are plenty of high-quality decking options that don’t come with staggering costs.
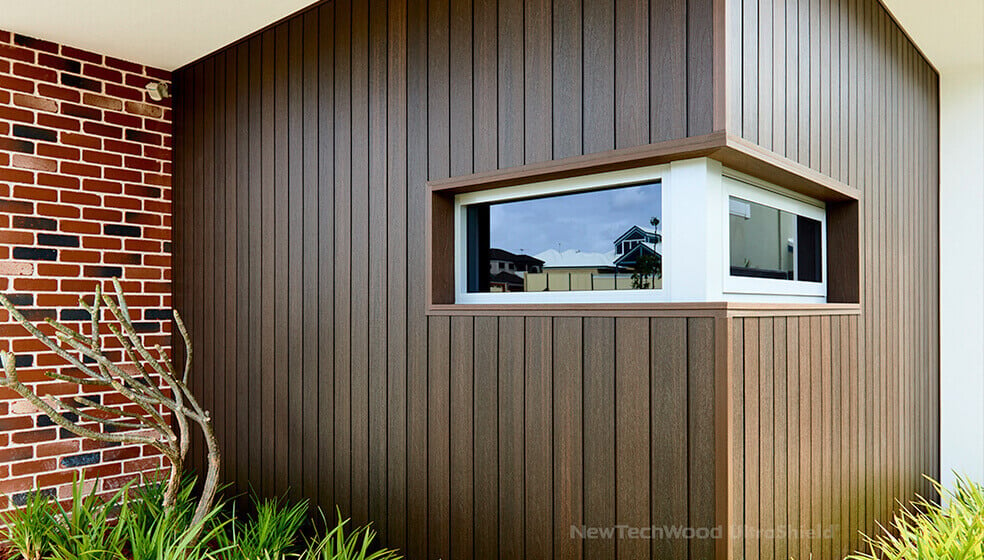
- Style: Nowadays, there are numerous colors, patterns and styles of decking material to choose from. Selecting a beautiful decking material can enhance your home’s look and boost your mood every time you glance outside. Pick a style that goes well with your house’s exterior design and appeals to your personal tastes.
Fortunately, you have a wide range of materials to choose from, so you can surely find something that matches your construction needs, budget and personal style. Some of the most popular types of decking materials include the following.
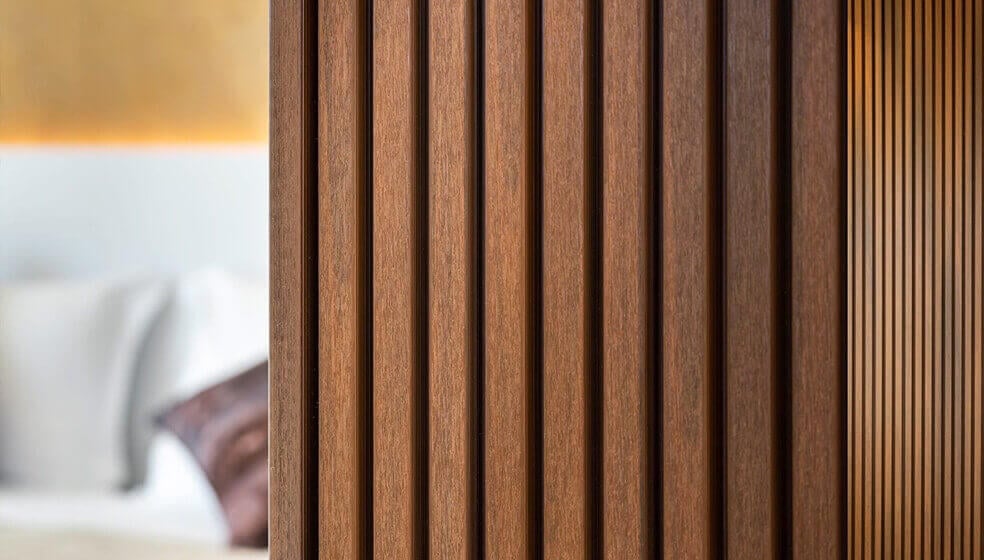
Wood Decking
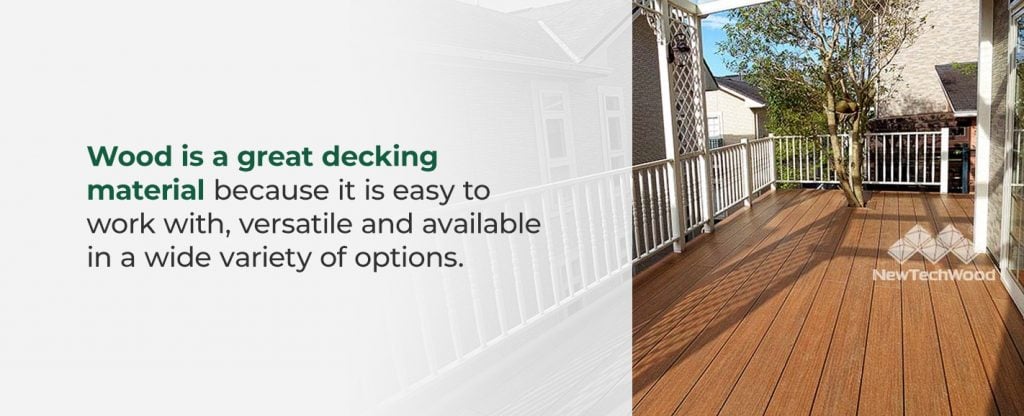
Traditionally, wood is the first material that comes to mind for most people when they think of deck materials. Wood is a great decking material because it is easy to work with, versatile and available in a wide variety of options. For example, you could get pressure-treated wood decking to ensure your deck can withstand the elements. You can also choose other naturally weather-resistant woods, such as redwood or cedar, which are resilient but can be quite pricey.
In general, wood is an inexpensive decking material and easy to acquire at your local hardware store. Wood is also a sound material that will provide your deck with both structural integrity and charm thanks to its natural, rustic aesthetic. If you prefer a different look, you can paint over your wood deck or stain it to accentuate the grain pattern.
However, keep in mind that some types of wood decking can be prone to warping and bending when exposed to harsher conditions. A wood deck will also require a certain amount of maintenance work, such as sanding and sealing. And although pressure-treated wood decking can be a convenient and inexpensive weather-resistant decking option, this type of material can contain chemical preservatives that some people might not feel comfortable having near their home.
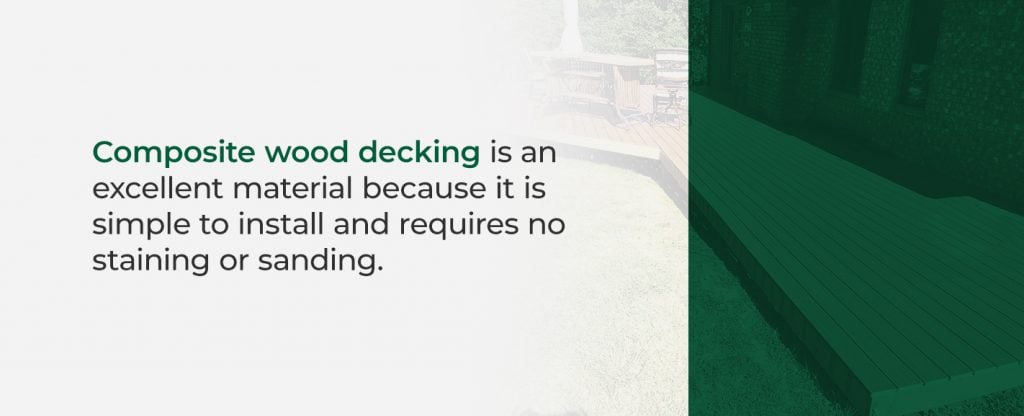
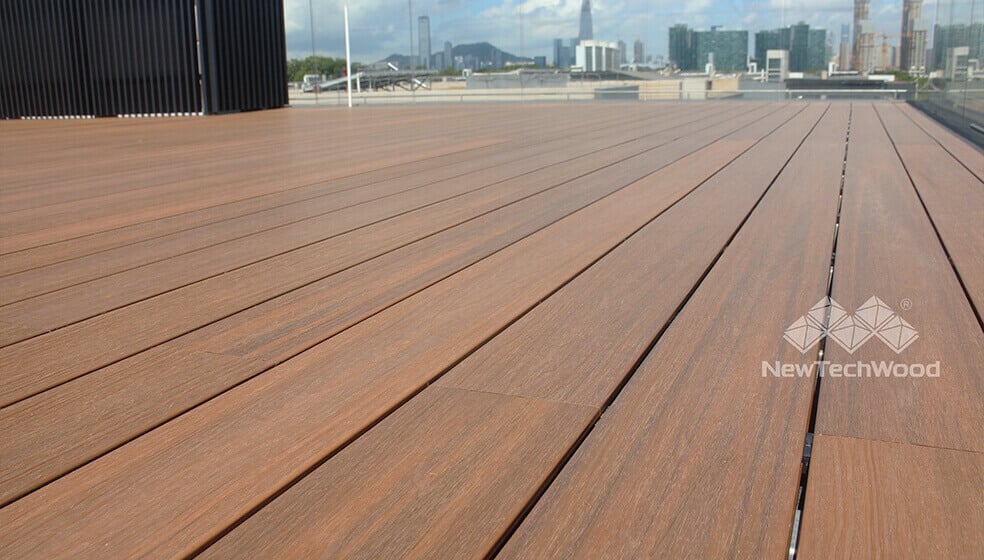
Composite Decking
Also known as engineered wood, composite decking is constructed by combining wood scraps with a binding material to create a low-maintenance alternate material to regular wood decking. For instance, blending sawdust with plastic would form an example of composite decking.
Composite wood decking is an excellent material because it is simple to install and requires no staining or sanding. Due to its long-lasting and easily cleanable engineered shell, composite decking also resists scratching, stains and fading, which means you won’t have to spend any extra time, energy or money on future maintenance efforts. However, the quality of composite decking can vary by brand, so make sure you choose composite decking with a reliable reputation.
Along with these practical benefits, composite decking comes in various chic color options so you can give your deck a more stylish look. Composite decking is also an environmentally friendly choice, as many types of composite decking are sustainably made from recycled materials. By using recycled composite, you can help prevent unnecessary waste from going to a landfill.
Keep in mind that a deck built on a slope will require differently sized materials than a deck on an even surface would. Planning ahead and measuring precisely how tall your posts and other decking materials need to be will allow you to install your deck on a slope more efficiently.
Other Essential Materials
Aside from the materials you’ll use to construct the deck’s body, building a deck on a slope requires other materials to form the foundation and support the structure. To construct a sturdy deck on a slope, you will need to stock up on deck screws, 3-inch bolts or nails, metal braces and wet cement. These materials will help you secure your project’s foundation and create a stable deck.
Deck Accessories
Along with the foundational materials for your deck, you will need a few other pieces of equipment to finish your new project. To make your deck complete, consider the following deck accessories:
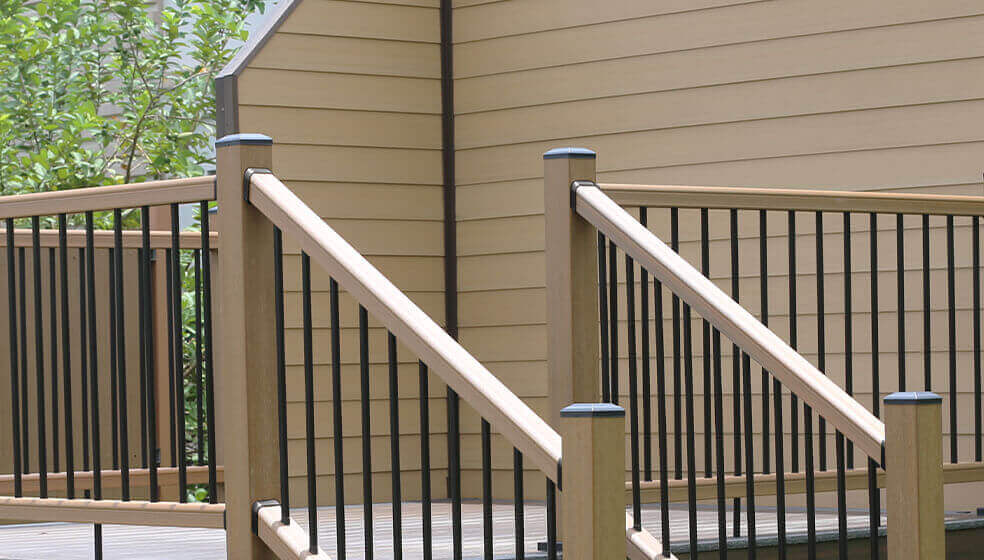
- Railings: Any deck built on a slope will need some sturdy railings so guests don’t lose their balance and tumble down the hill. In addition to providing safety, an ornamental railing can give your deck some extra personality. Use a composite wood railing to get the best features of every kind — safe, stylish, strong, durable, environmentally responsible and resistant to rot, cracks and warping.
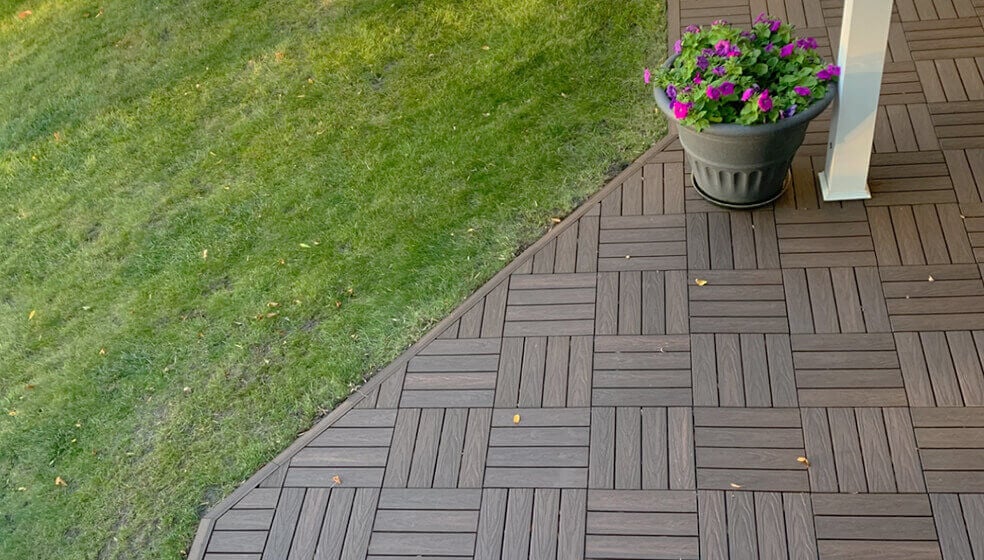
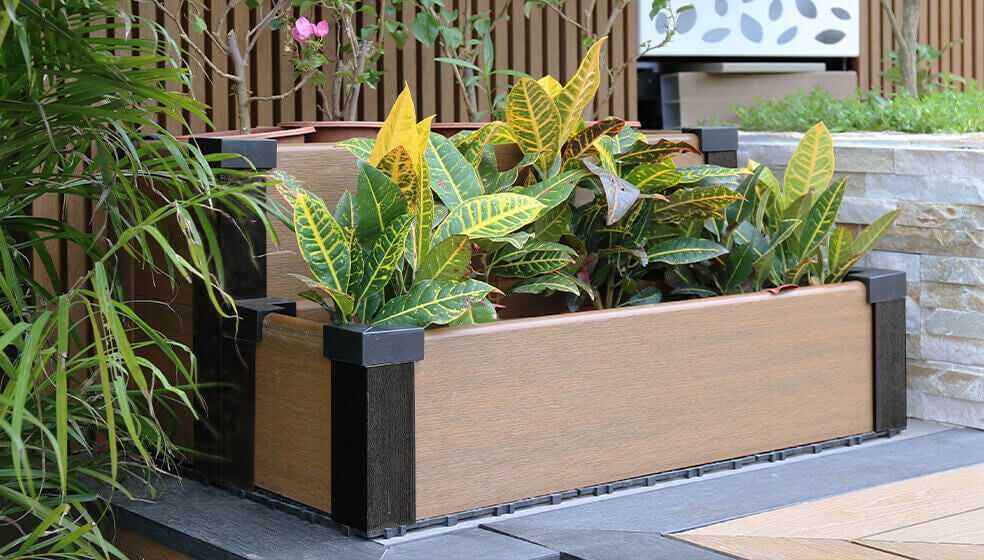
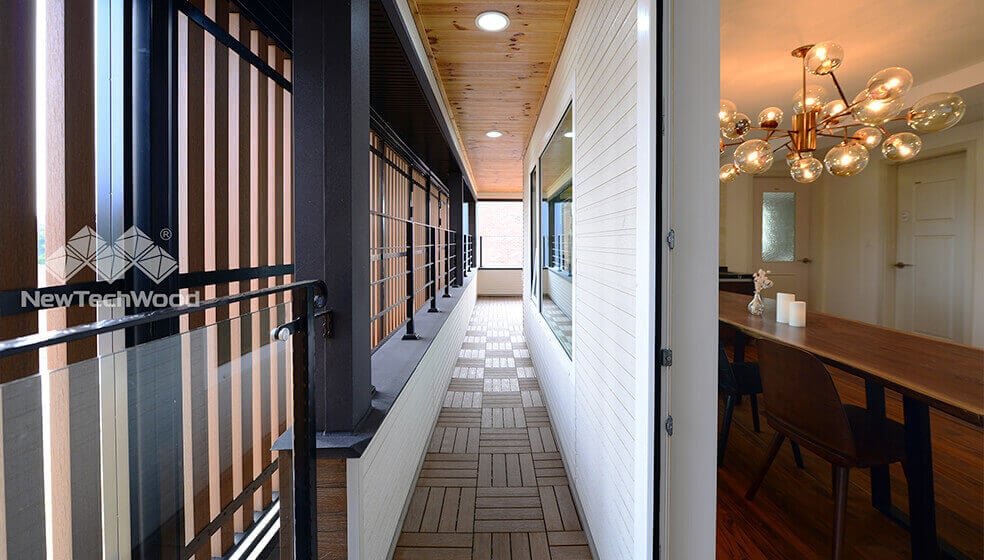
- Deck tiles: Deck tiles are interlocking composite wood tiles that easily snap together to create a beautiful deck surface. Composite deck tiles are eco-friendly and easy to install, making them a great way to enhance your deck without hiring professional help.
- Lighting: Hook your deck up with some outdoor lights so you can keep the good times rolling after the sun sets. Typically, deck lighting is relatively inexpensive and a worthwhile investment. With low-voltage deck lighting, you can choose from rope lighting to put under your rail caps, cap lights to put on the end posts or tape lights, which come in many different colors and can be controlled with a remote.
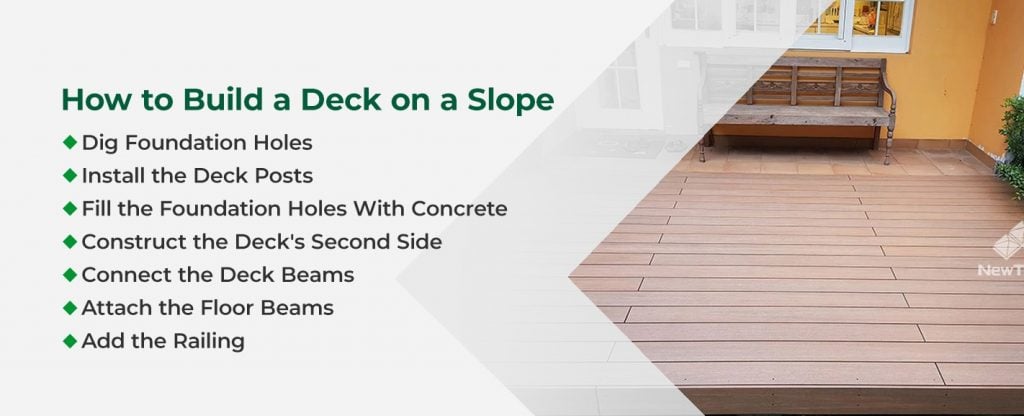
How to Build a Deck on a Slope
After planning your deck’s location and size and gathering your materials, you can finally start building it. Constructing a deck on a hill can be a relatively easy DIY project depending on the slope’s angle and steepness. For exceptionally steep hills, you may want to consult with an engineer or hire a decking professional. However, if your hill has only a slight slant, you should be able to complete the project yourself.
You can build decking on a slope on your own by following these seven simple steps:
1. Dig Foundation Holes
To begin building your deck on a slope, go up to the top of the hill and dig two holes deep enough to reach solid soil, which may require you to dig for a few feet. These holes are where the footings that support your deck will be placed. Make sure both of the holes have a diameter of about a foot.
Because the footings your deck rests on are crucial to its foundation, make sure the base post is situated far enough away from the hill’s slope and deep enough in the ground that there’s no risk of sliding. You’ll want to increase the depth of the footing by about a foot for each unit horizontal steeper that the hill’s slope gets. If the soil around the footing is loose, sandy or otherwise unstable, you may want to add even more depth.
2. Install the Deck Posts
Place a deck post in each of the holes and measure the posts from the bottom up to the deck’s height, accounting for an extra foot on the end of each post. The extra foot-length will eventually get cut off after you determine the finished deck height.
3. Fill the Foundation Holes With Concrete
After placing the deck posts, fill both of the holes with concrete and allow them to dry completely. Once the concrete starts drying, check whether the posts are level by using a water bubble level. Tie a string around each post and extend it to wherever you want to build the opposite side of the deck. Make a clear mark on the ground to designate where these opposite support posts will be placed.
4. Construct the Deck’s Second Side
At the lower end of the hill, dig two more support holes for the opposite side of the deck. Place two long deck posts in the holes and use a string to measure them, which will tell you whether they are long enough to adequately support the deck. Repeat the steps you completed with the first side of the deck, filling the holes with concrete and using a water bubble level to make sure they’re even.
Tie another string around these new posts at the height you want your deck to be. This measurement will act as a guide for the floor beams, so make sure it is accurate and straight by holding a level up to it. Make a mark on the posts wherever you plan on securing the deck beams.
5. Connect the Deck Beams
Using the marks you just made as a reference, attach the deck beams to the posts with 3-inch bolts or nails. Frame each of the sides with deck beams that are an appropriate length depending on whatever type of board material you purchased. Because these beams will form the skeleton of your deck’s structure, make sure you create a strong center of support.
6. Attach the Floor Beams
Attach the floor beams to the deck beams by using 3-inch nails again or metal braces. Double-check that you are following the building codes specific to your area that regulate the amount of spacing for deck floor beams. After confirming you’re working within regulations, lay the deck boards down and secure them into place with deck screws.
7. Add the Railing
Now that you’ve finished the base of your deck, you can add the railing. If you want an easy and quick railing solution, you can purchase a premade railing system from your local home improvement store. Otherwise, you can construct one yourself by using pieces of lumber to build a basic design. Once again, consult your area’s building codes to see what your railing’s spacing, height and baluster width should be.
If you decide to build your own railing system, start by cutting all your balusters and top rail pieces to the proper height. Then, use lag screws to attach each of the balusters to the outside edge of your deck. Make sure every baluster is correctly spaced out before securing it to the deck. Test each one by using a level to check that it’s plumb before moving on. Finally, take some deck screws to attach the support posts and pickets to the top rail.
Bonus: Apply a Wood Finish
If you opted for traditional wood decking instead of composite decking material, your work is not quite finished yet. After attaching the railing, you will need to add an exterior wood stain or paint to the deck. Before applying the wood stain or paint, sand down all the rough areas of the deck to create a smoother surface.
Once you begin painting or staining, be sure to give each coat enough time to fully dry before beginning the next one. After the paint or stain is dry, add a layer of polyurethane to ensure the deck’s finish is protected even further. If your deck is particularly expansive, you may want to consider renting professional sanding equipment to lightly smooth the surface once again after the final coat of finish has dried.

Find the Right Decking Material With NewTechWood
If you plan on building a deck on a slope, get dependable decking material from NewTechWood. Composite decking from NewTechWood is durable, affordable, eco-friendly and easy to install. NewTechWood composite decking is low maintenance and strong enough to withstand everyday wear and tear.
As a leader in the composite wood industry, NewTechWood offers a wide range of stylish composite decking options in realistic wood colors and various patterns. With NewTechWood composite decking, you can build an attractive, long-lasting deck your family will love hanging out on for years to come.
To learn more about building a deck on a slope or request a composite decking sample, contact NewTechWood today.


