


Building your own deck is a rewarding experience. You have the ability to control every part of the process, including when to work, where to allocate your budget and all creative decisions. When you’re finished, you’re reminded of your hard work every time you entertain or enjoy a barbecue with friends. That said, installing your own deck requires careful planning and research.
One essential part of installing a new deck is laying deck joists. There are several factors to consider when installing your joists, such as the size you need and how much space needs to be between each one. In this guide, we’ll discuss the purpose of decking joists, as well as frequently asked questions about joist installation. We’ll also share step-by-step instructions to make installing your deck joists a quick, simple process.
What is a Decking Joist?
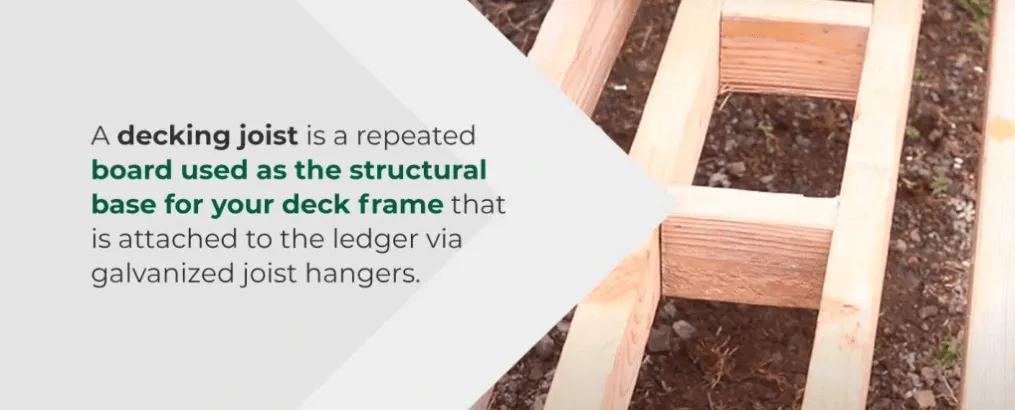
Before installing any type of decking, you need a solid, flat surface to work on — this is where your deck frame comes in. A decking joist is a repeated board used as the structural base for your deck frame that is attached to the ledger via galvanized joist hangers. Typically, joists run perpendicular to the house, while the decking on top runs parallel to the house. Every significant portion of your deck needs to be supported by a joist. Otherwise, it will not be structurally sound and could bend or buckle over time.
Joists are made out of several different materials, such as steel, but we generally recommend our clients use pressure-treated lumber when pairing with composite decking. You can find joist boards and all necessary building supplies at home improvement and hardware stores.
Frequently Asked Questions About Decking Joist Installation
Although laying and installing joists is a straightforward process, there are several things to consider, especially regarding size and spacing. Getting board dimensions or spacing distance wrong can compromise the integrity of your structure, and might even violate some local building codes.
To make the process easier, here are answers to some of the most frequently asked questions about decking joist installation:
What Size Joists Do You Use for Decking?
Joist boards come in a variety of sizes, ranging from 2-by-4 to 2-by-12. You can choose the size that works best with your overall deck design and dimensions. The bigger your deck is, the larger joists you need. Commonly used joist sizes are 2-by-6, 2-by-8 and 2-by-10. For example, when you space joists 16″ apart — which is standard for residential decks — a deck spanning 9 1/2′ would require 2-by-6 joists, a 13′ deck would need 2-by-8 joists and a 16′ deck calls for 2-by-10 joists.
If you’re not sure what size wood you should use for your decking frame or what size joist boards you need for your project, consult a professional deck installer.
How Wide Should Deck Joists Be?
Base the width of your deck joists on how far apart the beams are or the distance between the beams and ledger. Always consult your local building codes to see if there are any regulations regarding deck joist dimensions. If nothing is listed, you can follow these guidelines for joists spaced 16″ apart:
- 2-by-6 joists:Joists should span 9 1/2′.
- 2-by-8 joists:Joists should span 13′.
- 2-by-10 joists:Joists should span 16 1/2′.
Not sure what size wood you should use for your decking frame? You can also consult an online deck span and spacing calculator that takes into account the size and spacing of your joists, as well as the type of lumber you are using.
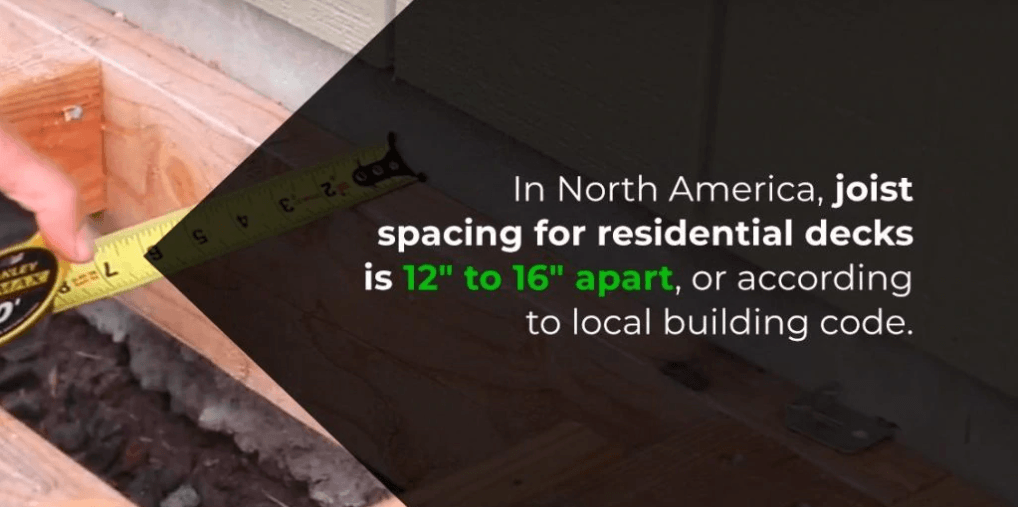
How Do You Space Deck Joists?
How wide apart should decking joists be? In North America, joist spacing for residential decks is 12″ to 16″ apart, or according to local building code. Most decks require 16″ spacing for the deck itself, with 12″ spacing used for special applications, such as stairs or commercial structures. Consult the installation guide that comes with your decking for specific instruction. Table R507.7 of the International Residential Code provides further insight into regulations surrounding maximum joist spacing for decking.
If you’re laying composite decking on top of your frame, you need at least 1 1/2″ of support at every joist. If your deck has any butt joints — the place where two deck boards meet — you’ll have to install a sister joist at this location. You will also need to install a ladder joist if you plan to use a breaker board to separate your deck rows.
If you are remodeling a pre-existing deck, always check that joists are correctly spaced according to today’s codes and regulations, and replace them if necessary.
How Far Can Deck Joists Overhang the Beam?
When a joist overhangs a beam, it’s known as a cantilever. The maximum safe distance for a cantilever depends on several factors, including the type of lumber you’re using and the size and spacing of the joists. Deck cantilevers should not exceed one-quarter of the joist’s total length and should be no more than three times the width of the joist. For the overhang on a deck to remain compliant with building codes, it must meet each of these conditions.
For example, if you’re using southern yellow pine lumber for your joists, the allowable cantilever overhang would be 3′ for 2-by-10 joists spaced 16″ apart and spanning 12′ total.
What Type of Lumber Should You Use for Joists?
You’ll want ground-contact use wood for your deck frame. For joists, douglas fir and southern yellow pine are some of the strongest wood types. When choosing lumber, look for boards graded “No. 2” or higher. Anything less, and your boards may not be strong enough to support a deck. If you choose a pressure-treated wood — which is advisable — be sure your boards are completely dry and acclimated before you work with them. In some places, the amount of precipitation or humidity level can affect the type of lumber you should use for an outdoor deck. Consult a lumber technician or professional deck builder for climate-specific guidance.
Keep in mind that boards are sold in even lengths, meaning your deck will require more cutting and lumber waste if you’re designing an odd-numbered deck. For example, if you’re building a small, 11-by-11 deck, you will have to cut all of your lumber to size, which you wouldn’t have to do with an even-numbered 12-by-12 deck.

Do Deck Joists Need to Be Treated?
Pressure-treated lumber is ideal for deck framing. We also recommend using joist tape or a wood protectant to help shield cut ends from moisture damage. Joist tape is a self-adhesive tape made of rubberized asphalt that you place on cut joist ends to help protect it from water and reduce sound transmission.
After you have completed your deck, there are a few things you can do to help your joists last longer and resist as much water-related damage as possible:
- Install a drainage system: Make sure you have some sort of water drainage system installed under your deck, but above your joists. If you live in a high humidity area, consider installing under-deck ventilation as well.
- Keep it clean: Sweep the top of your deck regularly and remove any twigs, rocks or debris that gets jammed near the joist beams.
- Inspect regularly: Finally, inspect your joists, beams and deck frame regularly, so you know if any issues arise and can address them before they turn into more significant problems later.

Before You Install the Joists
Decking joists are only one step in a multi-step deck building process. Before you install the joists, you must first prepare the deck area, dig footing holes and install the ledger and support beams:
- Area preparation: Always make sure the area in which you plan to build your deck is free of any tree root systems or utility lines and falls within local building codes. If you want to do any landscaping to the area that will soon be your under-decking, do so before you begin your building project. Consider laying gravel or another type of weed barrier to keep landscaping to a minimum. Remember, depending on the height of your deck, you may not be able to access the under-decking area easily. Keep this in mind when making landscaping decisions. While a flat worksite is ideal, you can design a deck that accommodates gentle slopes as well.
- Footing holes: You need to dig footing holes and fill them with concrete. These filled holes will act as the primary support for your deck posts — and, by extension, your joists.
- Ledger: The ledger is the piece of lumber that you attach to the side of your home to support the deck frame. Always install a ledger to the structural foundation — never over siding of any kind. Many experts agree improperly installed ledgers are one of the leading causes of deck collapse and associated injuries. Take your time as you install your ledger, and avoid cutting corners. Use quality bolts, rather than nails, to secure it to your home’s foundation. As always, remember to consult local building codes regarding ledger placement and installation.
- Support beams: Once you have installed a ledger, you will add the remaining support posts and any applicable center beams before continuing to the joists.
How to Lay Decking Joists for Composite Decking
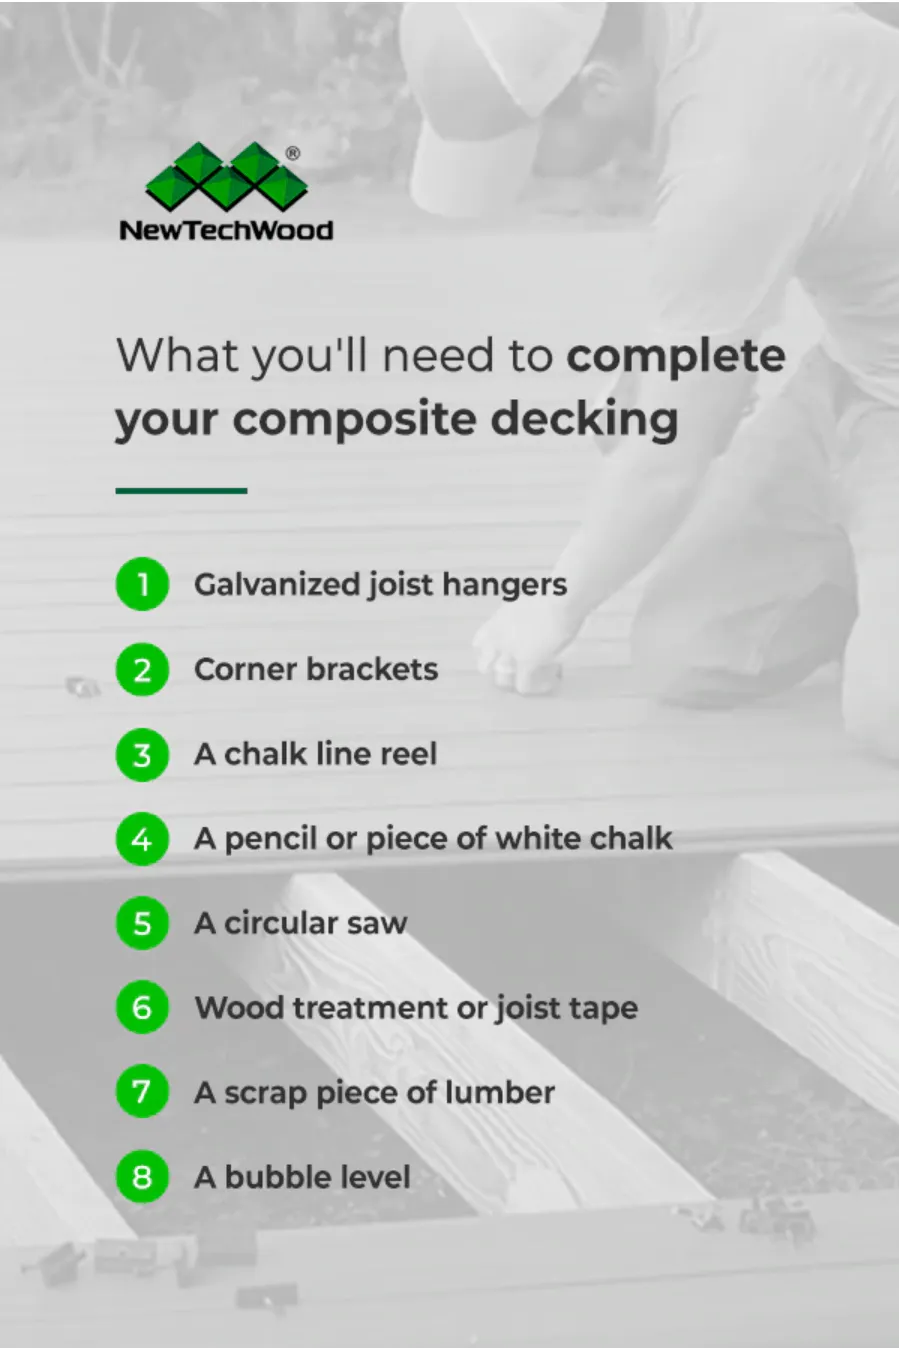
Now that you know more about decking joists, you can begin crafting the frame of your deck. Before you start the installation, make sure you have all the tools, supplies and equipment that you’ll need to complete the project. In addition to correctly-sized joist boards, you need:
- Galvanized joist hangers: Most decks require standard, face-mounting galvanized hangers, but some special cases — like living in a salt-air climate — might call for specialized hangers. Choose your joist hanger according to the size and load capacity of your joists. Always purchase new hangers, rather than reusing or cutting old hangers to size. Only use hangers specified for joists and never attempt to make your own.
- Corner brackets: Use corner bracket joist hangers for any 90-degree joists in your deck plan.
- A chalk line reel: You will use a chalk line reel to pull a straight line across the rim joists.
- A pencil or piece of white chalk: You need a lumber pencil or piece of white chalk to mark your joint spacing on your ledger board before installation.
- A circular saw: Use a circular saw to cut lumber to meet your project dimensions, according to the recommend joist length and width.
- Galvanized hanger nails: You need 1 1/2″ joist hanger nails. Joist hanger nails are hot-dipped and galvanized. Be sure you have enough nails on hand to fill each hole on every hanger.
- Wood treatment or joist tape: Be sure to apply wood treatment or joist tape to every cut end of lumber to prevent moisture damage and warping.
- A scrap piece of lumber: Cut a piece of wood from your pressure-treated joist lumber to use as a guide when placing your joist hangers. Make sure the scrap wood is in the same dimensions as your joists.
- A bubble level: If you’re working alone, a bubble level will help you measure straight lines when installing joist hangers.
It also helps to have one or two people helping you throughout the installation process, especially if you have never built a DIY deck before. You can still complete the project on your own, but you will have to take a few additional steps and be extra thorough when measuring straight lines.
Before laying and installing decking joists, check the weather forecast. You want to work on a dry, clear day, or the ground may be too muddy and unstable to work on. Your lumber must also be completely dry before beginning this project. Start your build early in the morning, so you have enough time to finish it before nightfall.
1. Mark Joist Location
Before you begin, take the time to cut all your joist lumber to size, according to deck dimensions and spacing requirements. Make sure all boards are the same length. This way, you can install boards quickly. Remember to seal all cut ends of lumber with joist tape or wood treatment.
Now, you need to use a pencil or white chalk to mark the face of the ledger board where your joists will be — exactly 16″ from center to center. If using a tape measure, be sure you securely place the tip of it against the outside of the ledger, so you get an accurate measurement.
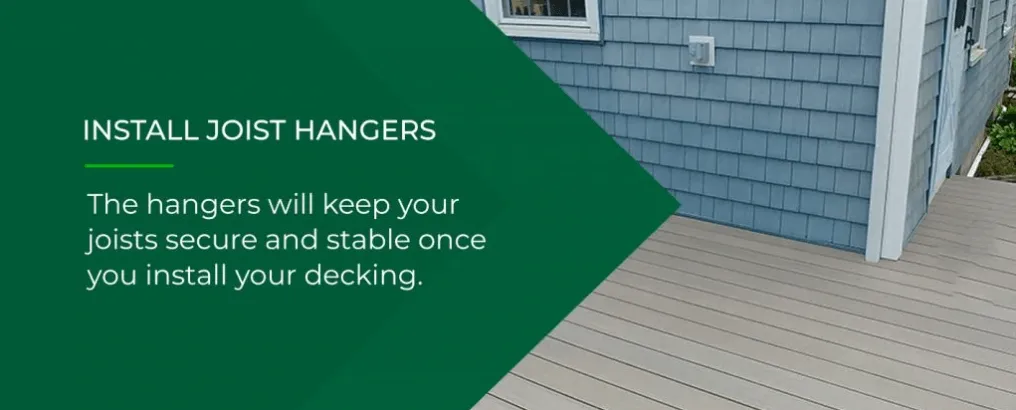
2. Install Joist Hangers
Next, it’s time to install the joist hangers. The hangers will keep your joists secure and stable once you install your decking — plus, they make it attaching your joist boards a breeze.
Before you can install the hangers, you need to know where to place them:
- If you are working with the help of an assistant: Use a piece of scrap lumber to act as a placeholder. Slip the joist hanger over the scrap piece of wood until the end of the bracket lies flush with the end of the wood, centering it on the 16″ guide mark. Some homeowners prefer to install the hangers open side up, while others install them open side down. Do whatever you think will be easiest for you to work with, or according to the manufacturer specifications. Then, have your assistant hold the piece of wood level against the ledger with the hanger lying flat against the ledger face. While your assistant holds the wood and uses their fingers to squeeze the bracket into place, carefully hammer a nail halfway into each top hole on the hanger. Once that is completed, your assistant can remove the placeholder wood, and you can continue hammering the nails in the top and bottom holes. Repeat this process until you have installed all hangers at the 16″ mark.
- If tackling your project alone: If you are working without an assistant to help you nail the hanger into place, use your pencil or chalk to mark where the top of the first joist hanger is when using the scrap wood. Do this again with the final joist hanger. Then, use your chalk line reel to pull a straight line from the first and last hanger locations. Double-check that the line is level, then begin nailing the hangers into place according to your marks.

3. Attach the Joists
Once each hanger is installed evenly and nailed into place, you can begin attaching your joist boards:
- Carefully insert the joist lumber into the hanger.
- Squeeze the hanger against the sides of the wood until it is lying flat.
- Nail the joist to the hanger using the holes on the side of the hanger.
- Repeat this process until all you have attached all joists to their corresponding hanger.
4. Close in the Frame
Now that all joists are attached to their hangers, they should be self-supporting with the help of your support beams. To close the frame, you will install one final rim joist along the open-ended edge of the joists:
- Use your chalk line reel to mark a straight line from each end joist — also called rim joists — to see whether you need to further trim any joists to size. Remember, it is critical that the joists be the exact same length. If your joists require further trimming, use your circular saw, and remember to re-treat or tape the newly cut ends.
- Attach the front rim joist board, creating a completely enclosed deck frame. If your design includes stairs, leave that area open. If you are working alone, you will likely need to attach a scrap piece of wood to the bottom of an end joist, so it can hold up and stabilize one end of your final rim joist piece while you are securing the other end.
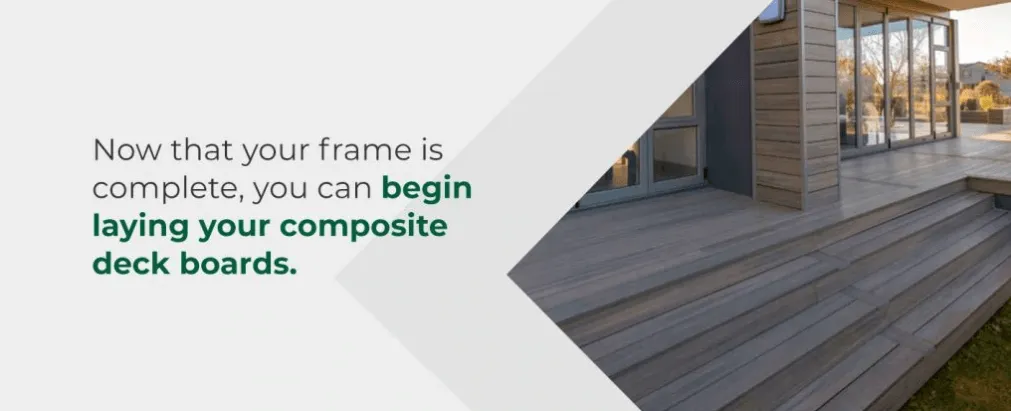
- Now that your frame is complete, you can begin laying your composite deck boards.

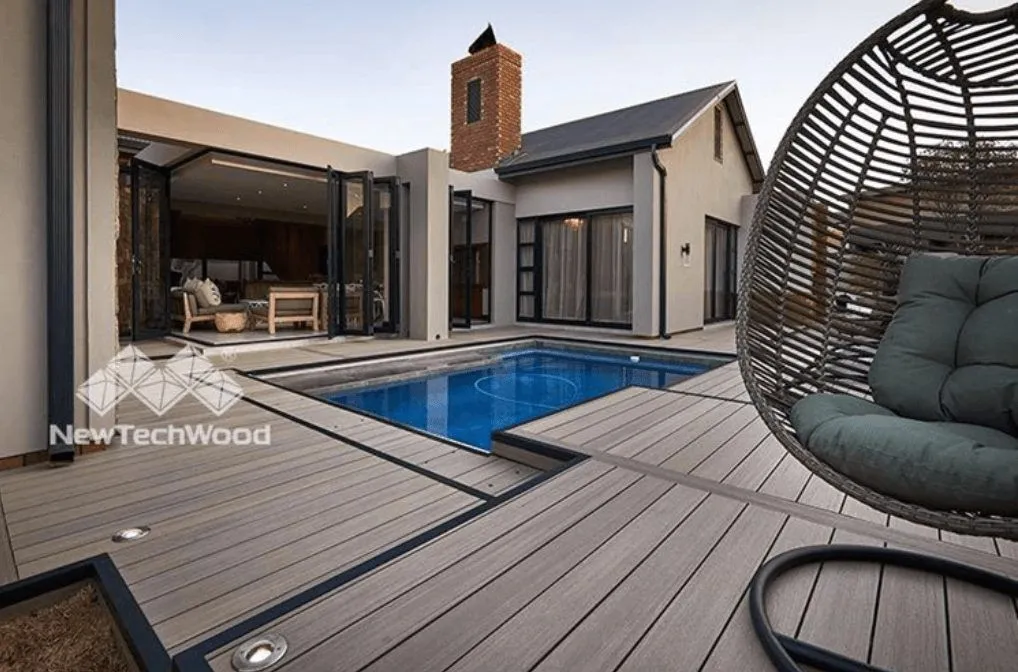
Get Quality Composite Decking Material at NewTechWood
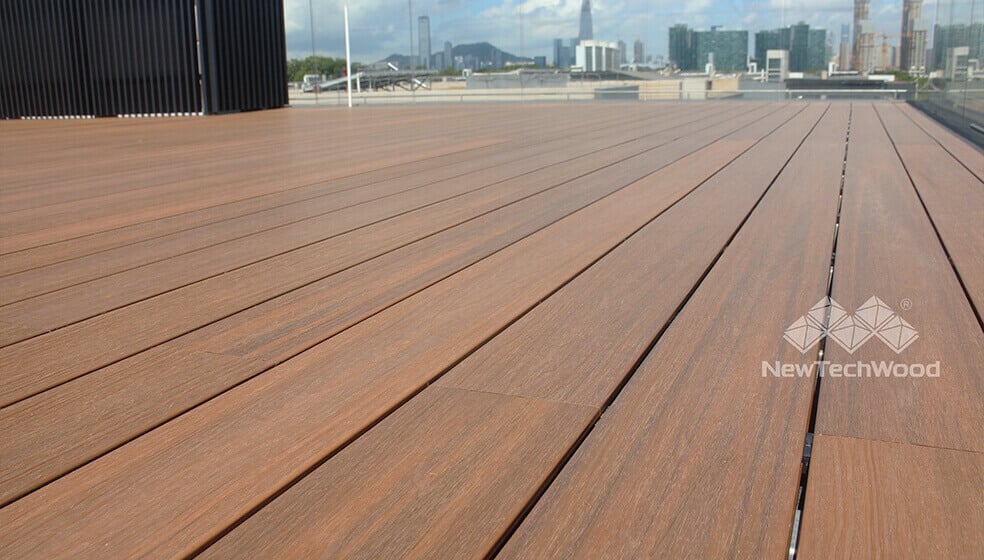
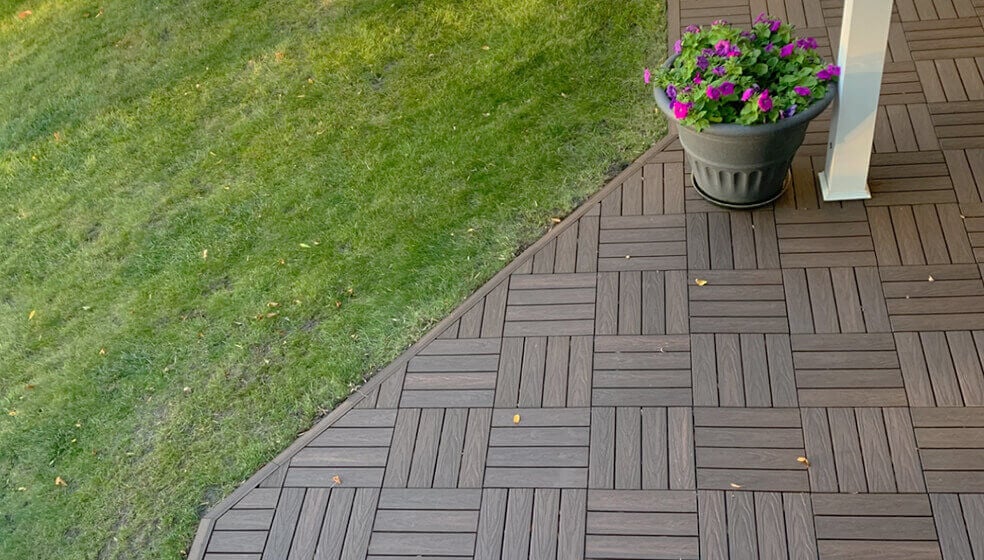
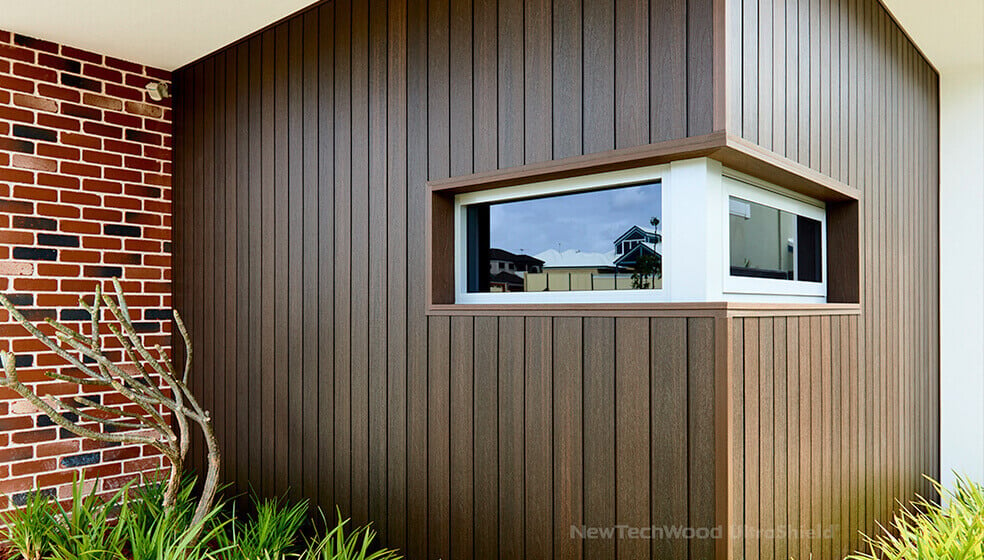
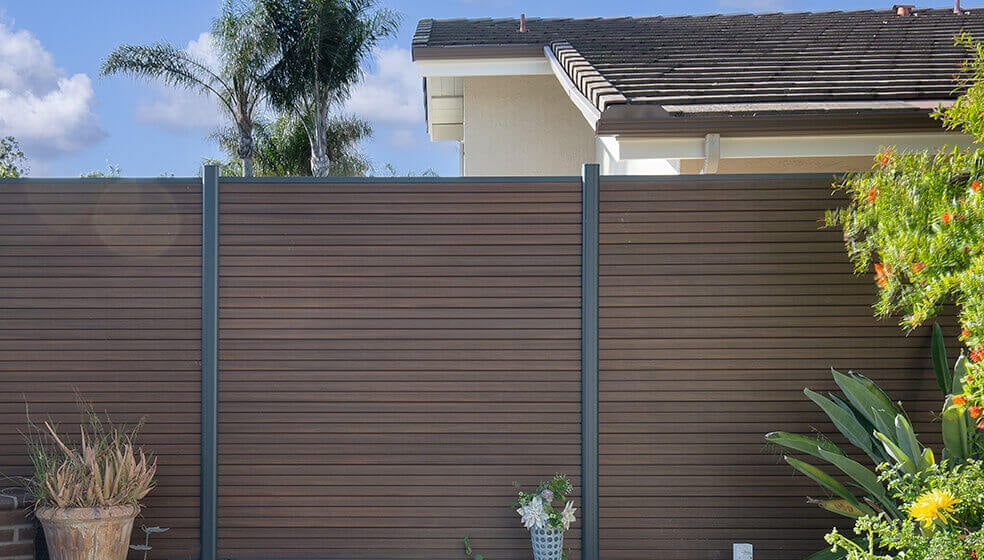
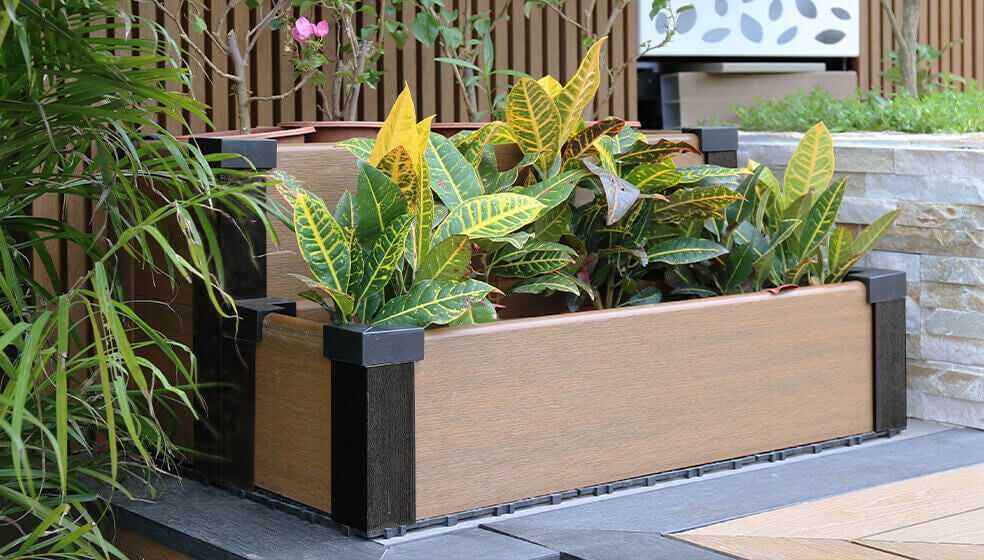
A DIY deck project is an exciting, worthwhile venture. Your deck will look professional as long as you prepare, do your research and use high-quality building materials, like composite decking from NewTechWood.
NewTechWood UltraShield® Naturale™ is one of the top composite decking materials in the industry, thanks to its long-lasting durability, unique features and customizable options, like:
- 360-degree capping: 360-degree capping protects each side of your composite decking — including the composite core of the board — from moisture and pest damage.
- Profile options: Choose from solid deck boards, solid deck boards with grooves, circle hollow deck boards with grooves and more. No matter the design, NewTechWood has the right profile for your project.
- Colors: You want a stylish, attractive deck — and we can help. With both straight grain and wood grain finishes, you can choose from one of our popular finish colors or use our custom color range option to craft a composite deck that is truly yours.
Learn more about the UltraShield® advantage, or find a NewTechWood distributor near you to get started.


