

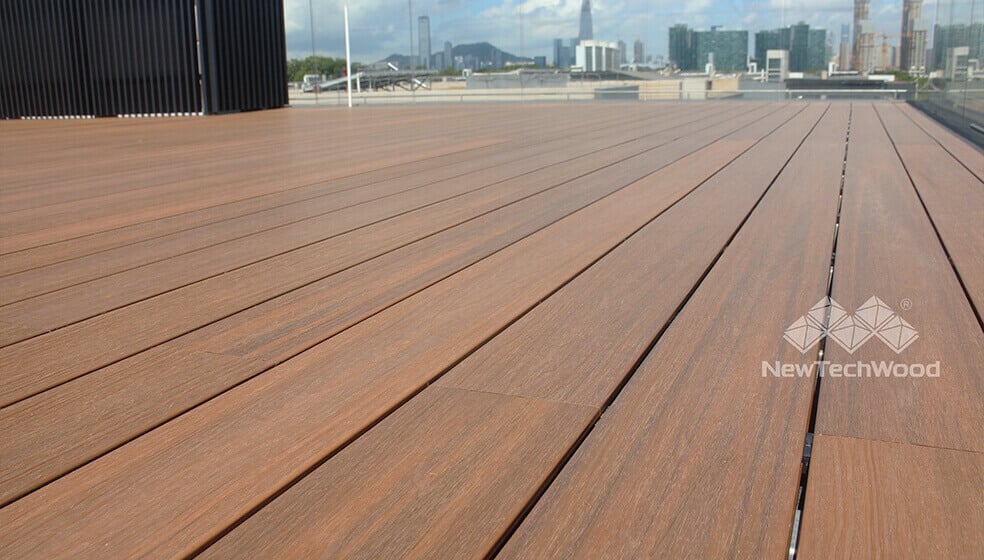


How to Keep Deck Boards Straight
When laying a deck, keeping the boards straight and square is one of the greatest challenges and requires a variety of techniques at multiple stages during the installation process. In this article, we will show you how to install a composite deck and provide tips to avoid common pitfalls.

HOW TO KEEP DECK BOARDS STRAIGHT
When laying a deck, keeping the boards straight and square is one of the greatest challenges and requires a variety of techniques at multiple stages during the installation process. In this article, we will show you how to install a composite deck and provide tips to avoid common pitfalls.

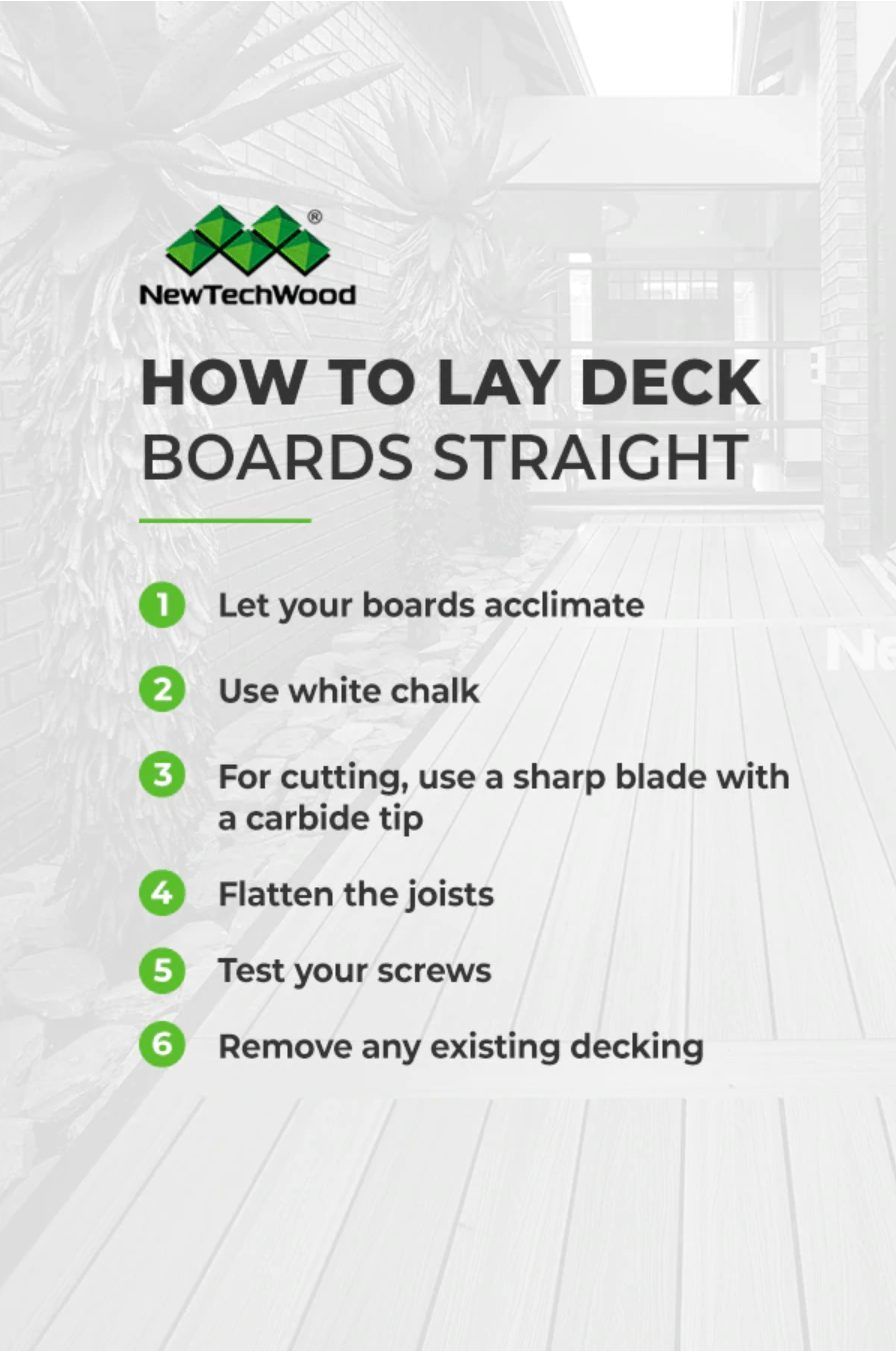
How to Lay Deck Boards Straight
When preparing to install a deck, follow these tips for laying deck boards square and straight:
- Let your boards acclimate. Before you install your deck, your boards need to acclimate to their new environment. Lay them straight on a flat surface outside near where your deck will be installed. It is absolutely critical that your boards are laid on a completely flat surface — otherwise, they will begin to bow, which will make your installation difficult or impossible. Do not set your boards on a surface like grass or dirt, as these surfaces could move over time.
- Use white chalk. A chalk line will be necessary to lay your deck boards properly. However, make sure you use white chalk, as it’s the only color that won’t permanently stain your deck.
- For cutting, use a sharp blade with a carbide tip. After laying all your boards, you’ll want to use a saw to cut your boards and create a clean edge. To make sure your cut is as clean as possible, you should use a sharp, carbide-tipped blade.
- Flatten the joists. You can’t keep your deck boards straight if the joists on which you’re installing them aren’t flat. Make sure your joists are level to avoid your boards being wavy. To do this, stretch a chalk line over your joists to find any joists that are too high. Then, plane these high joists down using a power hand planer. This may sound time-consuming, but it shouldn’t take more an hour or so.
- Test your screws. To install a composite deck, you must use screws specifically designed for composite deck boards. You don’t want to start laying your deck boards and find out that the screws you’re using are destroying your decking. To avoid this situation, test a few screws on a piece of scrap decking. If your screws mushroom, then find another brand. We recommend that you visit a home center or hardware store to find out whether they offer screws designed specifically for composite decking. With composite screws, you can rest assured your composite deck will not be harmed and look its best. If you’re unsure which screws will work with your decking, consult your manufacturer.
- Remove any existing decking. You cannot install your new composite decking over existing decking. While retrofits are a possibility with many composite decking products, installing composite decking over existing decking material should not be done under any circumstances.
If you’re building your deck from the ground up, you’ll first have to construct the joists that will support your deck. To construct a reliable, sturdy substructure, follow these steps:
- Make the caissons. Dig holes with a posthole digger for the caissons that will support the joists. Once you’ve dug the holes, fill them with concrete. Then, smooth the concrete using a float. Most concrete takes at least 24 hours to cure, but be sure to follow the manufacturer’s instructions.
- Install a ledger board, anchors and posts. Once the concrete has cured, attach a ledger board to the side of your home using a level. This board serves to secure the deck to the side of your home. Next, attach post anchors to the caissons and then 4-by-4-inch posts on the anchors.
- Install beams. Attach a center beam to your post hangers, and then attach an end beam.
- Attach joist hangers. Along the ledger board and end beam, install joist hangers roughly every 6 inches. You can make a joist jig from framing lumber to ensure you install the hangers consistently.
- Place the joists. Mark and cut your joists so they will run from the ledger board to the end beams. Place these joists in your hangers, and then secure them using nails. Frequently check the plumb, level and square.
After the joists have all been properly placed, you have a functional frame on which the decking can be installed. With composite decking, you can choose from several fastening systems to secure your decking.
Depending on the composite boards that you bought, your decking’s fastening system may be hidden or non-hidden.
Hidden fastening systemshold your deck together without making an unsightly break in your deck’s appearance. They include the following parts:
- T clips: This component gets its name from its shape, which resembles a “T” from the side. In the middle, there is space for a screw. T clips are designed to slide into the gaps made by long grooves in the side of the decking, which allows them to remain unseen. When you position these clips, they screw into the joists under them, providing the surface of the decking with a sleek, seamless look.
- Mini gap: This system provides a narrower gap than you get with T clips. They are shaped like a “Z,” which enables them to slide underneath a deck board, up between the two boards and on top of the interior groove of another board. Unlike T clips, these mini gap fasteners must be screwed into place before installing the following board.
Fastening systems that are non-hidden primarily include face-fixed screws. If the composite decking you bought doesn’t include hidden fasteners, it can be installed by inserting screws directly from above the board into a joist underneath. To do this properly, you will want to buy screws specifically designed for composite decks. These screws bury themselves in the deck boards, which means you’ll barely see them, and your bare feet will never get snagged.
Composite decking requires a fastening system and a locking system. Certain boards need to be locked in certain locations to direct their movement when they expand and contract. The locking pattern of your deck will depend on the deck boards’ layout. There are several common patterns that we recommend:
- One board spans the entire length of your deck: If your boards can span the entire length of your deck, there won’t be any butt joints to deal with. In this situation, you will secure the boards wherever they meet a support joist. In the middle joist, instead of installing the normal mini gap clip or T clip, put in a locking clip.
- Two boards span the entire length of your deck: For rows of your deck with two boards, there will be a butt joint where the two boards meet. In this case, you won’t lock the boards in their center. Instead, you’ll install locking clips on each board at the butt joint. With this arrangement, the boards will be able to expand away from one another when the weather changes.
- Three boards or more span the entire length of your deck: If you have a deck where more than two boards are required to span the length, we recommend that you put in a breaker board. A breaker board runs perpendicular to your other boards, breaking them up and distributing the force of the boards’ contraction and expansion. To install a breaker board, you will have to put in a ladder joist under the area where the breaker will be. To fasten the board to the ladder joist, you might have to cut a T clip in half. We recommend using locking clips in the middle of each horizontal deck board for this layout.
Now, we’ll discuss how to lay deck boards straight into place. To do this, you must first find the starter clips that come with your decking. Starter clips are to be used at either end of the frame. Attach your starter clips at each of your joists and then slide your first board into place. You should then be able to add more boards in a uniform pattern. The hidden fastening system that you’re using will determine the pattern that you’ll use.
- T clips: If you’re using T clips, put the clip in your deck boards’ grooves, making sure that the locking clips are positioned in the right places. Then, screw the clips halfway into your joist to secure your board loosely. Then, lay the next board and press the two boards together firmly as you finish screwing the clips in. Repeat this process until you’re about to install the second-to-last deck board.
- Mini gap: Put the clips in the groove of the deck boards and align over the joists. Then, screw the clips in their places and then slide the following board into place, making sure that the clip’s top lip snugly fits into the groove of the board.
When you are ready to install the last board, then you might have to trim it so it can fit the remaining space. If this is the case, take a plunge router tool and make a groove in the cut board’s side. However, make sure not to rout the board’s entire length. There may be specifications for the final board of your decking product based on the amount of room left and the fastening system that you’re using. If you’re using T clips, you must install the last board before the second-to-last board. If you’re using mini gap clips, then you need to face-fix the final board in place with composite deck screws. Check the installation guide of your composite decking to make sure you install the final board properly.
The next step is to install your fascia boards. Fascia serves as a border around your deck’s outside and can help to hide things under the deck that you don’t want to be seen. Companies that manufacture decking products sometimes also make fascia boards that match their decking products perfectly. When installing your fascia, keep the following in mind:
- Install your fascia into the structural frame of your deck. You cannot use your decking as an anchor for your fascia.
- The holes you pre-drill should be a little bit bigger than your composite deck screws. By drilling larger holes, you allow the fascia to contract and expand.
- Space your screws a minimum of 1.5 inches away from the edges. Also, make sure the screws are no more than 12 inches apart. Use two screws for each location that you drill.
Your installation should be adapted to the thickness of your fascia. If the thickness is 0.375 inches or less, installing it on center every 12 inches will prevent warping or buckling. For boards with a thickness greater than 10 millimeters, it should be installed every 16 inches on center.
The final step is to put on end caps or a moisture seal. The protect your decking’s edges, you can brush on a coat of water-based sealer, which serves to protect the ends of your deck from warping. For hollow decking, we recommend installing end caps, which will protect the unsealed interior. Consider installing end caps anywhere that the hollow decking’s ends are exposed. The caps are usually made of plastic and match the color of your decking. The installation is also quite straightforward — just put on a silicon sealant to the end cap or on the end of the deck board, then put the cap in place. You can tap the cap using a rubber mallet to make sure it has adhered properly.

Tools Required for the Project
To save yourself time and frustration, have all the tools needed for this project before you start. The required tools and materials are:
- Circular saw
- Chalk line
- Drill bit set
- Cordless drill
- Miter saw
- Hammer
- Safety glasses
- Pry bar
- Wood chisel
- Tape measure
- Pipe clamps
- Decking
- Stainless steel or galvanized screws
How Much Space to Leave Between Deck Boards
When adjusting your decking, try these spacing tips for laying your deck boards:
- When you get within 5 feet of your wall, measure the distance to your house at both ends of your deck as well as in the center.
- Gradually adjust the space between each deck board over the next decking rows until the distance to your house is equal.
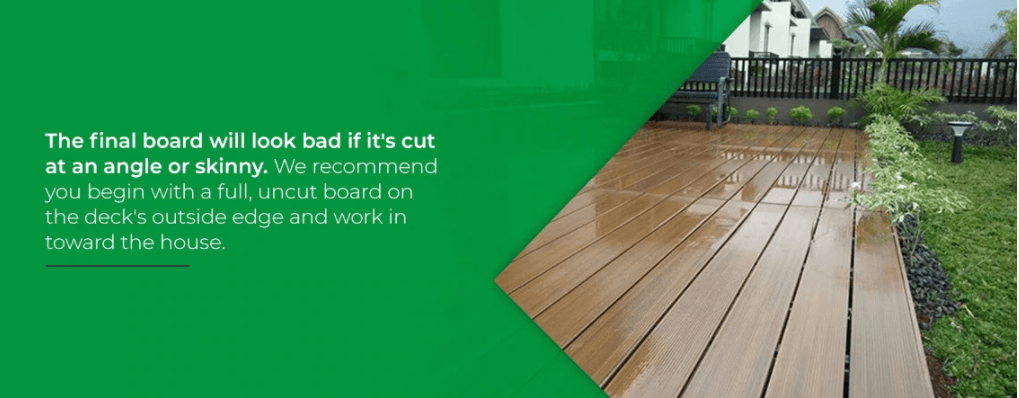
The final board will look bad if it’s cut at an angle or skinny. We recommend you begin with a full, uncut board on the deck’s outside edge and work in toward the house. Then, when you’re 4 or 5 feet away from your house, adjust the sizes of the gaps between the boards so the final board is full and uncut.
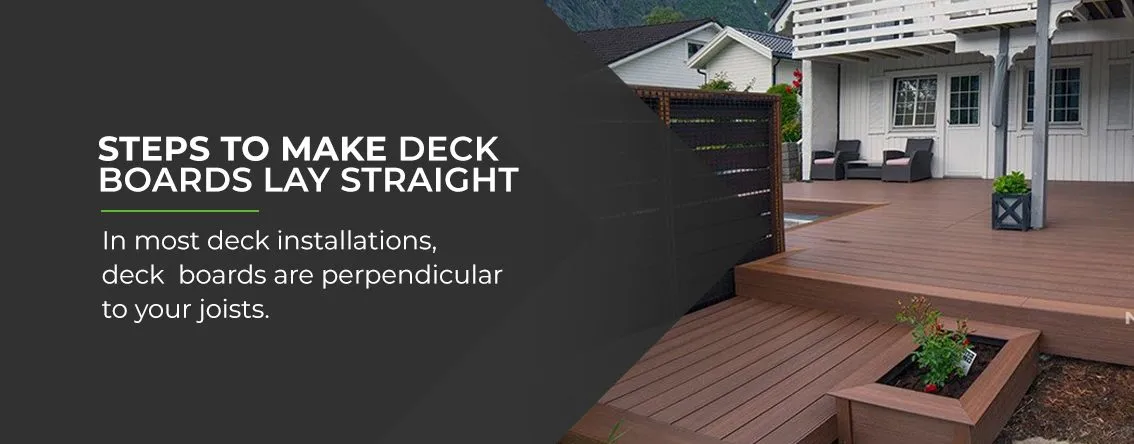
Steps to Make Deck Boards Lay Straight
In most deck installations, deck boards are perpendicular to your joists. To make a professional, tidy appearance for the deck, your deck’s outer frame needs to be square to ensure your deck boards can lie correctly on the joists. To keep all aspects of your deck installation completely square, you’ll use several techniques throughout the process.
Follow these steps to make sure your deck boards lie correctly:
1. Determine the Squareness of the Corners of Your Deck Frame
You can determine whether your deck is square by using the 3-4-5 method or the crossover method.
The crossover method is perhaps simpler, as it just involves measuring the distance from one corner to the diagonal corner before you finish attaching the beam to the joists. Then, compare this distance to that between the two remaining corners, and make sure the two measurements are the same. If they’re different, gently adjust the rim joist so the attached joists slide along your beam. Then, measure again. Continue adjusting until the diagonal measurements are equal.
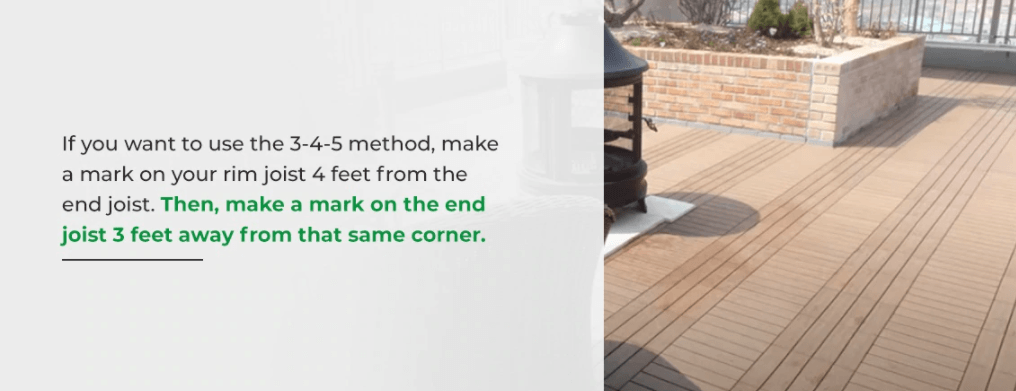
If you want to use the 3-4-5 method, make a mark on your rim joist 4 feet from the end joist. Then, make a mark on the end joist 3 feet away from that same corner. Measure the distance between these two marks. If the distance is 5 feet, this means that that the corner is a 90-degree angle. If not, then adjust your rim joist as described above until you measure 5 feet between the two marks.
2. Keep Your Deck Square
To keep your framing square while you install your decking, screw a long, 1-by-4-inch piece of lumber under the joists on a diagonal, ideally parallel to the 5-foot distance in the 3-4-5- method. Keep this 1-by-4 in place as you attach the decking. If you can’t place this piece of lumber underneath your joists, you can place it on top — just remove it when you need to install decking in that area.
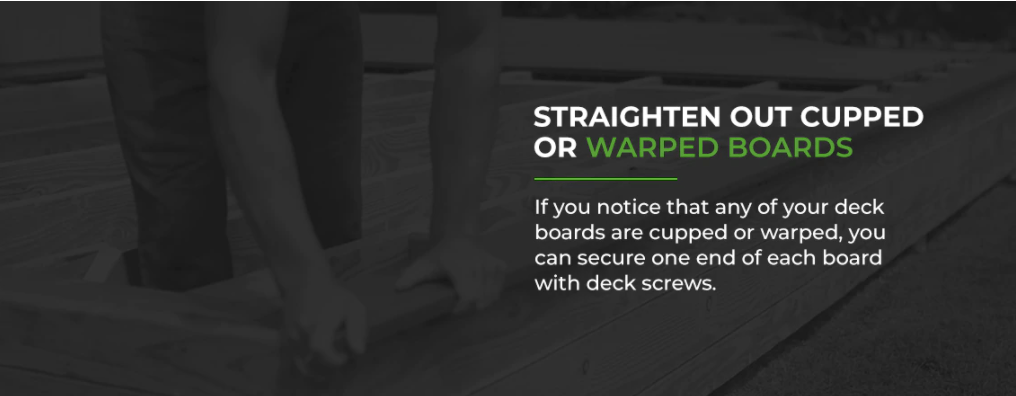
3. Straighten Out Cupped or Warped Boards
If you notice that any of your deck boards are cupped or warped, you can secure one end of each board with deck screws. On the other end, insert the straight side of a pry bar at the joist. Push the pry bar to align the warped board with the other boards. Another option is to use a self-locking board-bender tool to straighten the board.
4. Keep the Ends of Your Deck Boards Square
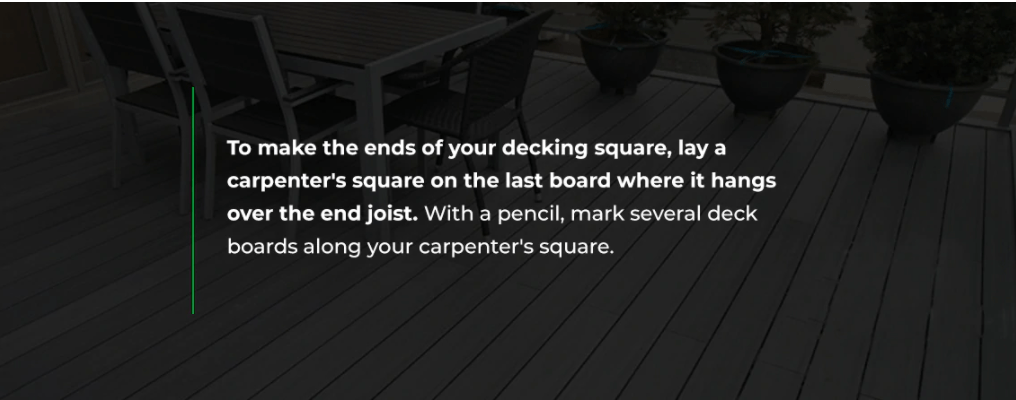
To make the ends of your decking square, lay a carpenter’s square on the last board where it hangs over the end joist. With a pencil, mark several deck boards along your carpenter’s square. To continue this line along the whole deck, snap a chalk line. Then, cut the ends of the boards using a circular saw.

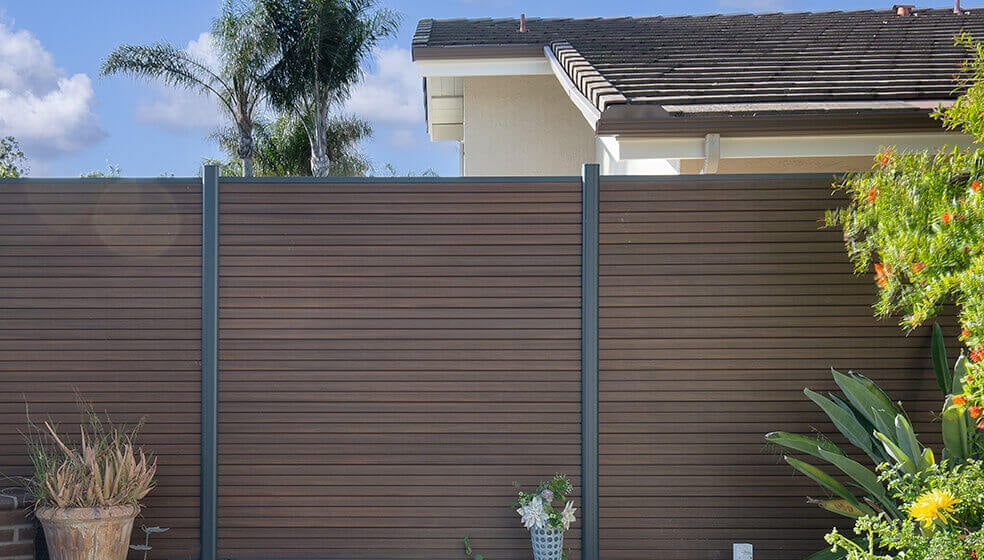
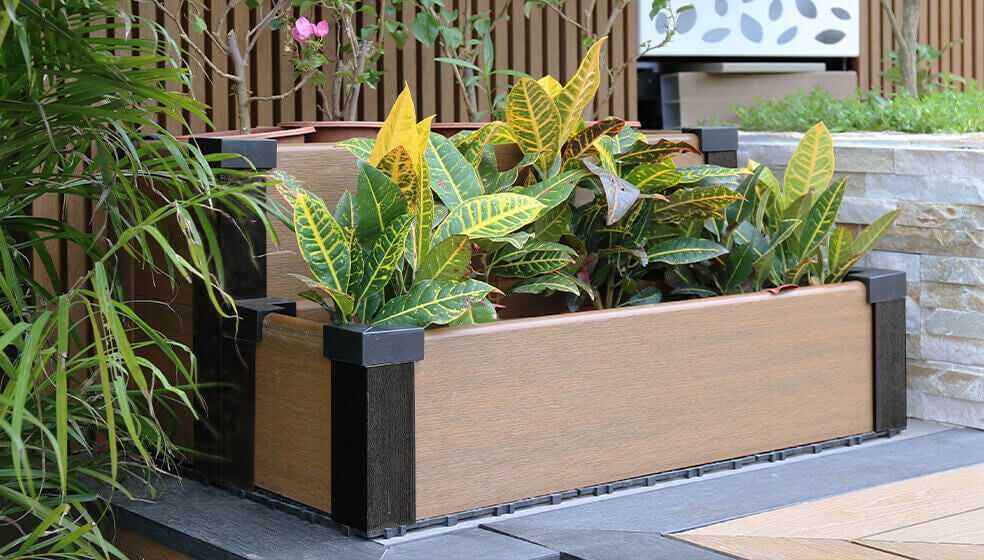
Explore the Cutting-Edge Composite Decking Products from NewTechWood
NewTechWood is a pioneer in several composite decking manufacturing techniques and known around the world for its attractive, innovative and reliable composite wood materials. Ever since our beginnings in 2004, we have been creating cutting-edge, beautiful composite wood products to enhance your outdoor living experience.
We believe the biggest secret to our success is our willingness to listen to our architects, homebuilders, homeowners and contractors, understand their needs and realize their visions.
Our Ultrashield Naturale composite decking features natural-looking, beautiful wood grains in a wide variety of colors, and we believe you’ll have no trouble finding a color that’s perfect for your project. We are firmly dedicated to providing customers with superior performance and satisfaction.


