


One of the major benefits of composite decking is that it is a DIY-friendly installation process, capable of being completed relatively quickly and easily without a high degree of specialized expertise. Composite decking can usually be fastened, installed and secured using common tools around the household (or those that can be easily acquired), and the “weekend handyman” can spend a few days installing a new deck while achieving a high degree of quality.
One of the major concerns in composite deck installation is the question of how to fasten composite decking because there are several unique factors to consider. While none of these present an insurmountable obstacle, it is important to understand the unique aspects of how to fasten composite deck boards so that you can preserve the quality and aesthetics of your deck while installing components properly.
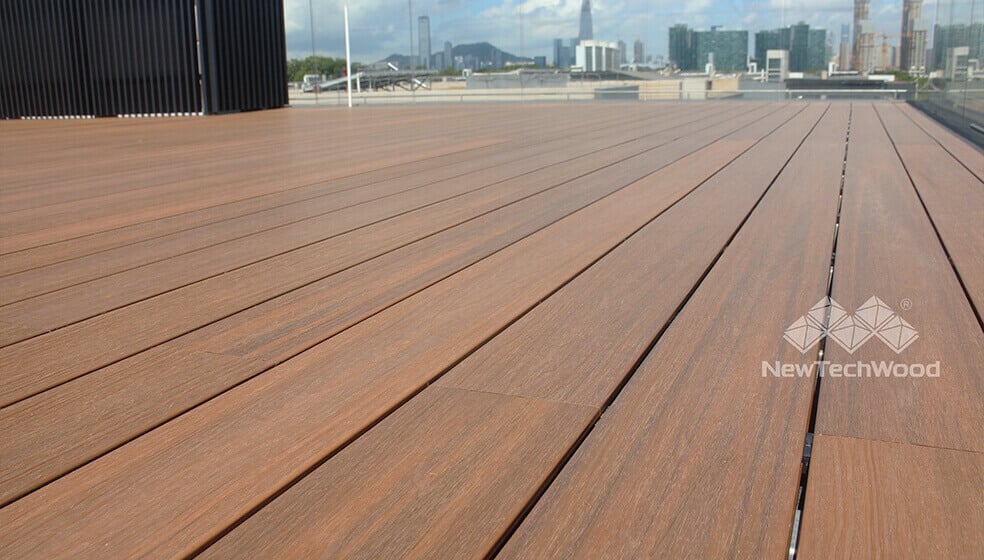
One of the key factors in most composite decking installation is using hidden fasteners, to achieve a clean look with no visible screws or other fasteners. In this article, we will focus on how to fasten composite decking hidden screws, describing the tools required and the process in general.
First Steps for Installing Composite Decking
Before installing composite decking, ensure that you have the proper tools and materials on hand. These include:
- Deck clips (the key component necessary for hidden deck fastening. Deck clips slide into the grooves of each composite decking board, allowing for fastening on the side or underside of the deck, not on the visible surface, which creates the seamless, clean look that composite decking is known for)
- Chalk (white chalk only — colored chalk will permanently stain composite decking)
- Safety glasses
- Tape measure
- Carpenter’s square
- Circular saw
- Drill
- Jigsaw
- Miter saw
In addition, it is critical to be sure that your deck installation will be in compliance with local building codes. Most building codes require approval for “permanent structures,” defined as those that are anchored to ground or attached to a house — which nearly every deck will be. Do not proceed with a deck installation without reviewing applicable codes and ensuring compliance.
You should also consider the ambient environmental temperatures that the deck will be subject to. Nearly every deck will experience temperature-induced expansion and contraction, so be sure to account for these changes in your deck construction and fastening decisions.
Fastening Composite Decking
With the right materials on hand, you are ready to install your composite decking. Basic steps to follow are:
- When framing the deck, ensure that joist spacing meets local building codes. The most common joist spacing is 16 inches on center, though you may choose 12 inches on center for a sturdier feel.
- Choose where to install the “starter board” — at the house or on the outer rim joist.
- Install a starter clip to fasten the starter board.
- Begin installing your deck clips. Deck clips should be installed in the groove on the side of the board at every joist.
- Once all clips have been installed on the starter board, slide the next board in, ensuring that the installed clips securely hold the groove of the next board.
- Use a drill to fasten the clips between the two boards
- Repeat for all ensuing boards to build the deck.
- Use a jigsaw to cut notches around boards for posts, leaving room for thermal expansion.
- Once all boards have been installed, trim to the desired length to finish your deck.
At NewTechWood, we feature an extensive line of composite decking with the expertise to match. From installation to maintenance to retrofitting, we are ready to talk about your decking needs and any questions you may have about any point in the process. To learn more, read our installation guide or watch here for an installation video.


