

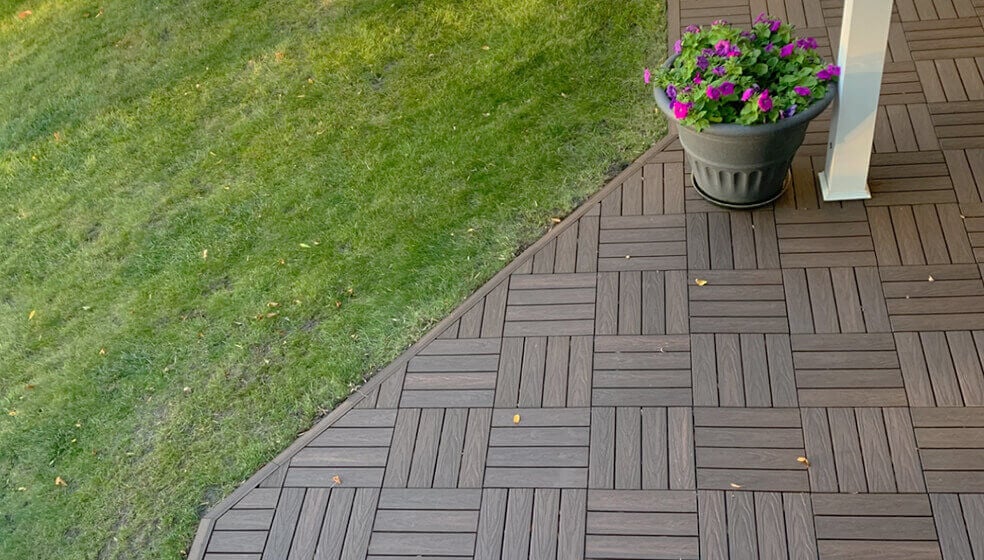
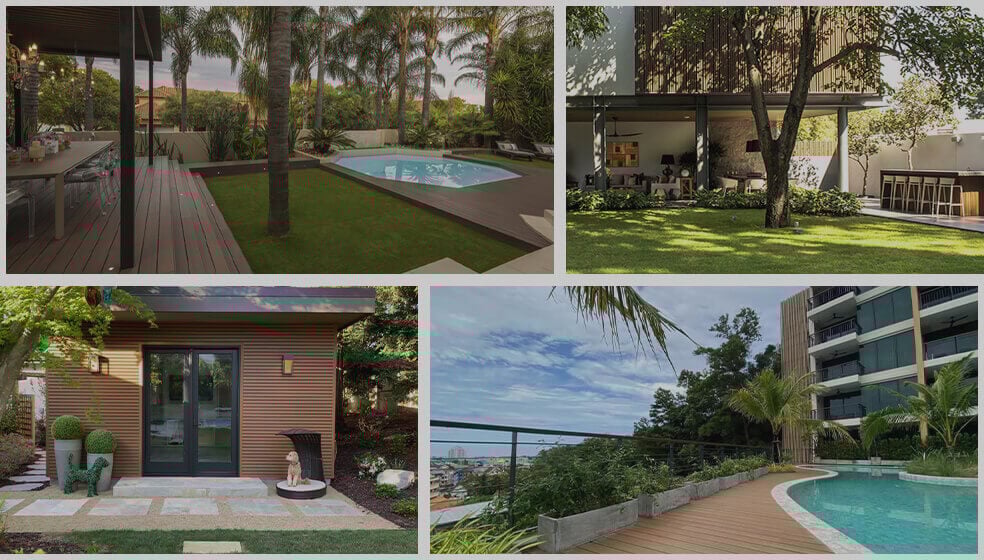


Beautiful, durable and easy to install, deck tiles are a great way to update your outdoor living space. If you’ve got an old concrete patio that’s beginning to crack, you don’t have to replace it — just cover it by placing our attractive deck tiles over the concrete. This guide will show you how to install deck tiles using the highest-quality product in the industry — NewTechWood®’s UltraShield® Naturale™ Quick Deck outdoor composite deck tile. We’ll also show you the types of decking tile we offer and share some ideas on how to lay composite decking tiles in an artful arrangement.
WHY DECK TILES?
If your outdoor space is showing its age with cracks, stains and raised or uneven joints, it may be time to do something about it. After all, cracking concrete isn’t just unattractive — it could also pose a safety hazard.

If your outdoor space is showing its age with cracks, stains and raised or uneven joints, it may be time to do something about it. After all, cracking concrete isn’t just unattractive — it could also pose a safety hazard.
However, as replacing a concrete surface can be expensive and time-consuming, you may not be too enthusiastic about replacing it. Luckily, you don’t have to, because covering them in decking tiles is an economical, attractive and easy-to-install alternative. These tiles can cover a variety of outdoor surfaces, give them an updated look and prolong their lifespan.
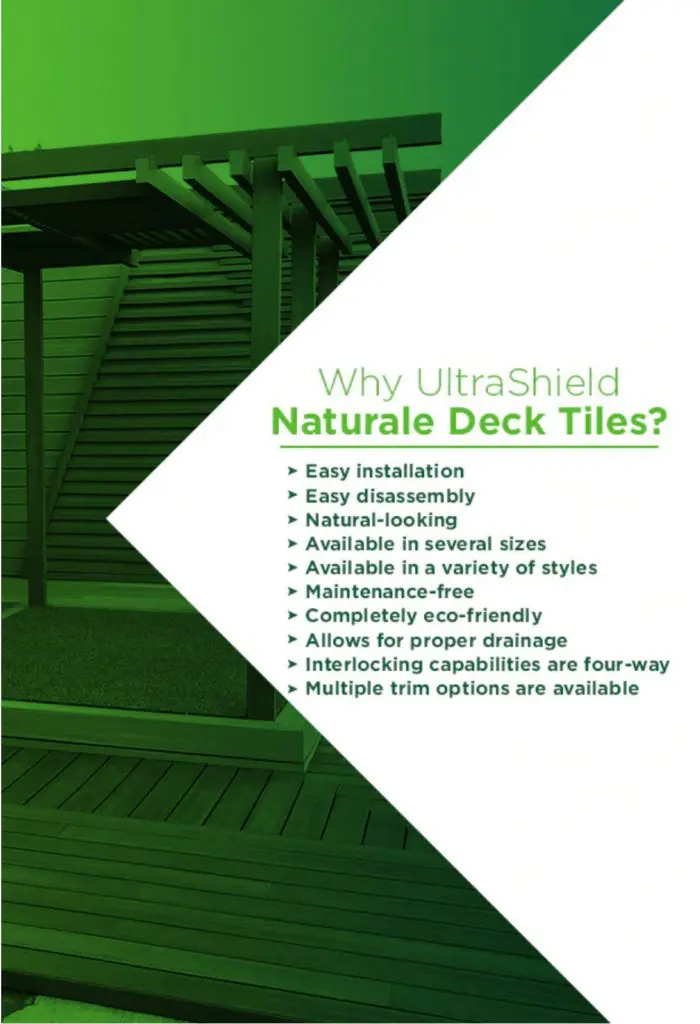
WHY ULTRASHIELD NATURALE DECK TILES?
The DIY composite decking tiles by NewTechWood offer several advantages:
- Easy installation: These easy-to-install decking tiles feature interlocking dovetails that are simple to put together, whether you’re an experienced builder or first-time DIYer. In fact, with our composite products, the steps for how to install deck tiles on the ground are so easy, a child could do it. You won’t have to pay a professional installer to spend several days building a traditional deck. Laying composite decking tiles is a much simpler process.
- Easy disassembly: If you’re moving — or just want to rearrange your deck tiles in a new pattern — taking them apart is just as simple as putting them together.
- Natural-looking: Our natural-looking deck tiles, which mimic wood, stone and grass, are hard to distinguish from the real things.
- Available in several sizes: Deck tiles are available in 1 x 1-foot, 1 x 2-foot and 1 x 3-foot pieces.
- Available in a variety of styles: Our deck tiles mimic wood and come in many grain patterns and colors. As mentioned above, we also have panels that imitate stone and grass.
- Maintenance-free: Our deck tiles do not split, warp, crack or bend. It’s unlikely you’ll have to replace any in the future.
- Completely eco-friendly: Our tiles are manufactured using recycled material, including reclaimed wood and plastic bottles. One of NewTechWood’s core values is environmental sustainability, and we constantly strive to be greener by reducing the waste we produce, using eco-friendly manufacturing techniques and being as energy efficient as possible.
- Allows for proper drainage: The interlocking grid underneath the tiles raises them off the ground, which allows water to drain properly.
- Interlocking capabilities are four-way: This means you can turn the tiles in any way you want.
- Multiple trim options are available: You can choose the option that best suits your style.
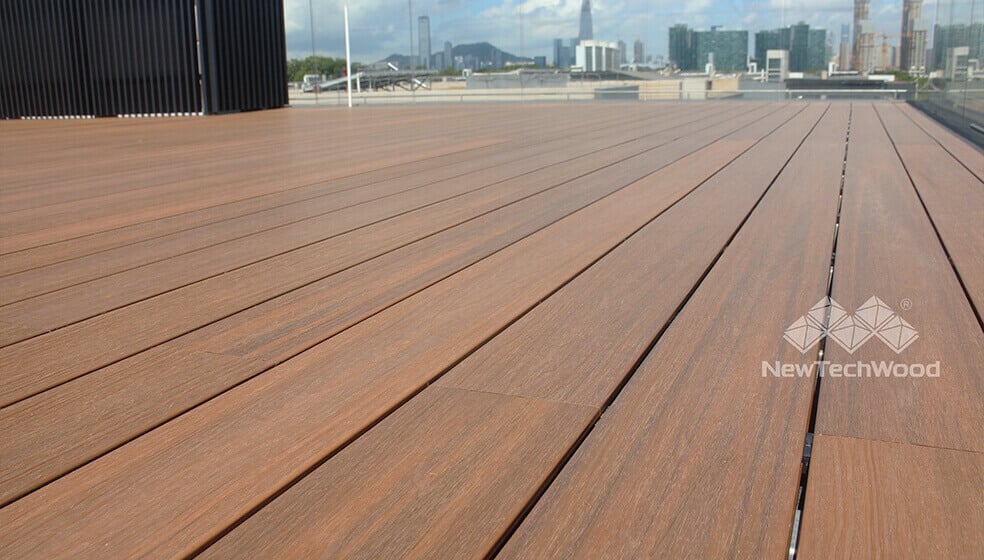
Perhaps most importantly, UltraShield Naturale deck tiles are long-lasting and durable. This is because this product is made with capped composite lumber, so the boards do not experience the problems associated with non-capped composite decking. If there is no capped layer protecting its core, a materials’ wood fibers are exposed to UV, harsh weather conditions, moisture, mold and various other damaging elements. See our intro to composite Decking Tiles:
- Fading: When colors fade on a deck, it is due to the content of the wood fiber. If unprotected, wood will naturally fade, and some manufacturers use inferior production methods that allow the fibers to get exposed at the surface. When inconsistent fading occurs, it is a result of the manufacturer being unable to effectively control the consistencies of the raw materials and the colorant.
- Scratching: Non-capped composite decking is notoriously easy to scratch, which is partly due to the material’s wood fibers. When manufacturers brush or sand the composite boards, it abrades the surface, causing it to be even less scratch-resistant.
- Crumbling: When non-caped composite boards get exposed to water and UV, they start to decompose, which is a result of the incorrect amount of antioxidant and bonding agent added. The UV and moisture get absorbed together by the wood fiber, which leads to the decay, crumbling, rot and deterioration of the board. Once this weathering process has begun, is very easy to scratch non-capped composite decking — even with just your fingernail.
- Mold, mildew and fungus: These problems are most often seen in extremely humid regions.
- Cracking: It is common for manufacturers to add filler or calcium to their boards with the aim of making the board sturdier, but this process makes the board more breakable. For this reason, it is possible to crack this product when installing it.
- Staining: Without the protective cap, the wood fiber will absorb stains. It is also possible for the stains to get permanently stuck between the polymer and wood fiber.
TOOLS YOU WILL NEED
Interlocking deck tiles installation is about as simple as DIY projects get. The only tools you will need are your hands to snap the tiles together.

However, you may have to cut some of the pieces to fit. If this is the case, using one of the following saws is recommended:
- Chop saw
- Table saw
- Circular saw
- Jigsaw
For these saws, we recommend using carbide-tipped blades. Once you’ve cut the pieces, you can smooth the cut edges with sandpaper that is 180 grit or higher.
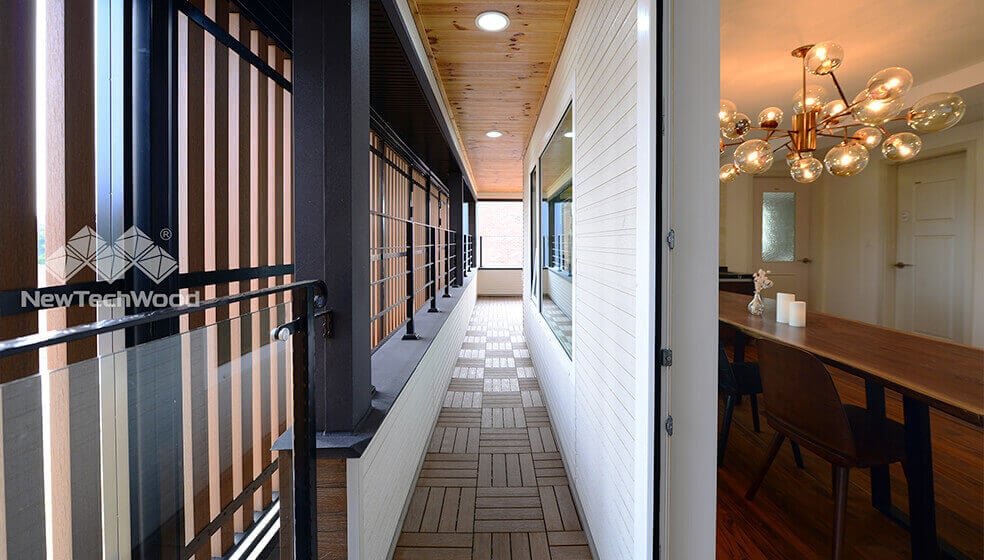
HOW TO INSTALL DECK TILES
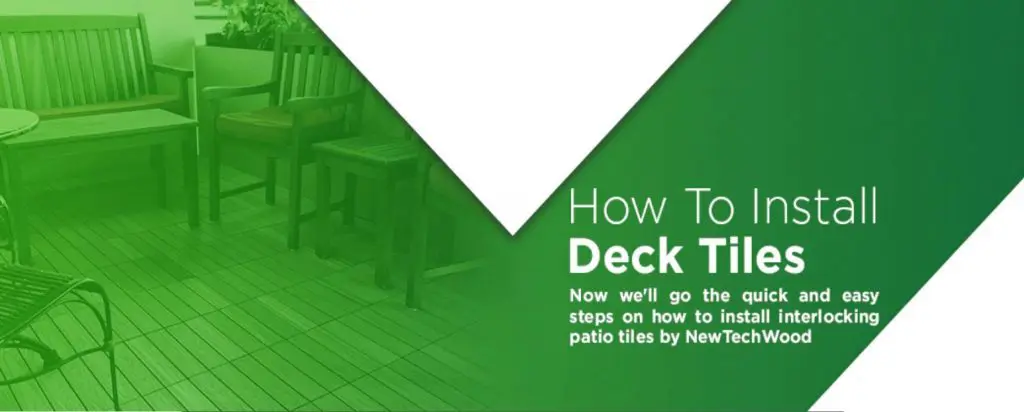
- Find or prepare a flat, solid surface. Ultrashield Naturale Quick Deck Tiles are meant to be installed on solid and semi-flat surfaces, including rooftops decks, porches, balconies and patios. Installing deck tile on dirt directly is not recommended. If you do wish to lay them on the ground directly, it is recommended that you first put down some crushed gravel and sand. Make sure the sand is well-compacted in the area where you’ll be installing the tiles.
- Snap the tiles together. Assembling these tiles is very straightforward — just align the dovetails of two tiles and snap them together. As they are four-way interlocking, you can install each tile in any direction you wish. This will allow you to make a wide variety of designs.
- Start on the outside. It is highly recommended that you begin on the outside of the deck and work your way in. This way, the dovetails will remain intact when you install the trim pieces.
- Make measurements for cutting. There is a chance that not all the tiles will fit, and you will need to cut some. If possible, the pieces you have to cut should be facing a house or a wall. When reaching a point where a full tile won’t fit, carefully measure the area and mark that measurement on the tile accordingly. Then, flip over the piece and see whether your cut line is near one of the screws that hold the tile and grid together. If this is the case, you’ll have to adjust your measurement or place the screws in another spot.
- Cut the tiles. Make the cut using one of the saws recommended above, and then smooth the cut area using sandpaper that is 180 grit or higher.
- Install the trim. Next, you should install the trim, which should be placed in places where people will walk up to the deck to prevent tripping on the tile. Three different types of trim pieces are available — straight sections, inside corner and outside corners. The straight trim covers one straight edge of a tile, and a box of trim contains four pieces. A box of the inside trim contains enough pieces to complete one inside corner, and each outside trim box has enough pieces to complete an outside corner.
- Install the fascia. If you would like to give your deck a finished and elegant look, we recommend installing fascia as well. Fascia pieces also come in three types — straight, inside corner and outside corner. One straight fascia piece covers one of the tile’s straight edges. A box of straight trim comes with four pieces, a box of inside corner fascia contains enough pieces for one inside corner, and one box of outside corner fascia comes with enough pieces for one outside corner.
Our composite makes the process for how to lay decking tiles as simple as that! By going through these simple steps, you have transformed what was a bland slab into a vibrant, inviting living space.
ADDITIONAL TIPS
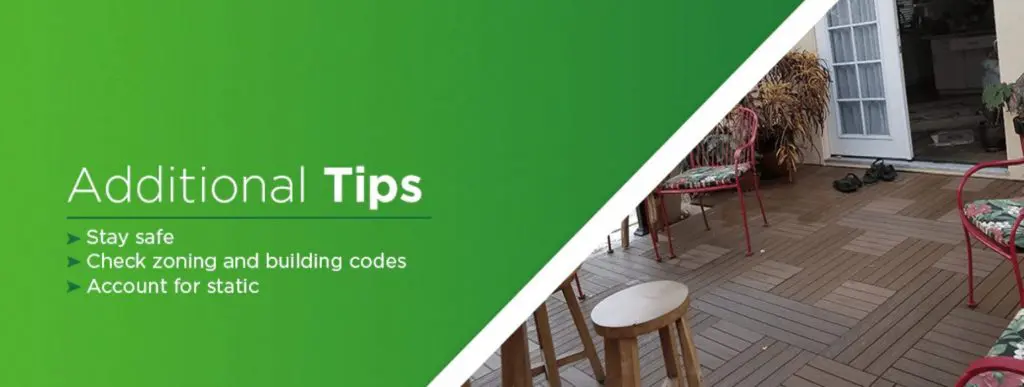
While installing our deck tiles is a simple and quick procedure, here are few extra things to keep in mind:
- Stay safe. If you have to do any cutting, we highly recommended you use the appropriate safety gear to avoid any chance of injury. When cutting the deck tile, we recommend you use gloves, long sleeves, safety glasses and respiratory protection, although this list is not necessarily comprehensive.
- Check zoning and building codes. Before beginning any construction project, it’s a good idea to research the building and zoning codes in your locality to see if there are certain restrictions or requirements.
- Account for static. In high-altitude areas, where humidity is lower, static can be prevalent. If you live in a high-elevation area, you may not want to use conductive objects like metal chairs and railings, as they may lead to shocks occurring more often. Laying down anti-static mats in front of doorways may lower the number of static shocks.
Further information about the deck tile installation can be found in the Deck Tile Installation Guide.
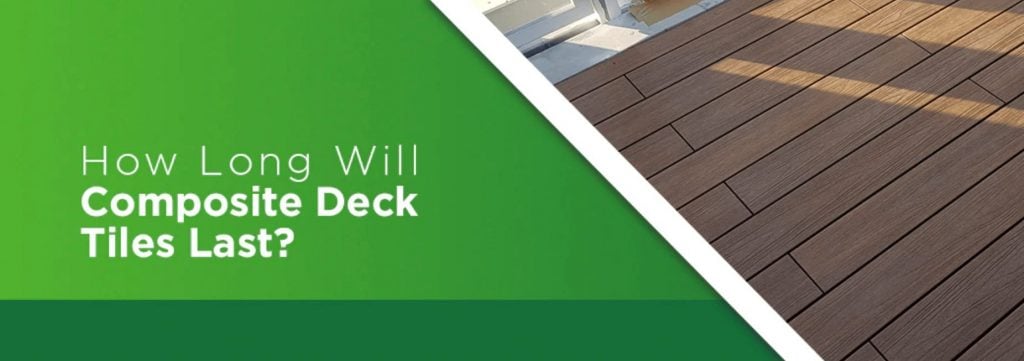
HOW LONG WILL COMPOSITE DECK TILES LAST?
Our decking squares were designed to last many years – and that’s with virtually zero maintenance.
WHAT TYPES OF COMPOSITE DECK TILES ARE THERE?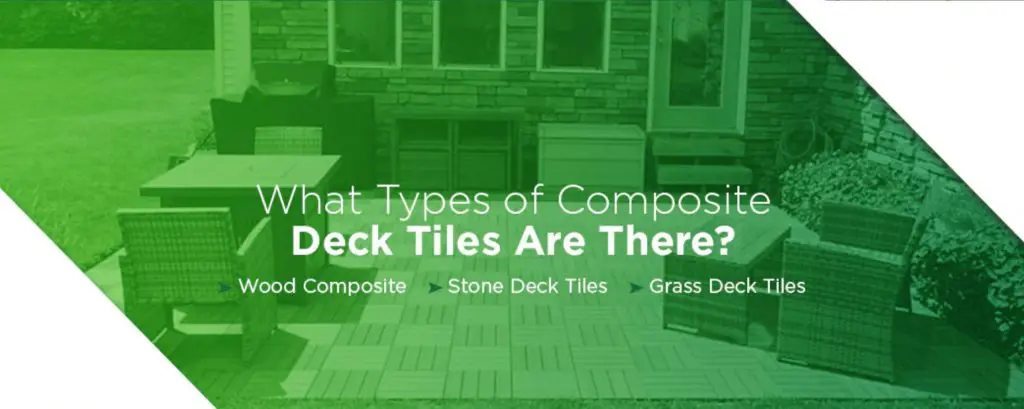
NewTechWood offers three types of composite deck tiles. We go over what each features in detail:
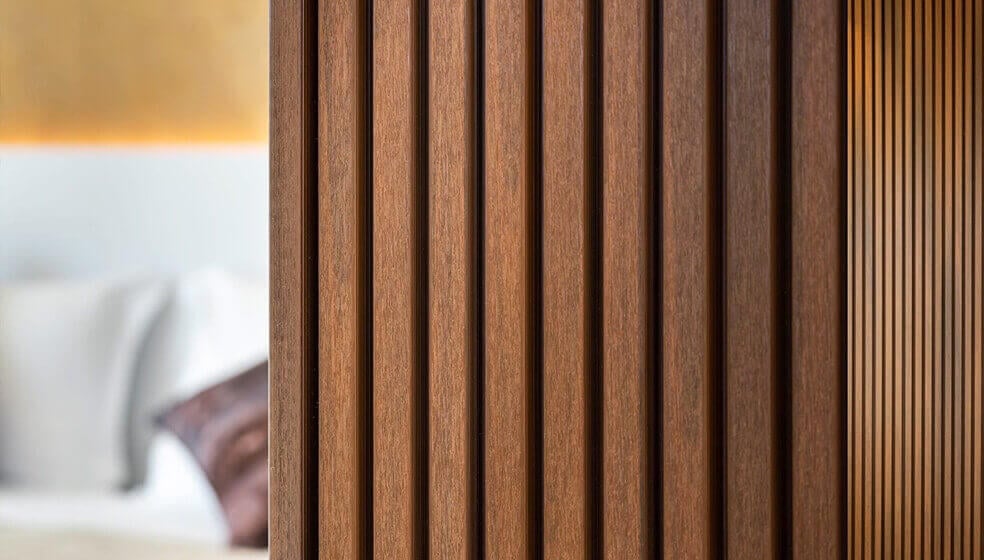
1. Wood Composite
Our wood composite tiles feature natural wood grains and are available in the following patterns and colors:
- Spanish Walnut
- Swedish Red
- Caribbean Blue
- Irish Green
- Hawaiian Charcoal
- Westminster Gray
- Egyptian Stone Gray
- Roman Antique
- Icelandic Smoke White
- California Redwood
- Brazilian Ipe
- Peruvian Teak
- English Oak
- Canadian Maple
2. Stone Deck Tiles
After receiving countless requests from customers, NewTechWood has developed deck tiles with a stone appearance. We spent months experimenting with different stone types and figuring out which best complement our existing composite deck tile products. After this extensive research, we created the UltraShield Outdoor Quick Deck Stone Deck Tile. These deck tiles are solidly made, natural-looking and walking on them barefoot feels great. Whether you want to finish your front porch, deck, patio, shed or gazebo, our stone deck tiles can make it a reality. Stone deck tiles can even be used inside your house in places such as your sunroom or an area that would help transition to an outdoor patio. Even basements, attics, bathrooms and kitchens may benefit from these tiles.
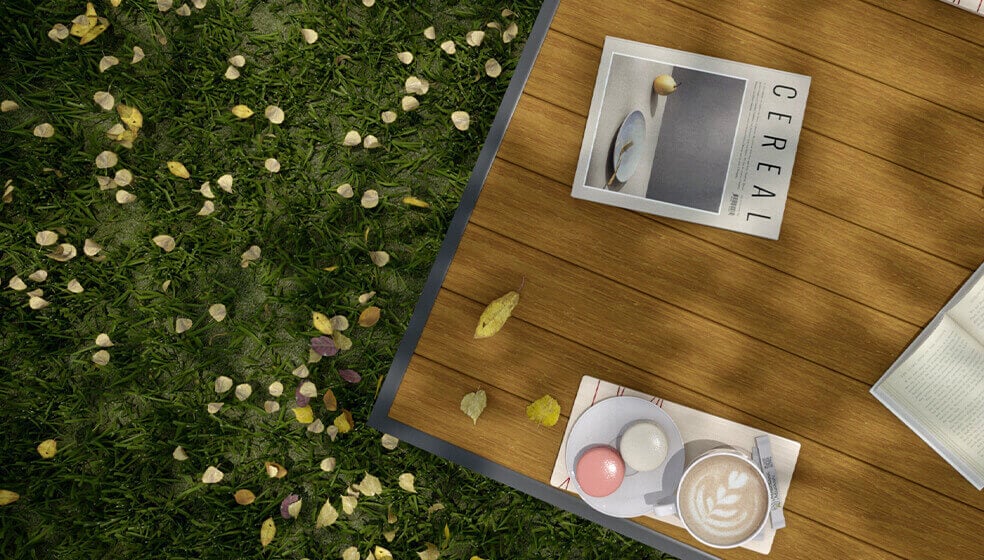
3. Grass Deck Tiles
NewTechWood’s Faux Zoysia Grass Deck Tiles are our newest deck tile product, which we developed after spending months perfecting every feature, including color, height and blade width. In the end, we picked Zoysia Grass as the species we would replicate. With our grass deck tiles, you’ll be able to enjoy natural-looking grass without ever having to water, mow or weed it. The only maintenance required is occasionally sweeping or vacuuming your tiles if debris happens to accumulate on them. Our tiles also go together seamlessly, so the illusion will never be broken. Our beautiful deck tiles transform an otherwise drab area into a vibrant, colorful living space all year long. Many sports stadiums have made the switch to artificial grass, and you can understand why. Interlocking our deck tiles are so much easier than dragging in slabs of turf to your backyard — particularly if you’re only planning to use them to accent existing decking. What’s more, our grass deck tiles are environmentally friendly. With artificial grass, you’ll never have to add harmful pesticides or fertilizers, which could harm the local ecosystem.
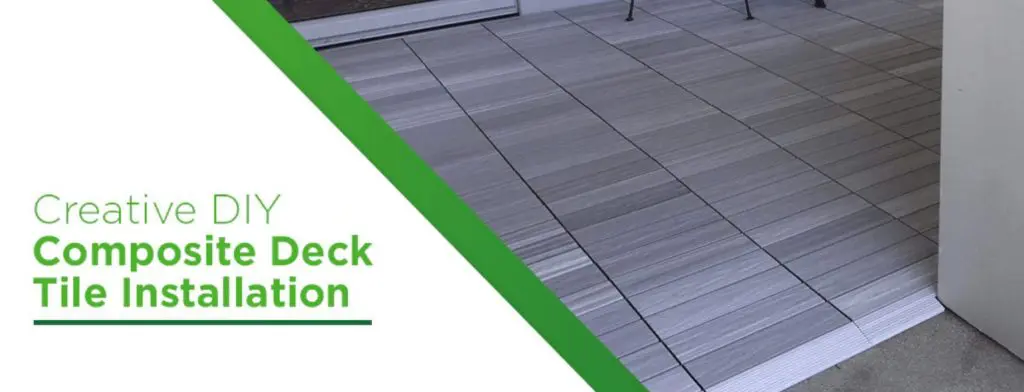
CREATIVE DIY COMPOSITE DECK TILE INSTALLATION
We designed these deck tiles to be compatible with each other, which means you can design your outdoor space using multiple deck tile materials. The designs you can come up with are practically endless. Use your imagination and have fun with them! And remember — when you’re in the mood for a new design, it’s easy to take it apart and try out another design. When tiling a deck floor, we would like you to think of yourself as an artist and the tiles as your brush. Here are some patterns you can create using our tiles:
- Checkered: Remember you don’t have to order just one color of tiles. Ordering two colors of our decking square tiles and creating a checkered design is a popular option.
- Concentric Rectangles: Use our square tiles to create beautiful rectangles within one another.
- Herringbone: Use our rectangular, 1 x 2-foot tiles and arrange them in a herringbone pattern, which is a “V” pattern that can be thought of as arrows pointing you in a certain direction.
- Basket Weave: Our rectangular tiles can also be used to create a basket weave pattern, in which you lay two tiles next to one another and form a square.
- Windmill: In this pattern, you would arrange 1 x 2-foot tiles around a 1 x 1-foot tile in the center.
- Stretcher Bond: You can also arrange our rectangular tiles like bricks in a wall, meaning you line up the end of every tile with the center of the tiles directly below and above.
- English Bond: To create an English bond pattern, alternate rows using all 1 x 1-foot tiles and 1 x 2-foot tiles. The 1 x 1-foot tiles and 2 x 1-foot are centered with respect to one another. The ends of all the rectangular tiles line up with each other, as do the squares.
- English Cross Bond: This pattern resembles the English bond pattern, but the only difference is the 1 x 2-foot tiles are staggered like with a stretcher bond pattern.
We hope you’re already thinking up some ideas about how you’ll use our tiles. If you’d like some additional inspiration, you can browse the variety of deck tile patterns on our site.
WHAT IS THE COST OF COMPOSITE DECK TILES?
Our deck tiles are available across the country and around the world. Composite decking may seem more expensive than traditional wood at the beginning, but when you consider that composite deck tiles require almost no maintenance and last 25 years or more, the cost per year is greatly reduced. To get an idea of how many deck tiles you need for your project, use NewTechWood’s deck tile calculator.
CONTACT NEWTECHWOOD TODAY
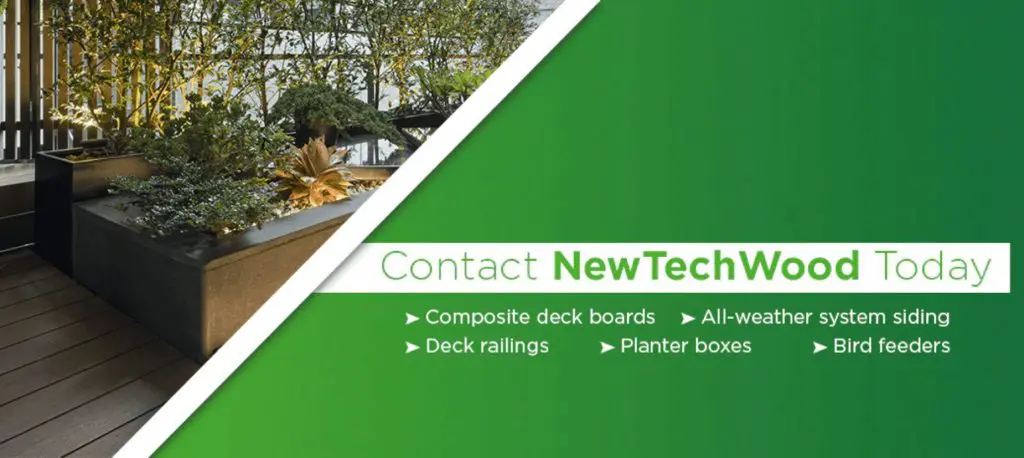
Since its founding in 2004, NewTechWood has been a pioneer in developing and manufacturing composite decking, site and railing furnishings. We are known worldwide for our innovative, attractive and dependable products. We believe our success is due to our willingness to listen to homebuilders, architects, contractors and homeowners and make their visions a reality. Our products are available in a wide variety of colors and patterns, and we are certain we have just the right one for your project. In addition to deck boards, NewTechWood offers a variety of other outdoor products, all of which were created using recycled materials:
- Composite deck boards: Manufactured using recycled decking materials, NewTechWood’s composite deck boards are available in exclusive patterns and colors. They work well for both commercial and residential applications and will hold up for many years. The product comes with a generous 25-year warranty.
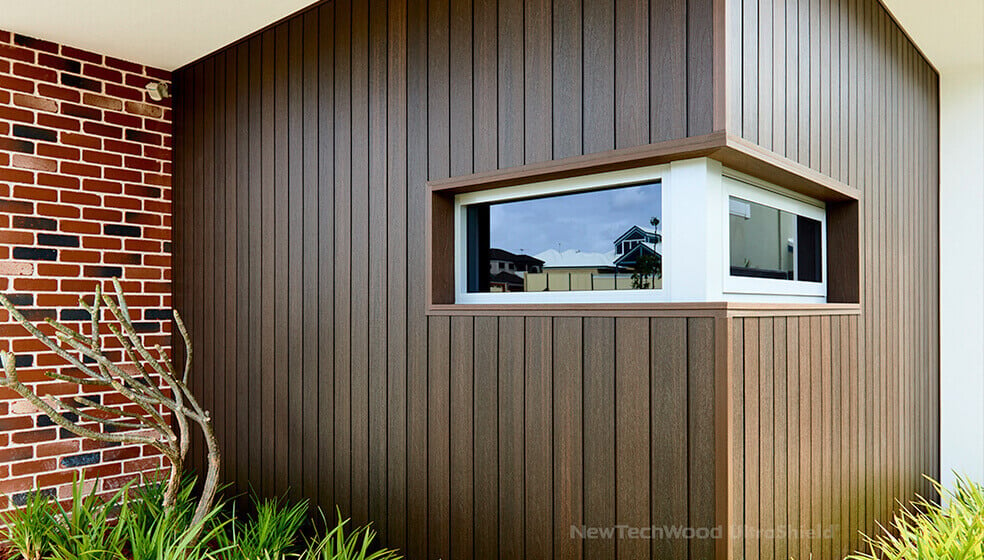
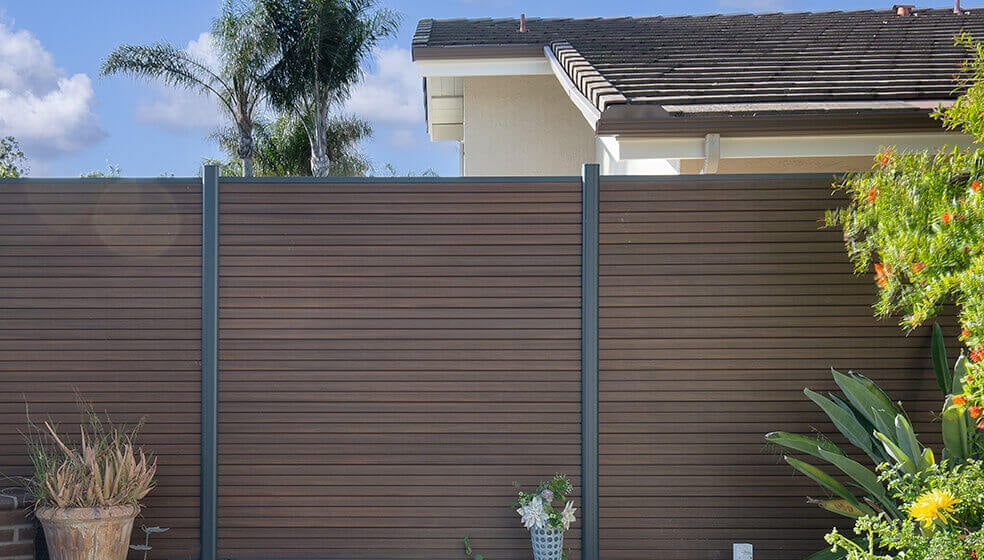
- All-weather system siding: This engineered capped wood plastic composite is the perfect solution for those wanting tough and long-lasting outside walls. Thanks to its shield, this siding system is vibrant, textured and highly UV- and stain-resistant. It also features an all-weather system, which allows air between the joists and the cladding to circulate, which isolates moisture from the outside and keeps the inside dry.
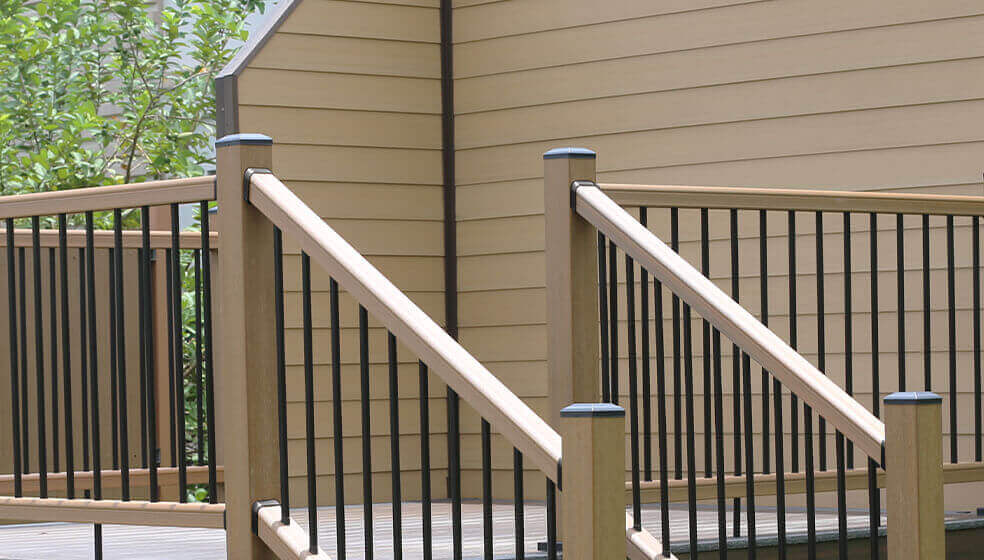
- Deck railings: Manufactured from both composite and aluminum, these railings have a modern and sleek appearance. Their finish makes them highly weather-resistant, and they’ll continue to look new many years after the installation.
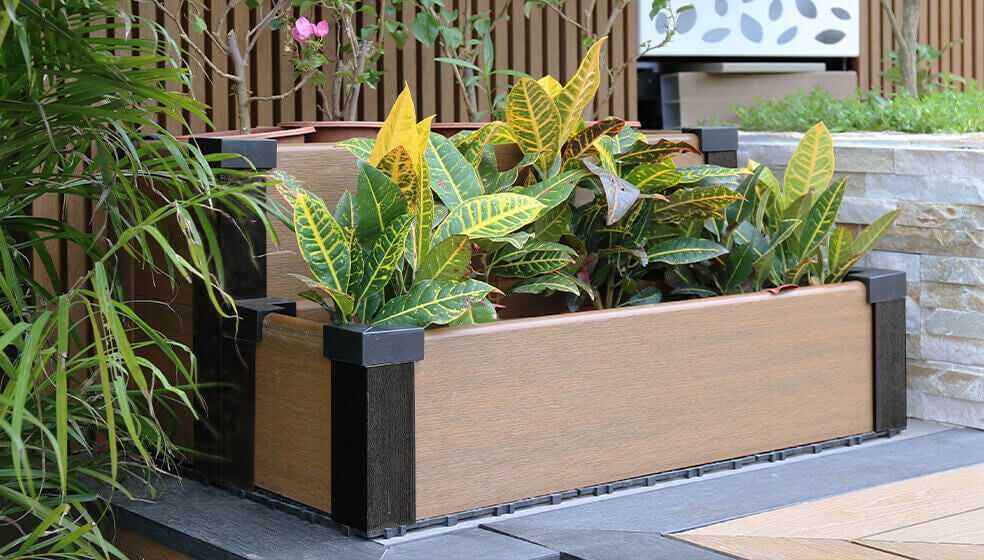
- Planter boxes: A great way to decorate your deck, these planter boxes were also manufactured using recycled materials. No tools or fasteners are needed to build these, which means all members of the family can easily participate in the assembly fun.
- Bird feeders: At NewTechWood, we are committed to making all of our products environmentally friendly — even our bird feeders. These charming feeders, along with planter boxes, can make your backyard living space even more inviting.
If you would like to learn more about what we offer or have questions about a certain product, feel free to give us a call at 281-570-6450 or contact us online. And if you’re ready to begin renovating your outdoor space, you can search for a distributor close to you. We look forward to helping you transform your outdoor space!


