

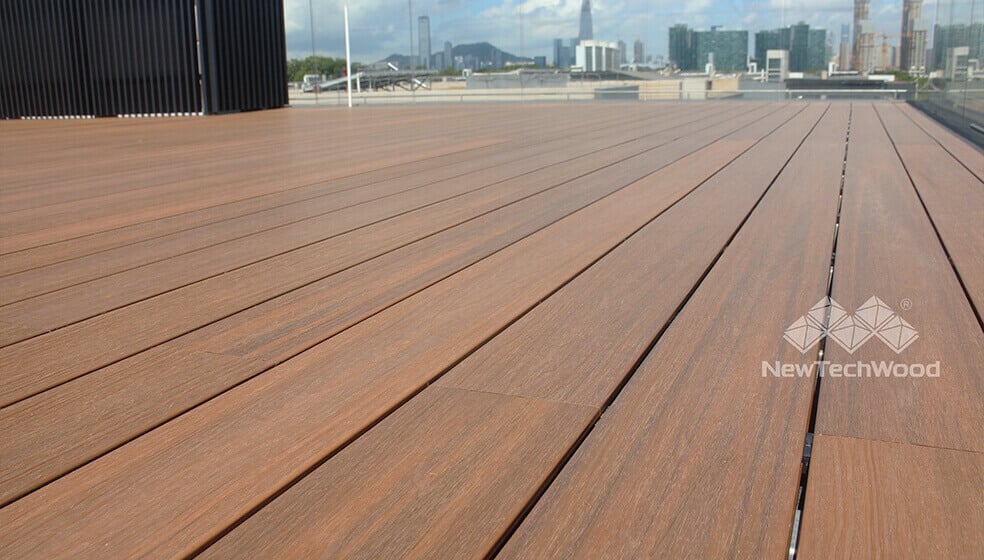
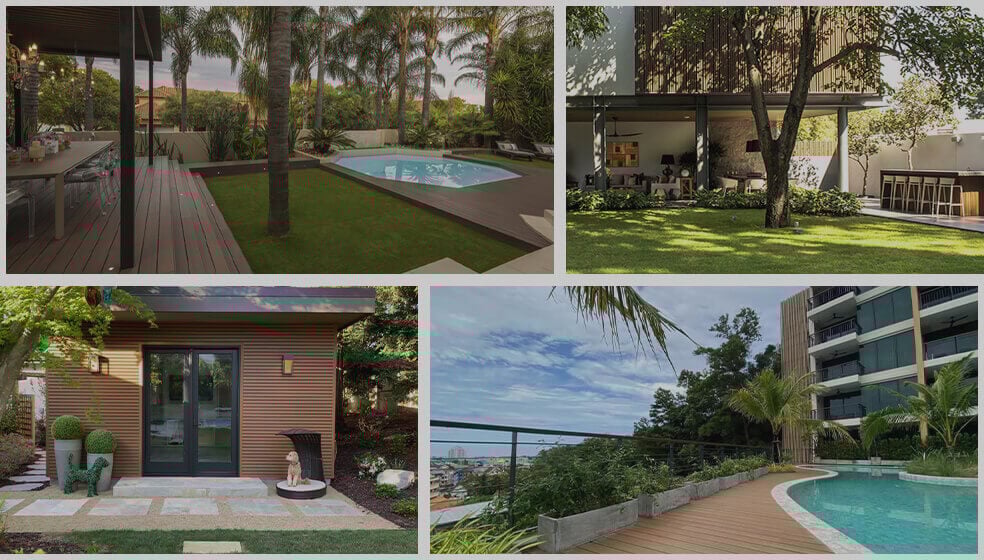
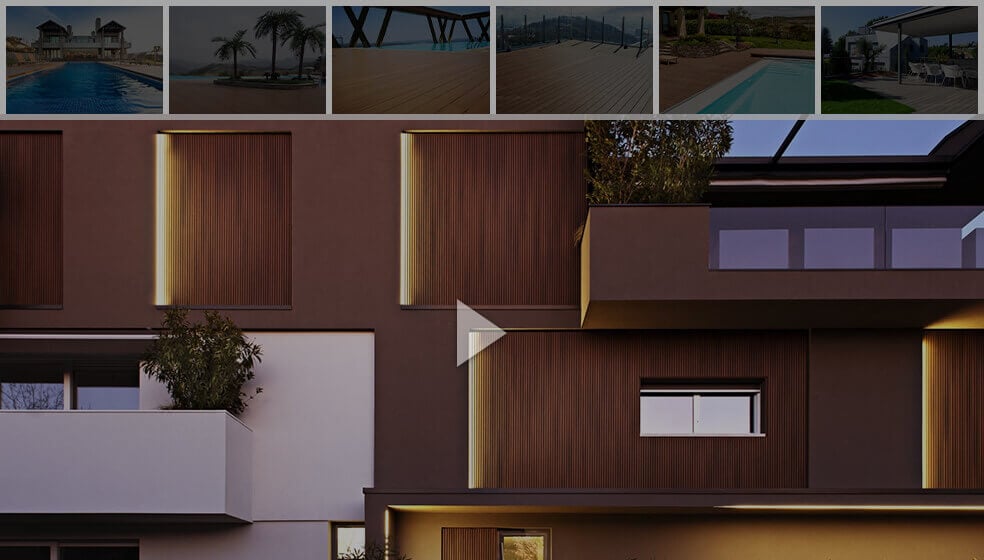


In this tutorial, we’ll teach you everything you need to know about installing composite deck boards using NewTechWood’s UltraShield® Naturale™ Composite Decking. NewTechWood’s UltraShield® composite decking is available in profiles that are both hollow and solid and can have both residential and commercial applications. You also have the choice of installing composite decking with screws or with hidden fasteners. They’re all completely wrapped — even the grooves. UltraShield decking products are designed to protect against mold, fading, moisture and mildew. See our simple video about how to install composite deck boards here.
WHAT DOES “COMPOSITE DECKING” MEAN?
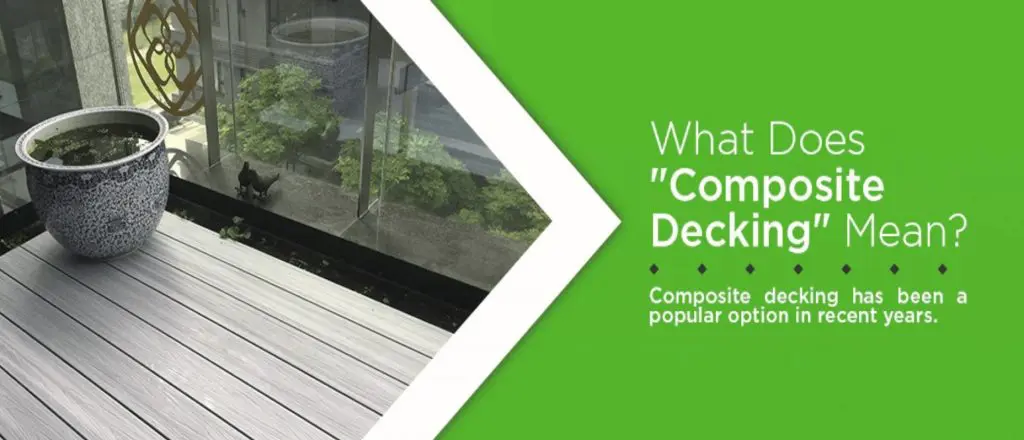
Composite decking has been a popular option in recent years. Although sometimes called “imitation” or “fake” decking, it can be more accurately described as engineered or manufactured. It’s made from a combination of recycled wood and recycled plastic, and it resembles actual wood perfectly. It also offers many benefits over real wood, including increased durability, longer lifespan, less required maintenance, greater resistance to insects and fading.
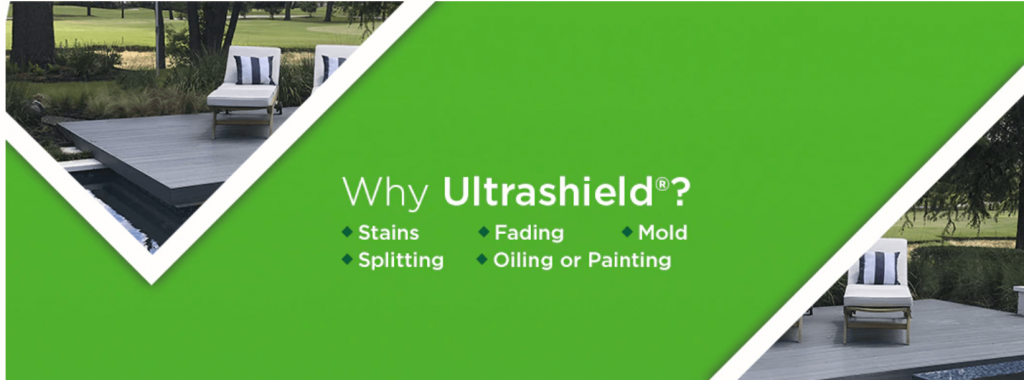
WHY ULTRASHIELD®?
If you’re now considering composite decking, you may wonder why we specifically recommend the UltraShield® materials. The reason is simple. With these materials, NewTechWood has used all that is great about laminate and composite decks and improved it. With Ultrashield® products, you’ll avoid all of the following:
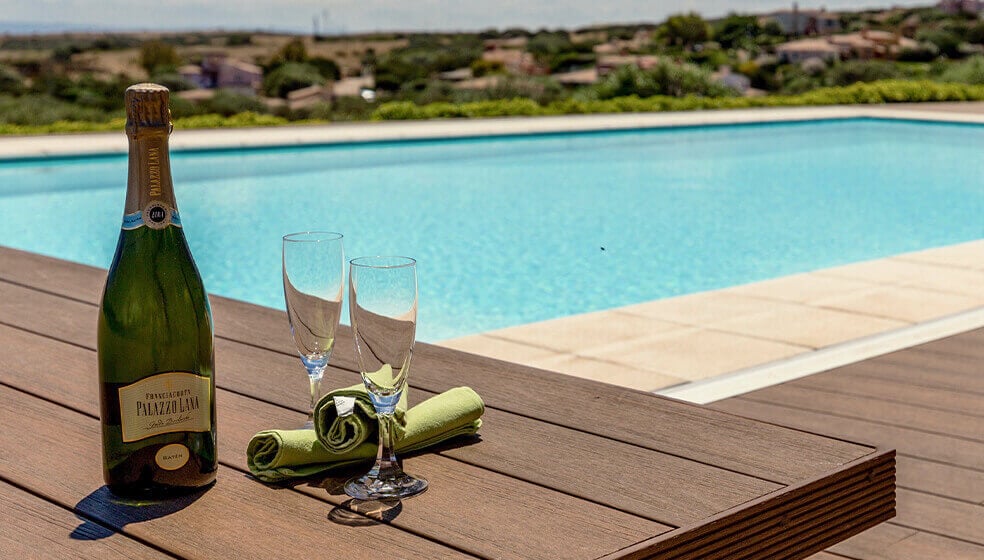
- Stains. You won’t have to worry about your coffee, wine or soy sauce staining your deck. You can easily wipe off all spills because liquids are never absorbed, making cleaning and maintenance very easy.
- Fading. The shield is uniquely formulated so that colors are retained for much longer than those on regular composite decking. Our rigorous testing procedures have demonstrated that color changes are minimal over long periods.
- Mold. The shield also protects against mildew and mold so that it doesn’t eat away at the board. Although mold may grow on the board’s surface due to standing water, you can easily remove this with a broom or a hose. It is growing in the water, not on the surface of the board.
- Splitting. The deck’s shield features a layer that is impermeable, so splitting on the board’s surface will not be a concern. This layer gives UltraShield a much longer lifespan than normal uncapped composites.
- Oiling or Painting. The shield’s colors, which are multichromatic, are part of its formulation, which means you’ll never need to sand, oil or repaint it.
This isn’t the usual plastic and wood hybrid you’re possibly familiar with — UltraShield is the result of years of field testing and engineering, with the objective of making the most durable, reliable, fade-resistant and attractive decking available in the industry. In developing this decking material, we mixed wood fibers and dense polyethylene plastic and coated the product using a polymer that protects the board from scratching, staining or fading. All four sides of our product are protected, making it exceptionally easy to maintain and long-lasting. It’s also one of the most eco-friendly products on the market, as our production methods do not require adhesives or chemicals that could contaminate the environment, and the materials themselves are recycled. Many deck boards don’t feature capping around the entire board, but NewTechWood’s decking products do, which is the only way the board can be protected from all possible problems, including mold and ultraviolet radiation. Rest assured that your deck, if made using our materials, will look fantastic from any direction for a long time. What’s more, Ultrashield decks are also protected by a warranty of up to 25 years, which is the industry’s most complete warranty. We are certain your deck will last for many years, and we’ll prove it.
COMPOSITE DECK INSTALLATION TIPS

Take a look at these tips for how to best tackle composite deck installation:
- The spacing of the joists needs to be correct. Joists refer to the pieces of timber that provide support for your decking. For residential decks, the spacing should be 16 inches (40 centimeters), and for stair treads and commercial decks, this spacing should be 12 inches (30 centimeters).
- For installing at an angle, refer to the chart. If you are going to install the decking at an angle to the joists, refer to the spacing chart, which is available in the installation instructions as well as on our website.
- Ensure the joists are strong. If you are remodeling or the deck is old, it is important that all the joists are structurally sound before installing the NewTechWood deck boards.
- The joists must be sufficiently wide. Every joist must be a minimum of 1.5 inches (38 millimeters) wide to support the decking. This means that for butt joists, a sister joist will have to be installed. If you are going to use a breaker board on your deck, you will need to install a ladder joist.
WHAT TO DO TO PREPARE FOR YOUR COMPOSITE DECK INSTALLATION
Before tackling this DIY deck installation, you’ll need to acquire some tools, perform a few tasks and gather some information:
Preparing for your composite decking installation video:
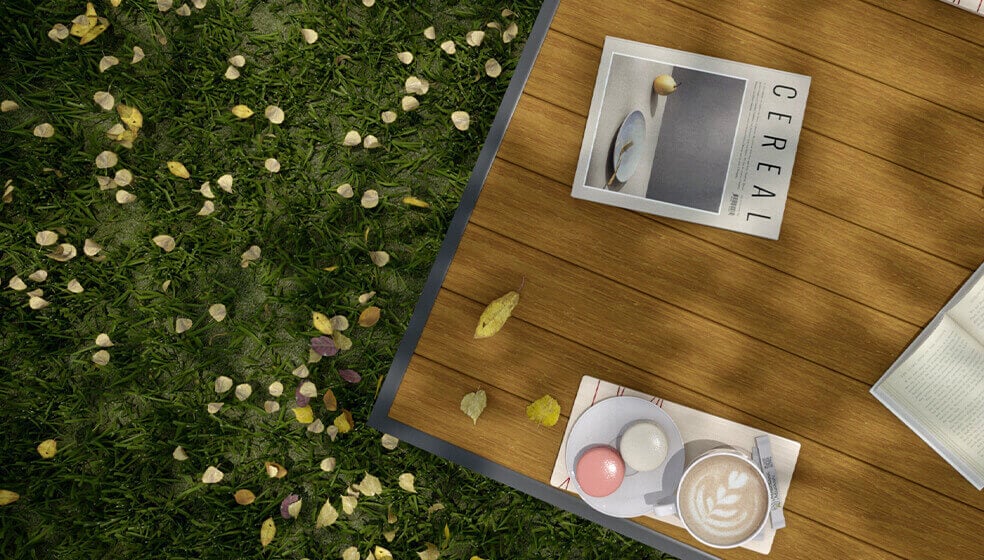
- Let boards acclimate before installation. Before installing the deck, set the boards outside in a nearby location so that they can acclimate. The boards should be laid straight and on a flat surface. Do not set the boards on dirt or grass because these surfaces may move over time.
- Follow local codes. During the composite and structural frame installation, always follow all local building regulations and zoning laws. These decking instructions are not meant to take the place of a professional. You assume all liability and risks related to the construction and usage of the product.
- Your substructure must also comply with local codes. The joists and other supporting components of your deck must also meet local regulations.
- Check with your homeowner’s association. Homeowner’s associations often have rules regulating the size, color and design of your deck. Make sure your deck follows their rules.
- Check what’s underground. Call utility companies in the area to find out if there are any underground cables, wires or pipes. Builders are often helpful with this information.
- Stay safe. As is the case with any construction project, you must use the proper safety equipment and protection to minimize the risk of injuring yourself. You’ll want to have gloves, safety glasses, long sleeves and respiratory protection when installing composite decking. However, consumers may feel the need to wear additional protection in some situations.
- Use sharp saw blades with carbide tips. This will make sure your cuts are clean and let you get the most of your deck.
- Use a water-based sealant. This is recommended for when you seal cuts and routed areas.
- Chalk lines should be white. Make sure the color of your chalk line is white, as any other color may lead to permanent stains.
- Test the screws. The screws you use should be specifically made for composite decking. Test out these screws on a scrap piece of decking and make sure they don’t mushroom. If the screws do end up mushrooming, you should switch to another brand. When searching for the right screws, go to your local hardware store or home center and ask if they sell screws specifically designed for composite wood. Composite screws are guaranteed to work and will give you the best-looking results when installing NewTechWood products. Using screws that aren’t recommended for this decking material may end up damaging it. If you’re not certain about which screws to buy, ask your manufacturer.
- Install all screws properly. When you fasten NewTechWood’s products, make sure that all face-fastened screws are installed at 90 degrees to the surface of the decking. Never toe-screw in the product. If you cannot drive in a screw at a 90-degree angle into the board, you should add an additional joist.
- Flatten your deck joists. If you’re remodeling your deck and have existing joists, you should make sure they are properly flattened so that your deck isn’t wavy. You can do this by stretching chalk lines over the joists, finding the high spots and planing them down with a power hand planer. Although this may seem like a lot of work, it shouldn’t take you over an hour.
- Don’t use the product for support. This decking product is not meant to be used as beams, columns, support posts, joist stringers or serve any other supporting function.
- Do not install over other decking boards. NewTechWood products work well with retrofits, but under no circumstances should they be installed on top of an existing decking material.
- There must be air flow under the decking. You must install the decking product on top of a substructure that consists of a frame to ensure there is proper airflow underneath, as this will prevent the absorption of too much water. If an excessive amount of water is absorbed in an area that is not protected by a cap layer, this could lead to swelling. There must be at least four inches of free area underneath the surface of the decking so that air circulation can occur and promote drying and drainage.
HOW TO BUILD AND INSTALL A DECK FROM SCRATCH

If you’re building a deck from the ground up, the first thing you’ll have to do is build the joists that will support the decking. Here’s a quick guide on building a strong, reliable substructure:
- Create the caissons. Dig holes for the caissons using a posthole digger. Then, pour concrete in the holes and, using a float, smooth it over. Wait 24 hours so that the concrete can cure.
- Install a ledger board and beams. Using a level, attach a ledger board to the house, which will serve to secure your deck to the wall of your house. Then, attach post anchors on the caissons and 4×4 posts on the anchors. A center beam should then be attached to the post hangers. Finally, attach an end beam.
- Attach joist hangers. Every six inches along the end beam and ledger board, put in joist hangers. Using the framing lumber, create a joist jig to make sure there is consistency in your hangers. Your joists should be marked and cut so that they run from the end beams to the ledger board. Place the joists in the hangers and secure them with nails. Make sure to check the level, plumb and square frequently.
Once all the joists have been secured, you can move on to installing the deck boards. Take a look at our informational video to see it for yourself.
HOW TO INSTALL COMPOSITE DECKING WITH HIDDEN FASTENERS
You can choose how you want to fasten your composite decking: with screws, which you must purchase yourself, or one of the two hidden fastening systems, which come with the decking materials.

The two hidden fastening systems are:
- The T Clip Hidden Fastener System. The T Clip hidden fastener system provides about 1/4 of an inch (6 millimeters) between deck boards. One box contains 15 locking clips and 75 T Clips. The locking clips serve to fasten the deck boards to the joist to prevent movement, whereas the T Clips allow expansion and contraction of the deck boards. It is critical to use the appropriate clip for each joint, as the deck needs to expand and contract properly without buckling or warping.
- The Mini Gap System. The Mini Gap System provides about 1/16 (1.5 millimeters) of an inch between the deck boards. A box contains 15 locking clips, which prevent lateral movement and 75 clips that permit it. You can get starter clips, which are sold separately, which are to be used on the first and last boards as well as the stair treads. A starter clip box contains 25 starter clips and screws.
Hidden Fastener System Installation Video:
Figuring out where you must put the clips that allow movement and where to put those that prevent it will depend on your deck boards’ pattern. You may be wondering why we offer two different clip types. The reason is so you can control the direction you want the boards to move during expansion and contraction, which occurs naturally with temperature changes. Here are a few scenarios you’re most likely to encounter during your backyard deck installation and the recommend placement patterns for each one. It doesn’t matter whether you use the T Clips or Mini Gap fastening systems — the locations will be exactly the same:
- 1 board in a row: If there is one board without any butt joints, put the locking clips in the center and put T Clips on every other joist. Keep in mind that there are only teeth on one side of the locking clips, so it’s important to position them correctly over the board you’re going to secure.
- 2 boards in a row: In this case, you will need to install locking clips at the butt joint for both boards. This way, they will expand away from the joint.
- 3 boards in a row: In this scenario, you would put locking clips at the center of the middle board, and install locking clips at the butt joints of the end boards to allow expansion away from the middle board.
- A breaker board: The fourth and final situation is if a breaker board is installed between the rows, which would eliminate the butt joints. In this scenario, you must install the locking clips in the center of each board, which is similar to the first scenario. To secure your breaker board, clip off one of the T clip’s wings and then slide it into position.
To find out more about installing with the hidden fastening systems, take a look at the composite decking installation instructions, where you’ll find diagrams showing the proper locations of the clips for various scenarios and also the requirements for gapping at the ends of rows.
HOW DO YOU INSTALL COMPOSITE DECKING WITHOUT A HIDDEN FASTENING SYSTEM?
Instead of using the hidden clips, you can opt to attach your decking boards using screws. If you choose this option, your decking should have two screws in every joist. Screws should never be closer than 1.5 inches (38 mm) to any edge.
This more traditional method is quite straightforward, but we highly recommend you use trim screws that are designed specifically for composite decking. You also have the option of pre-drilling the boards and using a wood screw with a trim head. If you’re searching for high-quality composite decking screws, look no further than NewTechWood. Figuring out how to hide deck screws will no longer be a worry, as our screws are designed specifically to not be visible while still supporting your deck. Many screws are unable to both provide support for your decking and not leave a head that is visible. What’s more, they’re often not completely flush with the surface of the decking. This means they are visible — which can be an eyesore to an otherwise beautiful deck — and they also create a potentially dangerous obstruction that could snag bare feet. Our deck screws were designed to bury themselves fully into our composite wood decking, so that people walking on the deck will be completely unaware that there are even screws there.
BOARD TYPES AVAILABLE FOR COMPOSITE DECKING
Here’s a look at the four board profiles in NewTechWood’s UltraShield Naturale composite decking line:
- Voyager Board: The Voyager board features one side that’s smooth and another with a woodgrain texture. You can choose to have either side face up. This is the main board for most decks, and keep in mind that this type of board can only be fastened with the hidden fastener systems. Screws cannot be used, so this type of board should not be used on stairs.
- Magellan Board: You can install this solid board with either side facing up. To secure these boards, you can use either the hidden fasteners or composite deck screws.
- Cortes Board: This board features a solid profile and contains no grooves. Each side features a different pattern, and these boards can be used for stair treads or regular deck boards. They are attached using composite deck screws. You can rout them to accommodate hidden fasteners, but you should not rout them for the full length of the board.
- Columbus Board: This solid board contains one groove on one side to accommodate the hidden fasteners and another underneath to accommodate the starter clips. With this type of board, only one side can face up. You can use the Columbus board as a bullnose on stair treads or the last board at the deck’s edge. You can attach this type of board with hidden fasteners, starter clips and/or our composite deck screws.
Board Profile Breakdown video:
You can also buy a fascia board from NewTechWood that you can use all around the deck’s perimeter, which will cover up the structural framework.
DECK PLANNING
Before you install your new deck, you will have to do a good amount of planning. When doing so, here are some important things to think about:
- Calculate your new deck’s footprint. You’ll want to determine how big your deck will be based on how wide your deck boards are as well as the gaps in between rows.
- Consider how to install your last row. Will you cantilever it over a frame or a fascia? Will it butt up against a fascia? If you decide to cantilever your boards, don’t do more than 5/8 of an inch — otherwise, your warranty will be voided.
- Compare your calculated footprint to the structural frame. By doing this, you’ll know whether you need to take out the last row of boards. If this is the case, you will probably want to alter the deck’s design or the structural frame size. If you end up having to remove the last row, think about where the row will look best and begin installing your deck on the other side.
Planning Your Deck:
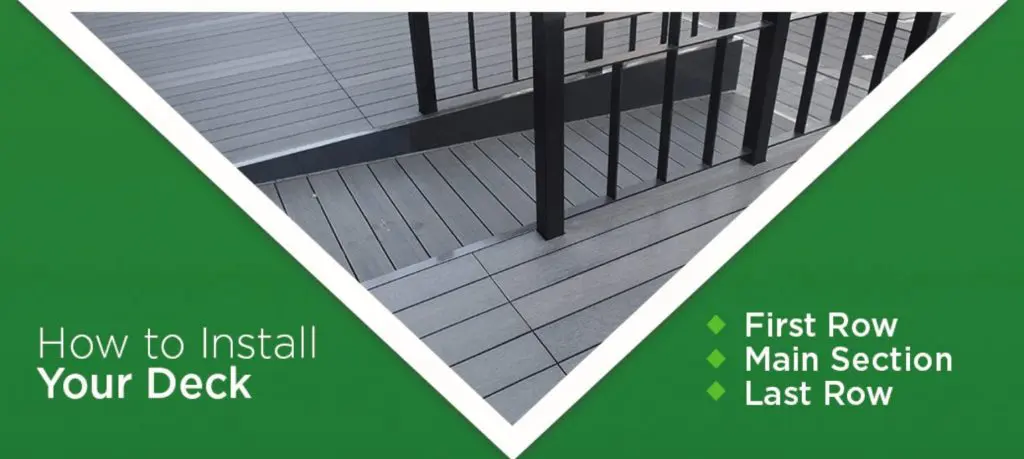
HOW TO INSTALL YOUR DECK
Now it’s time to go through the detailed steps of the deck installation. We’ll start with the first row of boards, then the main section, and then the last row.
First Row To install the first row:
- Snap a chalk line. If you’re beginning the installation up against a wall or building, snap a chalk line off the wall, which will serve as a guide for the starter clips. 1.5 inches (38 millimeters) from the wall is a common distance used, but this may depend on your specific building conditions.
- Attach the Starter Clips. After snapping the chalk line, pre-drill and attach a starter clip at each joist along the line.
- Push the first board into place. Take your first board and push it into the starter clips.
If you decided to begin your installation on one of the deck’s outer edges and it will butt up against a fascia, follow the same steps as above to install the starter clips. However, the location of your chalk should be adjusted so that the spacing between your fascia board and first row will be correct. If you’re beginning your installation on an outer edge and you’re going to put the first board above the fascia, or if there is no fascia, you should use a board from the Columbus series. Columbus boards contain a groove routed underneath to accept the Starter Clips. When determining the location of the starter clips, make sure it won’t create any cantilevers over 5/8 of an inch (15 millimeters).
MAIN SECTION
The method for installing the main section of your decking will depend on whether you’re using the T Clip or Mini Gap system. For the T Clip system, follow these steps:
- Place the clips in the grooves. Insert the clips into the grooves on the side of the boards. Make sure to place the locking clips and tension clips on the appropriate joists. For the locking clips, make sure the teeth are over the first row.
- Screw down the clips. First, screw the screws only halfway into the joists. Then press the two boards together tightly while you finish screwing in the clips. Repeat these steps until you reach the second-to-last board.
If you’re using the Mini Gap fasteners, the process is as follows:
- Place the clips. Insert the clips into the groove on the side of the first board over each joist.
- Push the board onto the clips. Once you’ve attached all of the clips, push the second board onto the clips at a 45-degree angle, then push it down into place. Repeat these steps until you reach the very last board.
LAST ROW
If it turns out you need to cut the last board for it to fit on your deck frame, you can use a plunge router to rout some small grooves so that the clips can still be accommodated. Just make sure not to rout the board’s entire length. If you’re installing with T Clips and your last row is going to butt up against a fascia board, you will need to cut off one of the wings of the T Clips before installing them. If using T Clips, you must install the last row before installing the second-to-last row. To ensure there will be adequate room, snap a chalk line where the final row will start, and keep in mind you must not exceed the maximum cantilever of 5/8 of an inch. Now, you can install your starter clips measuring off of this line and then push the final row onto the starter clips. Then, put the second row in place and slide the T Clip in from the end. If you’re using T Clips and the final board is against a building, you will follow the same steps — put in the final board first using the Starter Clips, and then put the second-to-last board in place. Finally, slide the clips into place and attach them. If you are installing with the Mini Gap fasteners, the final board will need to be fastened with composite deck screws because the Mini Gap clips cannot be slid into place. To use as few screws as possible, you may put the Starter Clips as usual and then slide the last board into place from the side.
FASCIA AND TOUCH UPS

To give your deck a polished look, you should install fascia boards on the sides. Hollow boards will also need end caps for protection. Here’s what you need to do:
- Predrill. When it’s time to attach a fascia, the first thing you should do is predrill holes in the screw locations. The diameter you use to drill should be larger than that of the composite deck screws so that it better allows the fascia to expand and contract.
- Pay attention to spacing. The spacing between your screws should not be greater than 12 inches (30 centimeters). In every location, use two screws, and remember that they must be at least 1.5 inches (38 millimeters) away from all edges.
- Attach the fascia to the structural frame directly. Never attach it to any other composite decking material.
- Pay attention to the thickness of the fascia. If your fascia is equal to or less than 25/46 of an inch thick, you must install them every 12 inches on centers so that no buckling or warping occurs. For boards that are more than 10 mm thick, you can install them 16 every inches on centers. Regardless of how thick the fascia boards are, they all must be fastened with two screws that are 1 1/2 inches away from the ends.
- For hollow boards, attach end caps. If you’re installing the hollow boards, make sure to use the custom end caps offered by NewTechWood. To install them, apply liquid nail or other plastic adhesives to the back of the end cap. Once done, push the end cap into the holes in the board. You may have to use a rubber mallet. If you want to better secure the caps, you can stick a small amount of silicon in the board’s holes or on the end cap itself.
And that’s it! You now have a beautiful deck that is maintenance-free and that you’ll be able to enjoy for many years.
ADDITIONAL MATERIALS TO CONSIDER
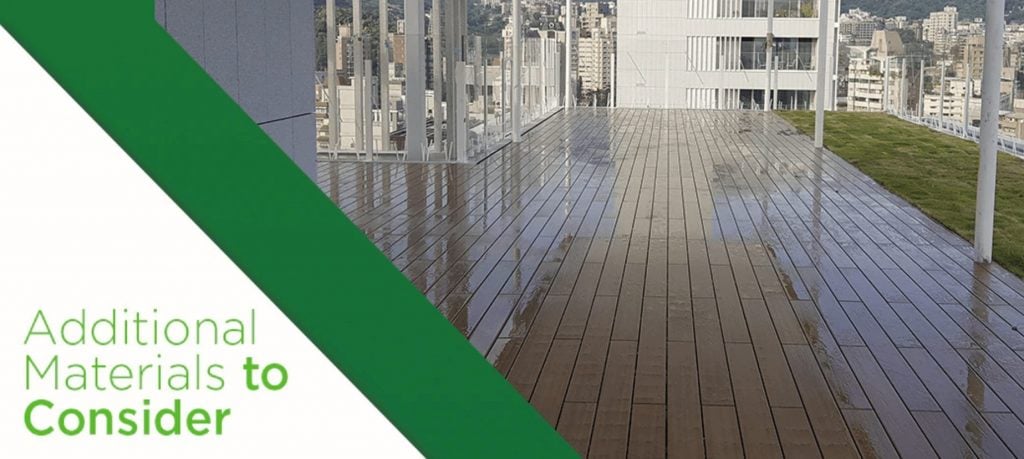
In addition to boards and fastening systems, NewTechWood offers other useful materials to consider as you’re planning your deck:
1. Fascia Boards
If you want to give your deck a streamlined, smooth look, fascia boards are a great idea. Of course, to achieve the most aesthetically pleasing and seamless look, you should purchase a fascia made of the same material as your decking. For this reason, fascia boards are one the offerings in NewTechWood’s line of premium products.
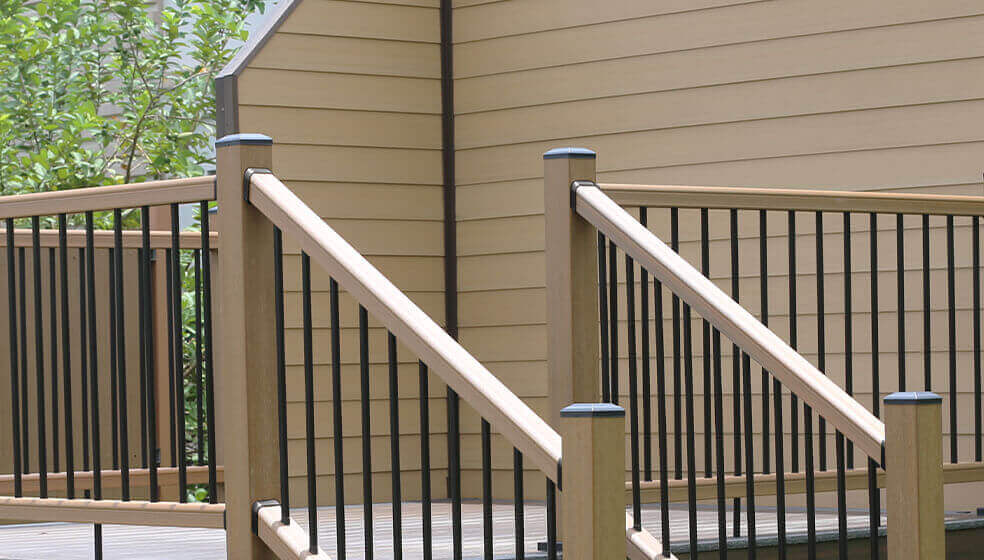
2. Composite Railing
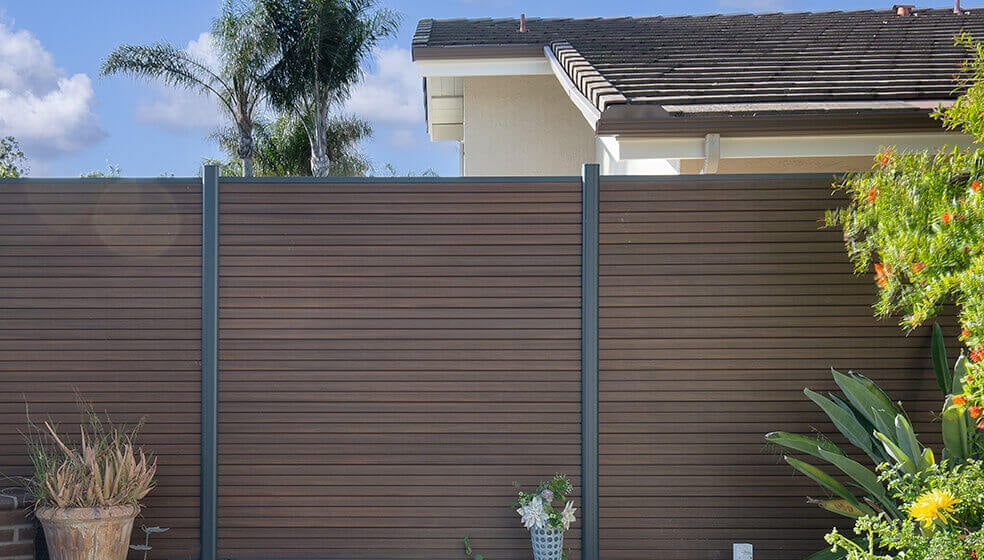
NewTechWood’s sleek and modern composite railing combines composite and aluminum and is coated by UltraShield, creating a natural-looking, long-lasting finish that makes it resistant to scratches, stains, weather hazards and wear — just like our decks. Our composite railing is great for your deck for many reasons:
- They’ll perfectly match your deck. Our fencing systems are designed to perfectly match our composite decks, so if they are properly installed, they will make everything look like one seamless piece. Our deck railing is available in the same colors as our decks, so matching the color will not be an issue.
- They’re often required. Railings are often a requirement for HOA or local building codes. If you’re thinking about installing a deck without railings, you should research this before anything else.
- They’re safer. While decks with treads fewer than 30 inches off the ground usually don’t require railings, falls from even low heights can still lead to injuries. Decks without fences can be particularly dangerous if children are playing. Even if you don’t have or plan to have kids, you might have visitors with children come over, so you should consider their safety as well.
3. Wax Pens
If you happen to make some scratches, chips or holes in your decking, don’t despair — NewTechWood has the perfect product to restore your deck to its pristine state: the NewTechWood DeScratch Repair Kit. This kit will fix small scratches, chips, gouges, nail holes, splits and damaged edges in both capped composite and natural timber. Here’s how to use it:
- Using the applicator, remove the high points.
- Rub the wave on the damaged area until it becomes level.
- With the applicator, remove excess wax.
The wax pens come in all the standard colors:
- Hawaiian Charcoal
- Westminster Gray
- Spanish Walnut
- Brazilian Ipe
- Peruvian Teak
- Roman Antique
4. End Caps

As you know, our decking boards feature 360-degree capping, which completely protects them from decay, moisture and environmental hazards. However, the cut areas at the end will still be vulnerable, so composite decking edge finishing is helpful. Once again, you don’t need to worry, because NewTechWood offers a variety of end caps and moisture seals that are perfectly compatible with our products and thoroughly protect the end cut areas. If moisture penetrates deep into the end cut area, this could lead to cracking, swelling and cupping around the edge. End caps by NewTechWood are made out of TPO plastic, a durable material that can withstand extreme weather conditions and temperatures down to -40 degrees Celsius.
CONTACT NEWTECHWOOD

NewTechWood® has pioneered many manufacturing techniques for composite decking, site and railing furnishings. Since our founding in 2004, we have been developing cutting-edge wood plastic composite products that make your outdoor living experience easier and more enjoyable. We attribute our success to listening to our homebuilders, architects, contractors and homeowners and realizing their visions. NewTechWood is internationally renowned for its innovative, attractive and dependable wood-plastic composite materials. Our products feature-rich variations of color and beautiful, natural-looking wood grains, and we are confident we have a color that’s perfect for your project. We are committed to providing our customers with unrivaled performance and complete satisfaction. Feel free to contact with questions at 281-570-6450 or via our online contact form. Full length installation video:


